Cardigan Knitting Patterns
The Enchanted Forest Cardigan Free Pattern
Anonymous
•
July 02, 2026
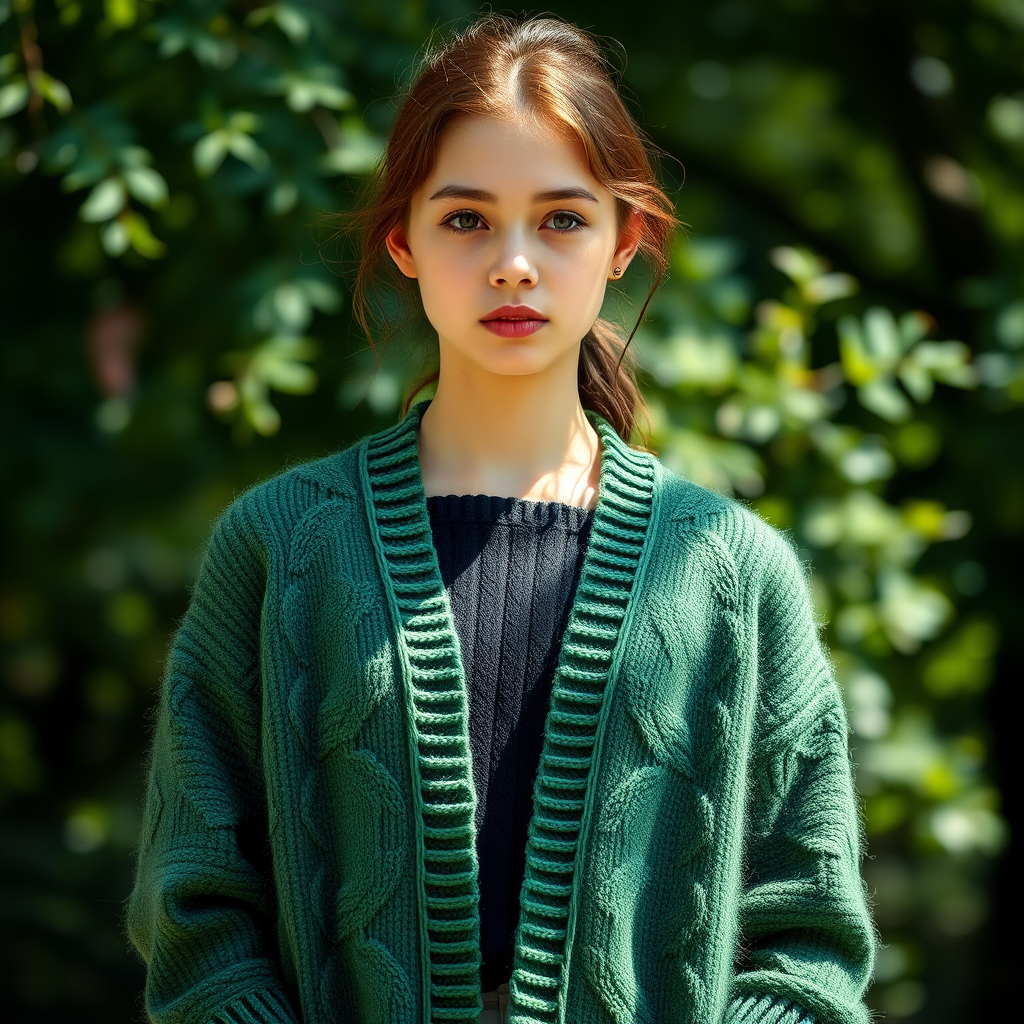
The Enchanted Forest Cardigan Free Pattern
Introduction
Step into a world of whimsy with the Enchanted Forest Cardigan, a captivating knit project that combines intricate leaf motifs with a cozy, oversized silhouette. Perfect for layering, this cardigan brings a touch of nature's magic to your wardrobe. Whether you're a beginner or an experienced knitter, this pattern will guide you through every step to create your very own enchanting piece.
Materials Needed
- Yarn: Worsted weight, 100% wool, approximately 1200-1500 yards
- Needles: US 8 (5.0 mm) circular needles
- Gauge: 18 stitches and 24 rows = 4 inches in stockinette stitch
- Other Supplies: Stitch markers, tapestry needle for weaving in ends, and a measuring tape
Step-by-Step Instructions
Back Panel
- Cast on 90 (100, 110) stitches using the long-tail cast-on method.
- Work in 2x2 ribbing (knit 2, purl 2) for 2 inches.
- Switch to stockinette stitch (knit every row) and continue for 10 inches.
- Begin the leaf motif: Follow chart A for the next 12 inches.
- Shape the shoulders:
- Bind off 5 stitches at the beginning of the next 4 rows.
- Bind off the remaining stitches.
Front Panels
- Cast on 45 (50, 55) stitches for the left front panel.
- Work in 2x2 ribbing for 2 inches.
- Switch to stockinette stitch and continue for 10 inches.
- Begin the leaf motif: Follow chart B for the next 12 inches.
- Shape the neckline:
- Decrease 1 stitch at the neck edge every other row 10 times.
- Shape the shoulders as you did for the back panel.
- Repeat the above steps for the right front panel.
Sleeves
- Cast on 40 (45, 50) stitches.
- Work in 2x2 ribbing for 2 inches.
- Increase 1 stitch at each end every 6th row until you have 60 (65, 70) stitches.
- Work even until the sleeve measures 18 inches from the cast-on edge.
- Bind off all stitches loosely.
Assembly
- Sew the shoulder seams together.
- Set in the sleeves by aligning the sleeve cap with the armhole and sewing in place.
- Sew the side seams from the bottom of the cardigan to the end of the sleeves.
Button Band
- Pick up stitches along the front edges and neckline of the cardigan.
- Work in 2x2 ribbing for 1 inch.
- Bind off all stitches loosely.
Finishing Touches
- Weave in all ends using a tapestry needle.
- Block the cardigan to the measurements specified in the pattern to ensure the best fit.
Congratulations! You have now completed your Enchanted Forest Cardigan. Enjoy wearing your cozy, nature-inspired creation!