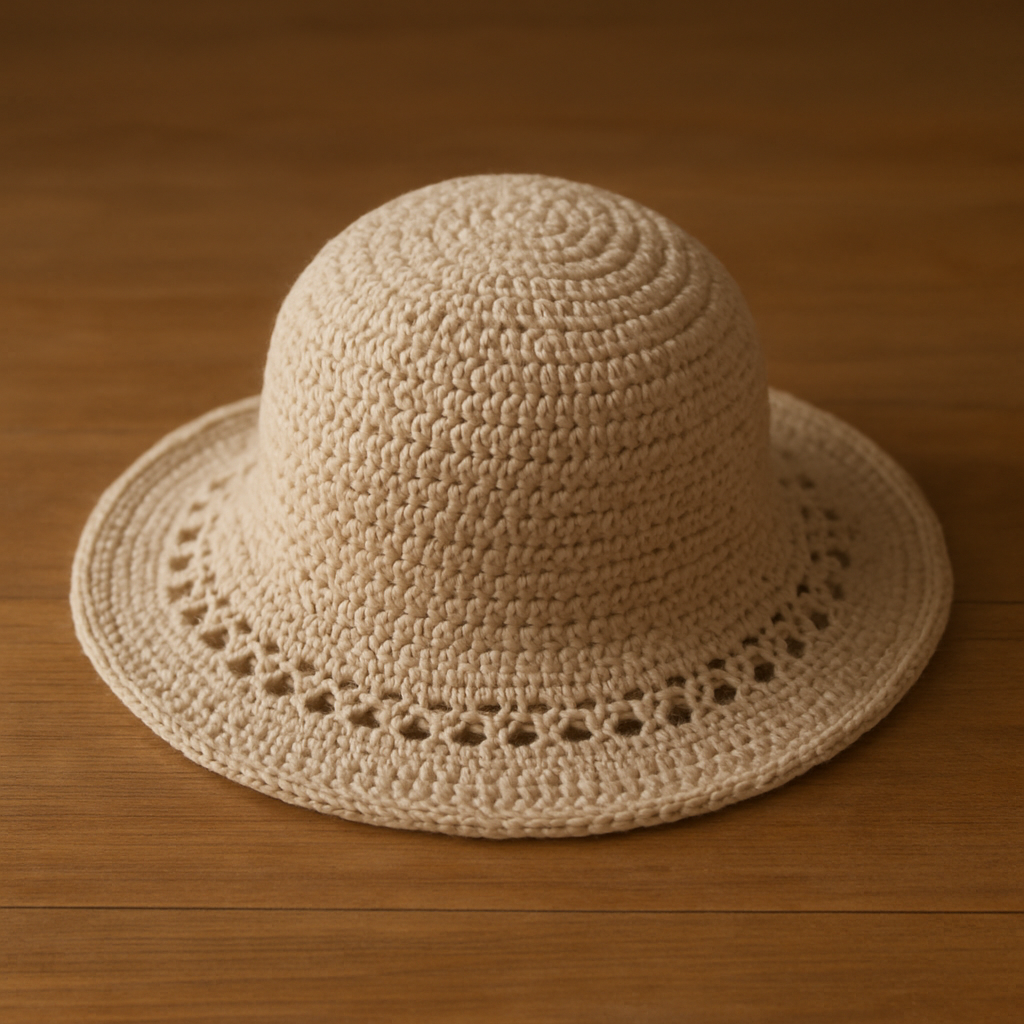
The Ember & Ash Slouch Beanie: A Free Knitting Pattern for a Textured, Ombre-Inspired Winter Hat

Introduction: The Ember & Ash Slouch Beanie
This isn't your basic beanie; it's a cozy, slouchy masterpiece featuring a mesmerizing ombre effect and a rich, textured stitch pattern that mimics the glow of embers. Knit in the round with a soft, heathered yarn, this hat is the perfect statement piece for cold-weather style. The Ember & Ash Slouch Beanie transitions from a deep charcoal gray into a glowing burnt orange, creating a hand-knit ombre that looks like embers glowing against ash. The dense, woven-like slip stitch pattern adds subtle vertical ridges and a slightly nubby texture, making it both visually stunning and incredibly warm. Whether you're a confident beginner or an experienced knitter, this pattern will guide you to create a relaxed, slouchy hat that drapes beautifully.
Materials Needed
Before you begin, gather the following materials to ensure a smooth knitting experience:
- Yarn: Worsted weight yarn in two colors:
- Color A (Charcoal/Ash): 100g (approx. 190 yards). Sample uses Lion Brand Wool-Ease in 'Charcoal'.
- Color B (Burnt Orange/Ember): 100g (approx. 190 yards). Sample uses Lion Brand Wool-Ease in 'Pumpkin'.
- Needles:
- US Size 8 (5.0 mm) 16-inch circular needle for the brim and body.
- Set of US Size 8 (5.0 mm) double-pointed needles (DPNs) for the crown decreases.
- Notions:
- Stitch marker to mark the beginning of the round.
- Yarn needle for weaving in ends.
- Scissors.
- Gauge: 18 stitches x 24 rows = 4 inches in stockinette stitch (knit every round). Achieving the correct gauge is crucial for the hat to fit properly.
Step-by-Step Instructions
This pattern is written for two sizes: Adult S/M (M/L). Finished circumference: 20 (22) inches. Instructions for the larger size are in parentheses. Follow the instructions for your chosen size throughout.
Abbreviations
- CO: Cast on
- K: Knit
- P: Purl
- K2tog: Knit two stitches together (decrease)
- PM: Place marker
- SM: Slip marker
- St(s): Stitch(es)
- Rep: Repeat
- Rnd: Round
Special Stitch: Slip Stitch Pattern (worked in the round)
This pattern creates a dense, textured fabric. Practice it on a swatch first if you're new to slip stitches.
- Rnd 1: *K1, P1; rep from * to end.
- Rnd 2: *Slip 1 purlwise with yarn in back, P1; rep from * to end. (To slip purlwise, insert the right needle into the next stitch as if to purl, but simply slide it to the right needle without knitting or purling. Keep the yarn in back of the work.)
- Rnd 3: *P1, K1; rep from * to end.
- Rnd 4: *P1, Slip 1 purlwise with yarn in back; rep from * to end.
Brim
- With Color A and the 16-inch circular needle, CO 90 (100) stitches.
- Join to work in the round, being very careful not to twist the cast-on edge. Place a stitch marker (PM) to mark the beginning of the round.
- Work in K1, P1 ribbing for 2 inches. This means: *K1, P1; rep from * to end of each round. The brim should be firm and stretchy.
Body
- Begin the Slip Stitch Pattern. Work Rounds 1-4 of the pattern as described above. After completing these 4 rounds, you will have established the texture.
- Ombre Transition: This is where you gradually switch from Color A to Color B. Carry the yarn you are not using loosely across the inside of the hat. Do not cut the yarns until instructed.
- Work 2 more rounds with Color A only (continue in the Slip Stitch Pattern).
- Transition Rnd 1: *Knit 5 sts with Color A, then knit 1 st with Color B. Rep from * to end. (You are knitting all stitches, not working the slip stitch pattern during the transition rounds.)
- Transition Rnd 2: *Knit 4 sts with Color A, then knit 2 sts with Color B. Rep from * to end.
- Transition Rnd 3: *Knit 3 sts with Color A, then knit 3 sts with Color B. Rep from * to end.
- Transition Rnd 4: *Knit 2 sts with Color A, then knit 4 sts with Color B. Rep from * to end.
- Transition Rnd 5: *Knit 1 st with Color A, then knit 5 sts with Color B. Rep from * to end.
- Transition Rnd 6: Knit all stitches with Color B only.
- You have now completed the ombre transition. Cut Color A, leaving a 6-inch tail to weave in later.
- Once using only Color B, continue in the Slip Stitch Pattern (Rounds 1-4) until the piece measures 8 (9) inches from the cast-on edge, ending after Rnd 4 of the pattern. Measure from the bottom of the brim, not including the brim itself.
Crown Decreases
Switch to double-pointed needles (DPNs) when the stitches become too tight for the circular needle. Continue with Color B only.
- Rnd 1: *K8 (9), K2tog; rep from * to end. (81, 90 sts remain)
- Rnd 2 and all even rounds: Knit all stitches. (No decreases)
- Rnd 3: *K7 (8), K2tog; rep from * to end. (72, 80 sts)
- Rnd 5: *K6 (7), K2tog; rep from * to end. (63, 70 sts)
- Rnd 7: *K5 (6), K2tog; rep from * to end. (54, 60 sts)
- Rnd 9: *K4 (5), K2tog; rep from * to end. (45, 50 sts)
- Rnd 11: *K3 (4), K2tog; rep from * to end. (36, 40 sts)
- Rnd 13: *K2 (3), K2tog; rep from * to end. (27, 30 sts)
- Rnd 15: *K1 (2), K2tog; rep from * to end. (18, 20 sts)
- Rnd 17: *K2tog; rep from * to end. (9, 10 sts)
Cut the yarn, leaving a 10-inch tail. Thread the tail through a yarn needle, then pass the needle through the remaining stitches, removing them from the knitting needle. Pull the tail tight to close the hole at the top of the crown. Secure the tail by weaving it through the inside of the crown a few times.
Finishing
- Weave in all remaining ends using a yarn needle. Be sure to weave them in securely on the wrong side (inside) of the hat.
- Block the hat lightly if desired. To block, wet the hat gently with lukewarm water, squeeze out excess water (do not wring), and lay it flat on a towel to dry. You can shape it to your desired slouchiness while it dries.
Your Ember & Ash Slouch Beanie is complete! Enjoy the cozy, textured warmth and the stunning ombre effect you created with your own hands.