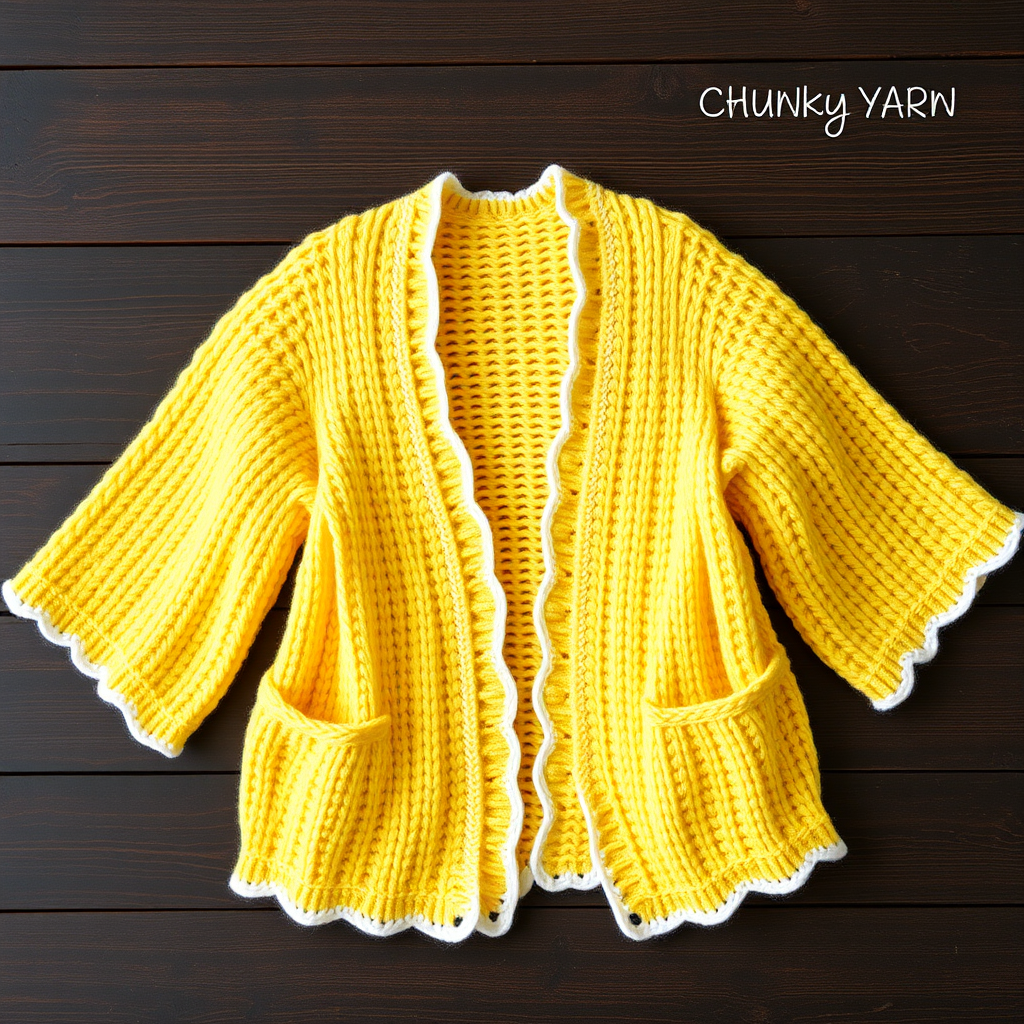
The Cozy Cloud Cardigan Free Pattern

The Cozy Cloud Cardigan Free Pattern
Introduction
Wrap yourself in the ultimate comfort with the Cozy Cloud Cardigan, a delightful knitting project that combines warmth and style. This pattern features a plush texture and oversized fit, perfect for layering during chilly days. Whether you're a beginner or an experienced knitter, this cardigan will become your go-to piece for cozy evenings and outings.
Materials Needed
- Yarn: Bulky weight yarn, approximately 800-1200 yards depending on size
- Needles: US 11 (8 mm) knitting needles
- Gauge: 10 stitches and 14 rows = 4 inches in stockinette stitch
- Stitch markers: For marking sleeve divisions
- Scissors: For cutting yarn
- Tapestry needle: For weaving in ends
Step-by-Step Instructions
Step 1: Casting On
Begin by determining your size and casting on the required number of stitches for your size. Use a long-tail cast-on method for a stretchy edge. Make sure to count your stitches as you go to ensure accuracy.
Step 2: Create the Bottom Hem
Work in garter stitch (knit every row) for 2 inches to create the bottom hem. This will give your cardigan a nice, finished edge. Use a ruler to measure your work accurately.
Step 3: Switch to Stockinette Stitch
After completing the hem, switch to stockinette stitch (knit one row, purl the next) and continue knitting until the piece measures 20 inches from the cast-on edge. Remember to check your gauge to ensure the fabric is consistent.
Step 4: Divide for Sleeves
Once you reach 20 inches, it's time to divide for the sleeves. Place stitch markers at the appropriate points where you want the sleeves to begin. This typically involves leaving a gap for the sleeves on each side of the body.
Step 5: Knit Each Section Separately
Continue knitting the body and sleeves separately. For the body, keep knitting in stockinette stitch until you reach the desired length. For the sleeves, you will need to shape them as follows:
Step 6: Shape the Sleeves
To shape the sleeves, decrease 1 stitch at each end every 4th row. Continue this process until you achieve the desired sleeve length. Make sure to keep track of your rows and decreases to maintain symmetry.
Step 7: Shape the Neckline
For the neckline, bind off the center stitches (this will create the opening for your cardigan) and work each side separately. Shape the neckline by decreasing stitches on each side until you reach the desired neckline depth.
Step 8: Assemble the Cardigan
Once all pieces are complete, it's time to sew the side seams and attach the sleeves. Use a tapestry needle and the same yarn to sew the seams together securely. Make sure to align the edges neatly for a polished look.
Step 9: Finish with Garter Stitch Borders
To finish your cardigan, add a garter stitch border around the front edges and neckline. This will add a nice texture contrast to the smooth stockinette body and complete the cozy look.
Step 10: Weave in Ends
Finally, use your tapestry needle to weave in any loose ends from your yarn. This will give your cardigan a clean finish and ensure durability.
Congratulations! You have successfully knitted your very own Cozy Cloud Cardigan. Enjoy wearing it and showcasing your handmade creation!