The Celestial Cascade Lace Shawl Free Pattern – A Crocheted Starlight Wrap
The Celestial Cascade Lace Shawl: A Free Crochet Pattern for a Starlight Wrap
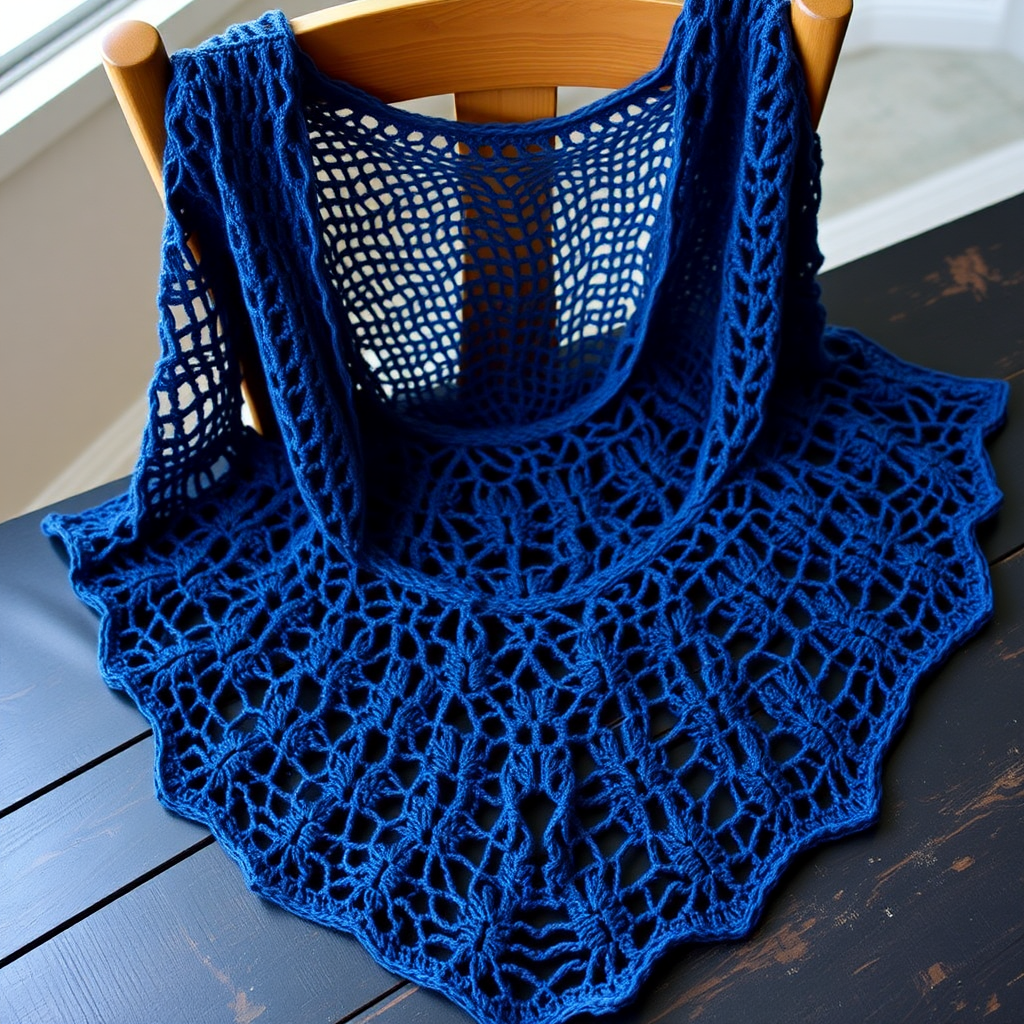
Imagine draping a piece of the night sky over your shoulders—a delicate, airy shawl that catches the light and casts intricate shadows, evoking the gentle flow of starlight. The Celestial Cascade Lace Shawl is exactly that: an ethereal, elegant accessory designed for cool evenings, boho gatherings, or simply for wrapping yourself in handmade luxury. This free crochet pattern uses a cascading fan stitch to create a lightweight, translucent fabric that drapes beautifully. Whether you're an experienced crocheter looking for a meditative project or a confident beginner ready for a challenge, this shawl is a rewarding journey into lacework. Let's begin crafting your own piece of the cosmos.
Materials Needed
Before you begin, gather the following supplies to ensure a smooth crocheting experience. The quality of your yarn will significantly impact the drape and sheen of the final piece.
- Yarn: Fingering weight yarn (e.g., Malabrigo Sock) in a deep indigo or midnight blue. You will need approximately 800-900 yards. The color is crucial to the celestial theme, but feel free to choose any shade that evokes a starry night for you.
- Crochet Hook: US G/6 (4.0 mm) hook. This size creates the perfect balance between an open, lacy stitch and enough structure to hold the shape.
- Other Tools: A yarn needle for weaving in ends, a pair of scissors, and blocking mats with rust-proof pins (for the final step).
Gauge
To achieve the correct size and drape, match this gauge: 4 pattern repeats (each repeat = 12 stitches) and 8 rows = 4 inches in the main fan stitch pattern. While gauge is important, for a shawl, the drape is more critical than exact size. If your fabric feels stiff, go up a hook size; if it feels too floppy, go down a size.
Step-by-Step Instructions
This shawl is worked from the top center down, increasing gradually to form a triangular shape. The pattern uses basic stitches: chain (ch), single crochet (sc), double crochet (dc), and treble crochet (tr). We will build the shawl in sections, alternating between two main row types to create the cascading fan effect.
Foundation & Row 1: The Star's Core
We begin by creating a small ring that will form the top center point of your shawl.
- Foundation Ring: Ch 5, join with a slip stitch (sl st) to form a ring. This creates a small, tight circle.
- Row 1: Ch 4 (this counts as your first treble crochet), work 3 tr into the ring, ch 3, work 4 tr into the ring. Turn your work. You should now have 8 tr and 1 ch-3 space in the center.
Row 2: Building the First Fan
This row establishes the increase pattern and creates the first set of chain spaces that will form the lace.
- Ch 4 (counts as tr), 1 tr into the first stitch (this is the increase).
- *Ch 1, skip 1 st, 1 tr into the next st.* Repeat from * to * two more times. (You will have made 3 ch-1 spaces and 3 tr).
- Ch 3, 1 sc into the ch-3 space from the previous row, ch 3. (This is the center point of the shawl).
- 1 tr into the next st, *ch 1, skip 1 st, 1 tr into the next st.* Repeat from * to * two more times.
- 2 tr into the last st (this is the increase on the other edge). Turn.
You now have 10 tr, 4 ch-1 spaces, and 2 ch-3 spaces (one on each side of the center sc).
Row 3: Deepening the Lace
Here we switch to double crochet and longer chains to begin the cascading effect.
- Ch 4 (counts as tr), 1 tr into the first st (increase).
- *Ch 2, skip the ch-1 space, 1 dc into the next tr.* Repeat from * to * three more times. (You will have 4 dc and 4 ch-2 spaces).
- Ch 3, 1 sc into the center ch-3 space, ch 3.
- 1 dc into the next tr, *ch 2, skip the ch-1 space, 1 dc into the next tr.* Repeat from * to * three more times.
- 2 tr into the last st (increase). Turn.
Row 4 (and all even rows): The Treble Cascade
This is the first of the two repeating rows that will form the body of the shawl. It uses treble crochets and single chain spaces.
- Ch 4 (counts as tr), 1 tr into the first st (increase).
- *Ch 1, skip 1 st, 1 tr into the next st.* Repeat from * to * across until you reach the center ch-3 space.
- Ch 3, 1 sc into the center ch-3 space, ch 3.
- Repeat from * to * across the other side, ending with 2 tr into the last st (increase). Turn.
Row 5 (and all odd rows): The Double Crochet Flow
This is the second repeating row, using double crochets and longer chain spaces to create the open, fan-like appearance.
- Ch 4 (counts as tr), 1 tr into the first st (increase).
- *Ch 2, skip the ch-1 space, 1 dc into the next tr.* Repeat from * to * across until you reach the center ch-3 space.
- Ch 3, 1 sc into the center ch-3 space, ch 3.
- Repeat from * to * across the other side, ending with 2 tr into the last st (increase). Turn.
Continuing the Pattern
Now that you have the rhythm, the magic begins. Continue alternating Rows 4 and 5 until the shawl measures approximately 60 inches across the top edge, or until you reach your desired width. Each row will add one more repeat on each side of the center, naturally increasing the size of the triangle. Remember to always count your stitches at the end of each row to ensure you haven't missed an increase. The pattern is forgiving, but consistency is key for a symmetrical drape.
Finishing Touches: Edging & Blocking
Once your shawl reaches the desired size, it's time to finish the edges with a delicate picot trim.
- Final Row: Work a row of single crochet (sc) evenly around the entire outer edge of the shawl. Work 3 sc into each corner to keep the corners flat and prevent curling.
- Picot Edging: *Sc in the next st, ch 3, sl st into the same st (this forms a small picot), skip 1 st.* Repeat from * to * around the entire edge. This creates a subtle, scalloped detail that beautifully complements the lace.
- Weave in Ends: Fasten off and weave in all loose ends with your yarn needle. Be sure to weave them in securely so they don't show through the open lace.
- Blocking (Crucial Step): To open up the lace pattern and achieve the ethereal, airy look, blocking is essential. Soak the shawl in lukewarm water with a drop of mild soap for 20 minutes. Gently squeeze out excess water (do not wring). Lay the shawl flat on blocking mats and pin it out to its final dimensions, stretching the points and edges to open the fans. Allow it to dry completely before unpinning. This transforms the fabric from a crumpled mass into a stunning, starry cascade.
Your Celestial Cascade Lace Shawl is now complete. Drape it over your shoulders and enjoy the feeling of wearing a handmade piece of the night sky. This pattern is perfect for gifting and is sure to become a treasured heirloom. Happy crocheting!