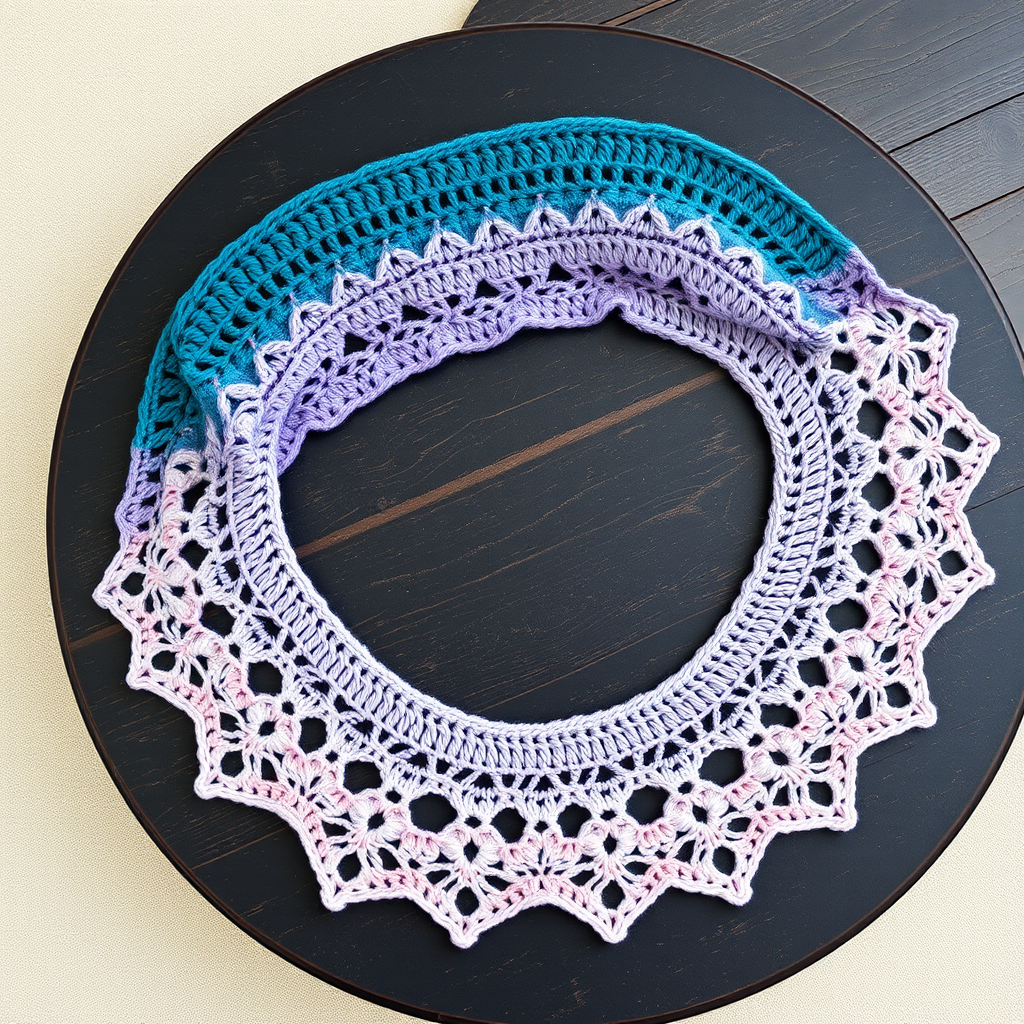
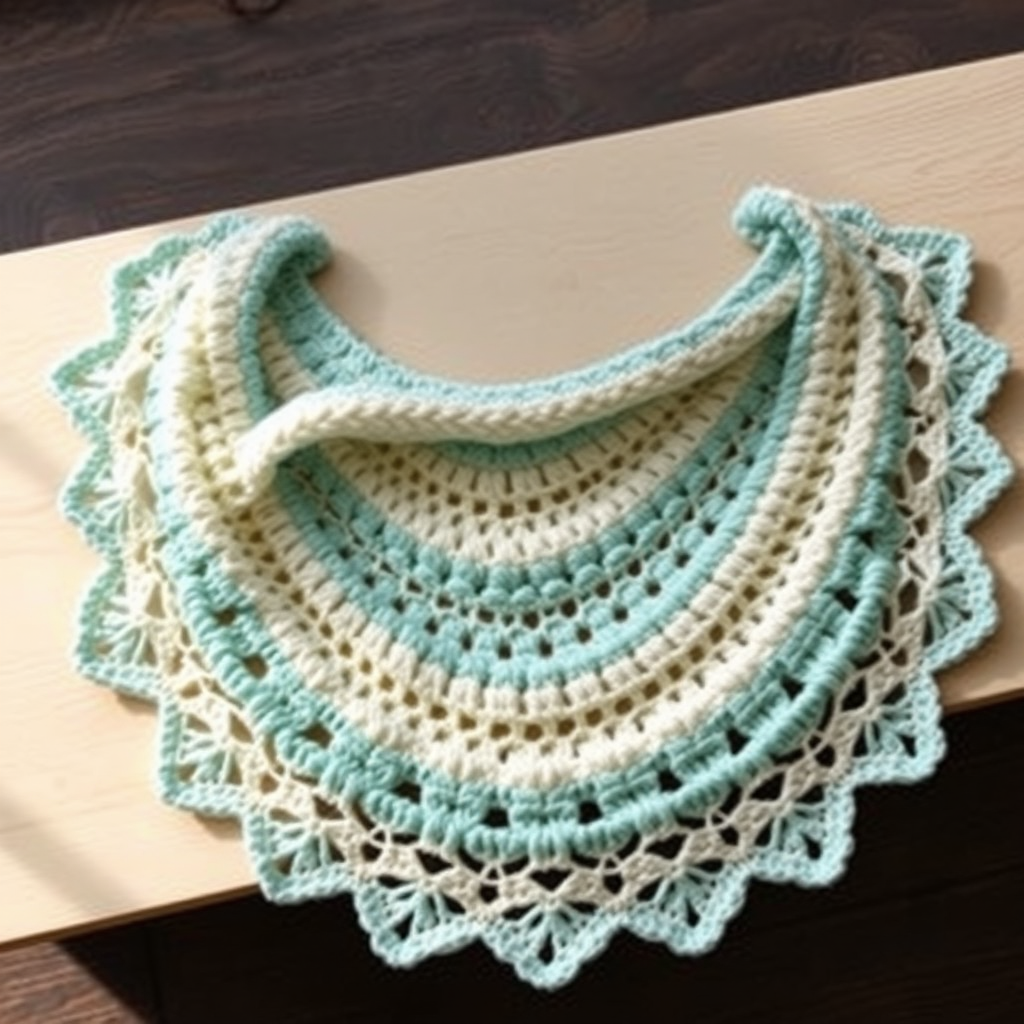
Enchanted Meadow Butterfly Fling Crochet Shawl Free Pattern
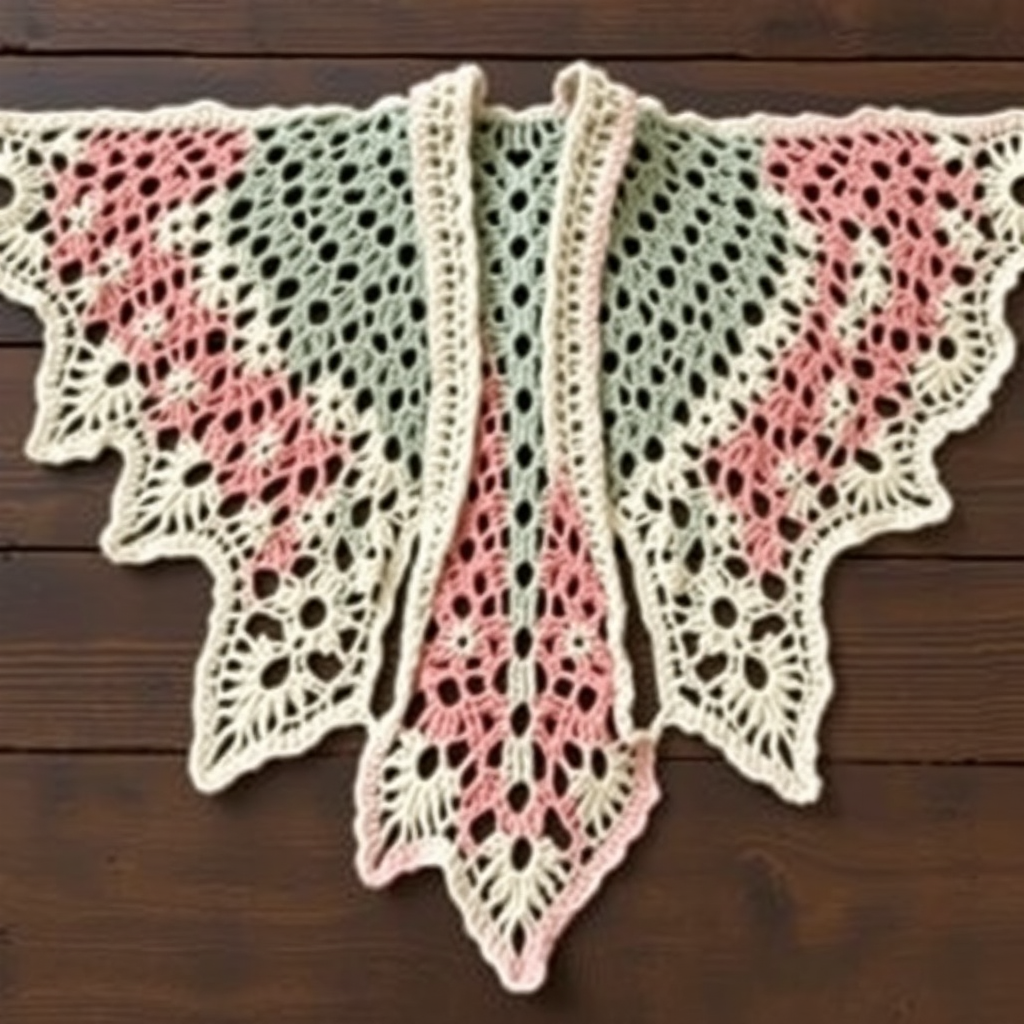
Enchanted Meadow Butterfly Fling Crochet Shawl: A Free Pattern for Beginners
Wrap yourself in the whimsical beauty of a blooming meadow with this airy, textured butterfly shawl. The unique wing-like lace panels and soft gradient yarn create a statement piece that's both cozy and elegant. This free crochet pattern is perfect for spring and summer wear, adding a touch of handmade romance to any outfit. Whether you're a seasoned crocheter or a confident beginner looking for a rewarding project, this shawl is designed to be both achievable and stunning. Let's dive into creating your very own wearable work of art.
Materials Needed
Before you begin, gather the following materials. Having everything ready will make your crocheting experience smooth and enjoyable.
- Yarn: Worsted weight yarn in 3 colors:
- Color A: Soft Sage Green (approx. 200g)
- Color B: Dusty Rose (approx. 200g)
- Color C: Cream (approx. 200g)
- Crochet Hook: 5.5mm (US I-9) crochet hook.
- Other Tools: Yarn needle for weaving in ends, scissors.
Gauge
14 double crochet (dc) x 8 rows = 4 inches in dc. While gauge is important for size, this shawl is forgiving. A slightly different gauge will simply alter the final dimensions.
Step-by-Step Instructions
This shawl is worked top-down in a triangular shape with a central spine and two wing sections. Each wing is made of a repeating lace pattern that resembles butterfly wings. Follow these detailed instructions carefully, and you'll see your shawl take shape beautifully.
Foundation Rows
We'll start by creating the top point of the shawl and establishing the central spine.
- Row 1: With Color A, chain (ch) 4. Work 3 double crochet (dc) in the 4th ch from the hook. Turn. (You now have 4 dc, counting the initial ch-3 as a dc.)
- Row 2: Ch 3 (counts as first dc here and throughout). Work 2 dc in the same stitch (this is your increase). Dc in the next 2 stitches. Work 3 dc in the last stitch (your second increase). Turn. (8 dc total)
- Row 3: Ch 3, 2 dc in same st. Dc in the next 6 sts. 3 dc in the last st. Turn. (12 dc total)
Creating the Body and Wing Separation
Now we will begin to shape the wings by creating a chain-space (ch-2 sp) in the center, which will act as the spine of the shawl.
- Row 4: Ch 3, 2 dc in same st. Dc in the next 4 sts. Ch 2, skip 2 sts. Dc in the next 4 sts. 3 dc in the last st. Turn. (14 dc, 1 ch-2 sp)
- Row 5: Ch 3, 2 dc in same st. Dc in the next 5 sts. Ch 2, skip the ch-2 sp. Dc in the next 5 sts. 3 dc in the last st. Turn. (16 dc, 1 ch-2 sp)
- Row 6: Ch 3, 2 dc in same st. Dc in the next 6 sts. Ch 2, skip the ch-2 sp. Dc in the next 6 sts. 3 dc in the last st. Turn. (18 dc, 1 ch-2 sp)
The Butterfly Wing Pattern
This is the heart of the design. This 4-row repeat creates the delicate lace effect. You will work this pattern on both sides of the central ch-2 sp. The instructions below describe one half of the row; repeat the sequence for the other half after the ch-2 sp.
- Row 7: Ch 3, 2 dc in same st. Dc in the next 3 sts. *Ch 1, skip 1 st, dc in the next 3 sts*. Repeat from * to * until 4 sts remain before the ch-2 sp. Ch 2, skip the ch-2 sp. Dc in the next 3 sts. Repeat from * to * until 4 sts remain. 3 dc in the last st. Turn.
- Row 8: Ch 3, 2 dc in same st. Dc in the next 2 sts. *Ch 1, skip the ch-1 sp, dc in the next 3 sts*. Repeat from * to * until 2 sts remain before the ch-2 sp. Ch 2, skip the ch-2 sp. Dc in the next 2 sts. Repeat from * to * until 2 sts remain. 3 dc in the last st. Turn.
- Row 9: Ch 3, 2 dc in same st. Dc in the next 1 st. *Ch 1, skip the ch-1 sp, dc in the next 3 sts*. Repeat from * to * until 1 st remains before the ch-2 sp. Ch 2, skip the ch-2 sp. Dc in the next 1 st. Repeat from * to * until 1 st remains. 3 dc in the last st. Turn.
- Row 10: Ch 3, 2 dc in same st. *Ch 1, skip the ch-1 sp, dc in the next 3 sts*. Repeat from * to * until you reach the ch-2 sp. Ch 2, skip the ch-2 sp. Repeat from * to * until 1 st remains. 3 dc in the last st. Turn.
Increasing and Color Changes
To make the shawl grow, you'll incorporate increases and change colors for the gradient effect.
- Increasing: Continue working the wing pattern (Rows 7-10) as established. To widen the shawl, you will increase by 2 dc on each side every 4 rows. This is naturally achieved by working the "3 dc in the same st" at the beginning and end of each row, and by adding more dc repeats before the ch-1 sps as the row grows. The pattern naturally expands.
- Color Changes: After every 6 rows, switch to the next color in the sequence: A (Sage) to B (Rose), B to C (Cream), C to A. Continue this rotation to create a beautiful gradient effect. When changing colors, simply fasten off the old color and join the new color in the ch-3 space at the beginning of the next row.
- Continue: Keep working the pattern and changing colors until the shawl measures approximately 60 inches across the top edge. You can adjust this to your desired size.
Finishing Edging
Once you've reached your desired size, it's time to add a beautiful, romantic scalloped edge.
- Round 1: With Color C (or your final color), do not turn. Work a scalloped edge around the entire shawl: *Single crochet (sc) in the next st, skip 1 st, 5 dc in the next st, skip 1 st*. Repeat from * to * around the entire perimeter of the shawl. Join with a slip stitch (sl st) to the first sc.
- Finish: Fasten off and weave in all ends with your yarn needle. Give your shawl a gentle block to open up the lace pattern and even out the stitches.
Your Enchanted Meadow Butterfly Fling Crochet Shawl is complete! This airy and elegant piece is perfect for draping over your shoulders on a cool evening or adding a touch of handmade charm to your favorite outfit. Enjoy the compliments and the cozy warmth of your beautiful creation.