Aurora Bloom Crochet Shawl Free Pattern – A Lacy Gradient Wrap

Introducing the Aurora Bloom Crochet Shawl: A Lacy Gradient Wrap
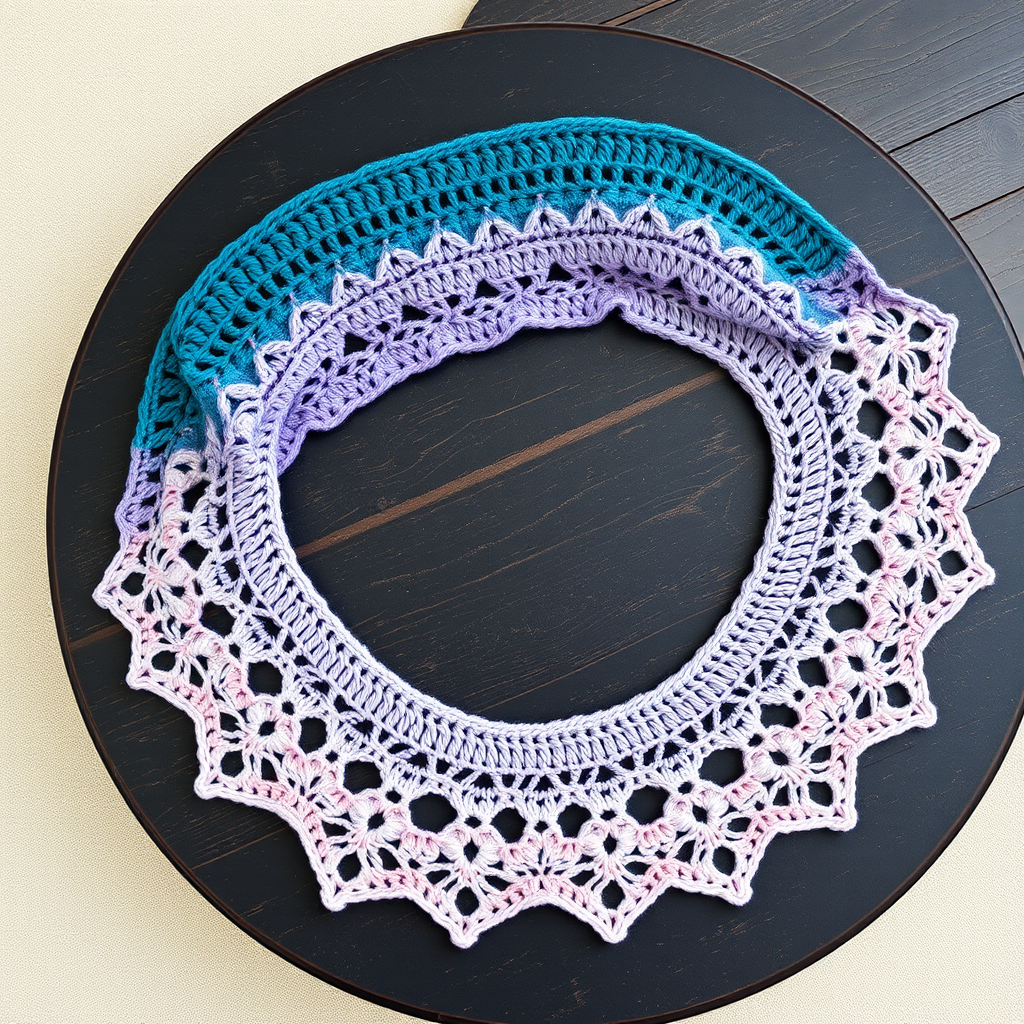
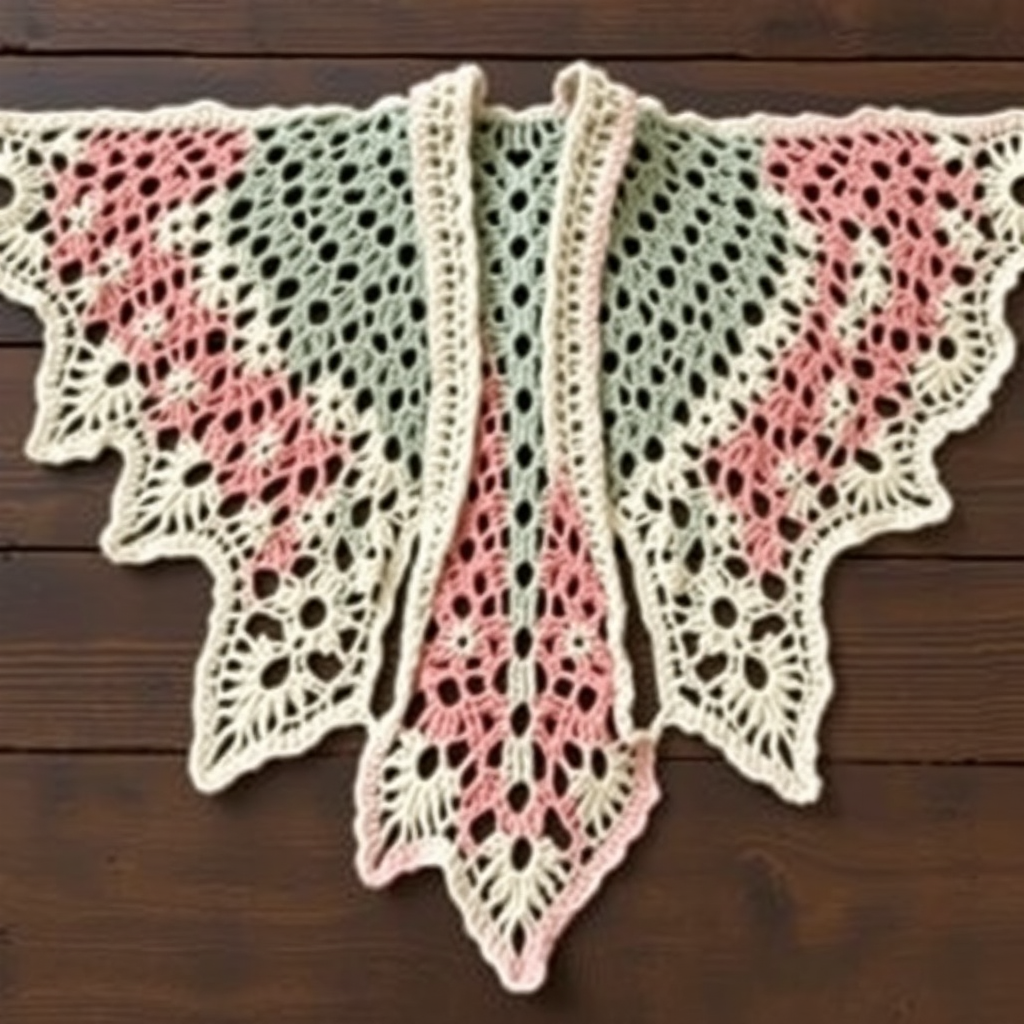
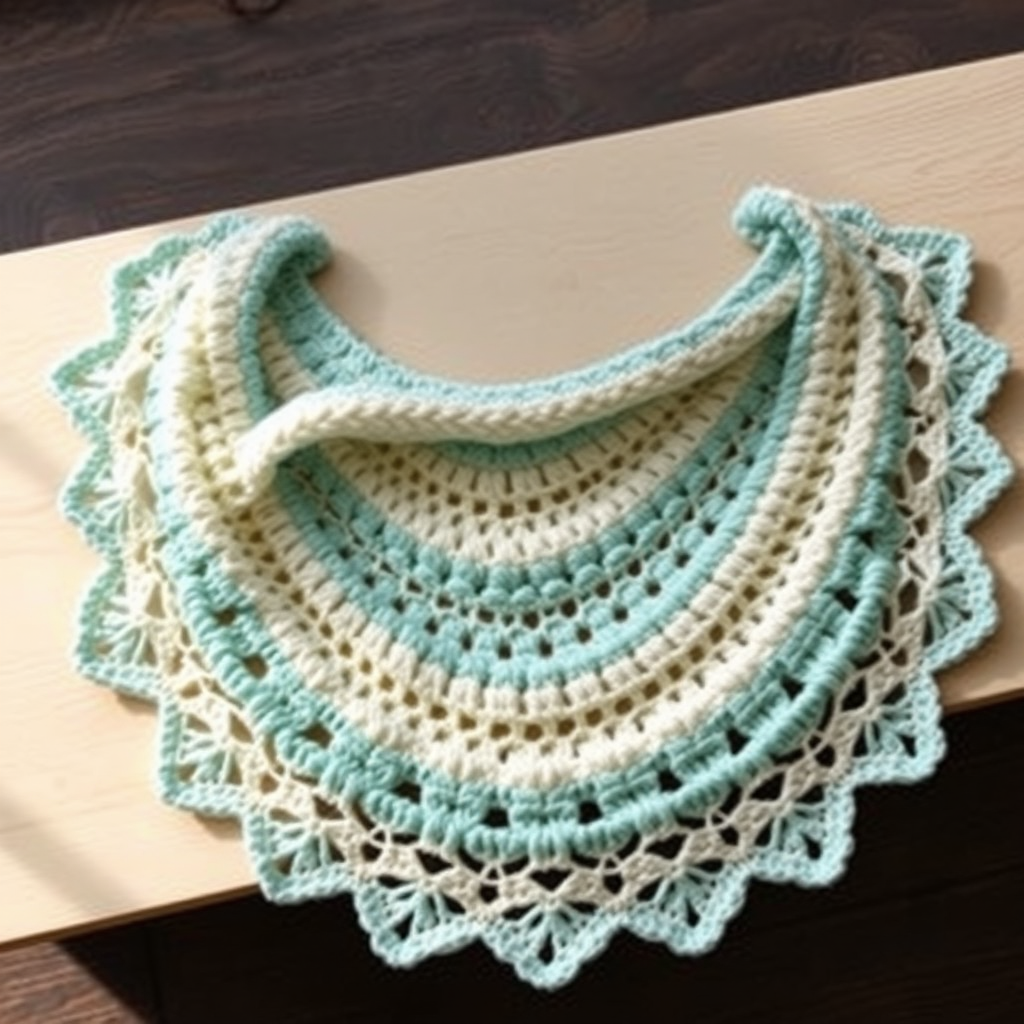
Wrap yourself in the soft hues of a twilight sky with the Aurora Bloom Crochet Shawl—a stunning, lacy accessory that transitions from deep violet to soft pink, then melts into creamy white. This free crochet pattern is designed to be both beginner-friendly and visually breathtaking, making it the perfect project for cool evenings, boho styling, or a romantic gift. The gradient yarn does all the color work for you, while the simple double crochet and chain stitch pattern creates an airy, openwork fabric that drapes elegantly over your shoulders.
Whether you're new to crochet or looking for a relaxing, meditative project, this shawl grows quickly and uses only basic stitches. The repetitive rows make it easy to memorize, and the gentle increases shape a graceful triangle that sits beautifully on the neck and fans out across your back. Let's dive into everything you need to create this ethereal wrap.
Materials Needed
Before you begin, gather the following supplies. All items are readily available at craft stores or online.
Yarn
- Fingering weight yarn in gradient colors (e.g., Deep Violet, Dusty Rose, Soft Peach, Cream)
- Total yardage: 800–900 yards (approximately 730–820 meters)
Tip: A self-striping or gradient yarn cake works perfectly here. If using solid colors, you can change yarn every few rows to create your own ombre effect.
Hook & Notions
- US G/6 (4.0 mm) crochet hook
- Stitch markers (at least 2, to mark increase points)
- Tapestry needle for weaving in ends
- Scissors
- Blocking mats and pins (for finishing)
Gauge
4 repeats of shell pattern (approx. 4 inches) x 8 rows = 4 inches in pattern stitch.
Gauge is not critical for this shawl, but matching it ensures you use the correct amount of yarn and achieve the intended drape. Always make a small swatch first.
Step-by-Step Instructions
This shawl is worked from the center top down, meaning you start at the neckline and increase outward. The pattern uses only double crochet (dc) and chain stitches (ch), making it ideal for beginners. Read through all notes before starting.
Pattern Notes
- Ch 4 at the beginning of each row counts as the first dc + ch 1.
- Work into the ch 1 spaces from the previous row, not into the dc stitches themselves (unless stated).
- Use stitch markers to mark the first and last ch 1 spaces—this helps track increases.
- Rows are numbered sequentially; increase rows are clearly labeled.
Foundation
Ch 5, join with a slip stitch (sl st) to form a ring.
Row 1
Ch 4 (counts as dc + ch1). Work (dc, ch1) 7 times into the ring, then dc into the ring. You should have 8 dc and 8 ch1 spaces. Do not join; turn your work.
Row 2
Ch 4, turn. Dc in the first ch1 space, ch1, (dc in next ch1 space, ch1) across, ending with dc in the top of the turning ch. You now have 16 dc and 16 ch1 spaces.
Row 3
Repeat Row 2. You will have 24 dc and 24 ch1 spaces.
Row 4
Repeat Row 2. You will have 32 dc and 32 ch1 spaces.
Row 5 (Increase Row)
Ch 4, turn. Dc in first ch1 space, ch1, dc in the same space (this is your increase). Then (ch1, dc in next ch1 space) across until you reach the last ch1 space. In the last ch1 space, work dc, ch1, dc (another increase). You will have 40 dc and 40 ch1 spaces.
Rows 6–10 (Work Even)
Repeat Row 2 (no increases). At the end of Row 10, you should still have 40 dc and 40 ch1 spaces.
Row 11 (Increase Row)
Repeat Row 5. You will have 48 dc and 48 ch1 spaces.
Rows 12–16 (Work Even)
Repeat Row 2. Maintain 48 dc and 48 ch1 spaces.
Row 17 (Increase Row)
Repeat Row 5. You will have 56 dc and 56 ch1 spaces.
Rows 18–22 (Work Even)
Repeat Row 2. Maintain 56 dc and 56 ch1 spaces.
Row 23 (Increase Row)
Repeat Row 5. You will have 64 dc and 64 ch1 spaces.
Rows 24–28 (Work Even)
Repeat Row 2. Maintain 64 dc and 64 ch1 spaces.
Row 29 (Increase Row)
Repeat Row 5. You will have 72 dc and 72 ch1 spaces.
Rows 30–34 (Work Even)
Repeat Row 2. Maintain 72 dc and 72 ch1 spaces.
Row 35 (Increase Row)
Repeat Row 5. You will have 80 dc and 80 ch1 spaces.
Rows 36–40 (Work Even)
Repeat Row 2. Maintain 80 dc and 80 ch1 spaces.
Row 41 (Increase Row)
Repeat Row 5. You will have 88 dc and 88 ch1 spaces.
Rows 42–46 (Work Even)
Repeat Row 2. Maintain 88 dc and 88 ch1 spaces.
Row 47 (Increase Row)
Repeat Row 5. You will have 96 dc and 96 ch1 spaces.
Rows 48–52 (Work Even)
Repeat Row 2. Maintain 96 dc and 96 ch1 spaces.
Row 53 (Increase Row)
Repeat Row 5. You will have 104 dc and 104 ch1 spaces.
Rows 54–58 (Work Even)
Repeat Row 2. Maintain 104 dc and 104 ch1 spaces.
Row 59 (Increase Row)
Repeat Row 5. You will have 112 dc and 112 ch1 spaces.
Rows 60–64 (Work Even)
Repeat Row 2. Maintain 112 dc and 112 ch1 spaces.
Row 65 (Increase Row)
Repeat Row 5. You will have 120 dc and 120 ch1 spaces.
Rows 66–70 (Work Even)
Repeat Row 2. Maintain 120 dc and 120 ch1 spaces.
Row 71 (Increase Row)
Repeat Row 5. You will have 128 dc and 128 ch1 spaces.
Rows 72–76 (Work Even)
Repeat Row 2. Maintain 128 dc and 128 ch1 spaces.
Row 77 (Increase Row)
Repeat Row 5. You will have 136 dc and 136 ch1 spaces.
Rows 78–82 (Work Even)
Repeat Row 2. Maintain 136 dc and 136 ch1 spaces.
Row 83 (Increase Row)
Repeat Row 5. You will have 144 dc and 144 ch1 spaces.
Rows 84–88 (Work Even)
Repeat Row 2. Maintain 144 dc and 144 ch1 spaces.
Row 89 (Increase Row)
Repeat Row 5. You will have 152 dc and 152 ch1 spaces.
Rows 90–94 (Work Even)
Repeat Row 2. Maintain 152 dc and 152 ch1 spaces.
Row 95 (Increase Row)
Repeat Row 5. You will have 160 dc and 160 ch1 spaces.
Rows 96–100 (Work Even)
Repeat Row 2. Maintain 160 dc and 160 ch1 spaces.
Edging
Ch 1, turn. Single crochet (sc) in the first stitch. Then *ch 3, skip 1 ch1 space, sc in the next ch1 space* repeat from * to * across the entire bottom edge, ending with sc in the last stitch. Fasten off and weave in all ends with your tapestry needle.
Blocking
Blocking is essential to open up the lace pattern and give your shawl its beautiful drape. Soak the shawl in lukewarm water with a drop of mild soap, gently squeeze out excess water (do not wring), and lay it flat on blocking mats. Pin the edges to your desired measurements—stretch the points gently to emphasize the scalloped edging. Allow to dry completely before unpinning.
Final Thoughts
Your Aurora Bloom Crochet Shawl is now ready to wear or gift! The gradient colors and lacy texture make it a versatile piece that pairs beautifully with dresses, jeans, or evening wear. Because the pattern is repetitive and forgiving, you can easily adjust the length by adding or removing "work even" rows before the next increase.
We'd love to see your finished shawl! Share your photos on social media with the hashtag #AuroraBloomShawl and tag us so we can admire your handiwork. Happy crocheting!