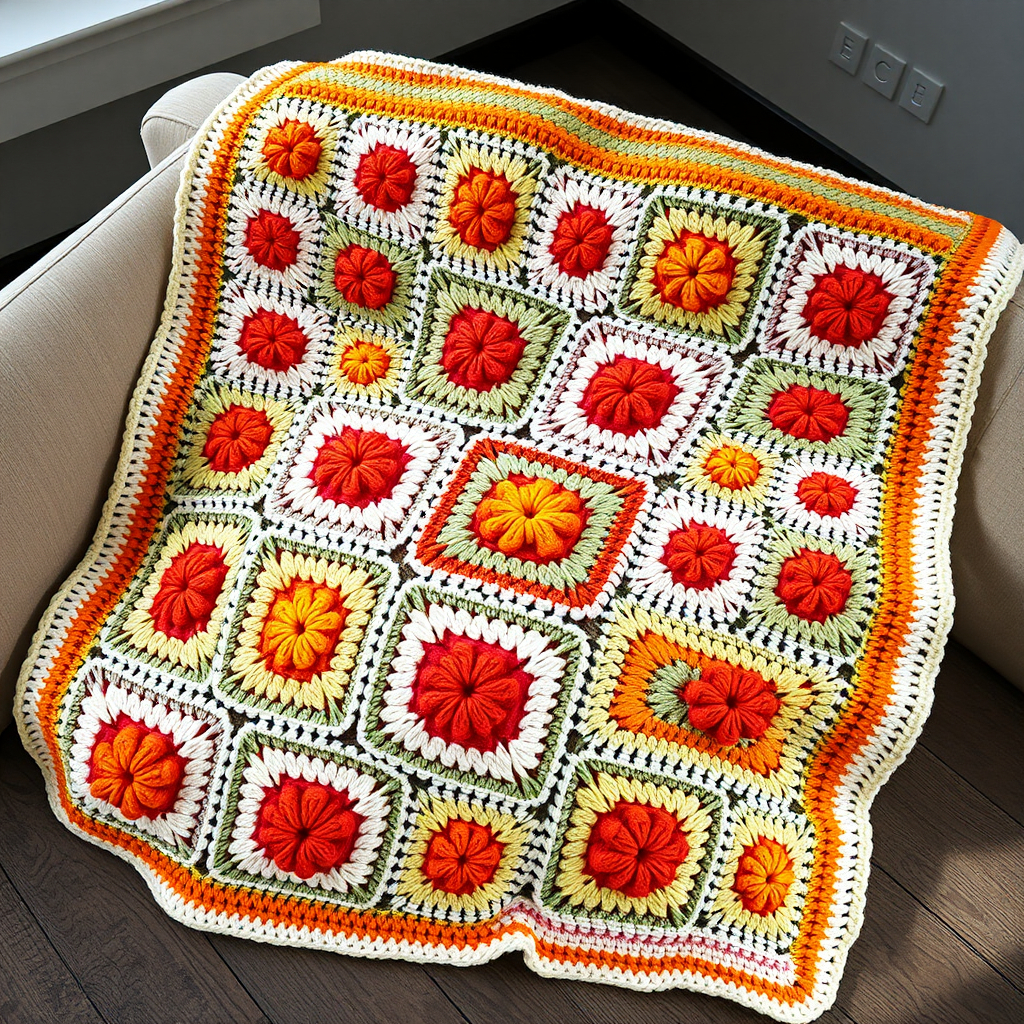
The Ancient Mariner C2C Sea Turtle Throw: A Free Crochet Pattern for a Textured, Mosaic-Inspired Blanket

Dive Into the Deep: Create Your Own Ancient Mariner C2C Sea Turtle Throw
Imagine wrapping yourself in a blanket that feels like a calm ocean breeze—a textured, modern heirloom that brings the serene beauty of the sea into your home. The Ancient Mariner C2C Sea Turtle Throw is exactly that: a cozy, oversized corner-to-corner (C2C) blanket featuring a stunning sea turtle motif built from intricate mosaic crochet techniques. With its deep teal background, sandy beige shell, coral pink accents, and ivory details, this throw is a masterpiece of texture and color. Whether you're an experienced crocheter or a confident beginner ready for a challenge, this free pattern will guide you through every step to create a piece that’s both boho and timeless.
This pattern uses the Corner-to-Corner (C2C) technique with a mosaic overlay, resulting in a square throw approximately 50 inches by 50 inches. The turtle is centered on a graph of 50 blocks by 50 blocks, and the optional mosaic overlay adds a raised, 3D spiral to the shell. Let’s get started!
Materials Needed
Before you begin, gather the following supplies. All yarn is worsted weight (#4), and the sample uses Lion Brand Heartland for a soft, durable finish.
- Yarn: Worsted weight (#4) yarn in 4 colors:
- Color A (Deep Teal): 1200 yards (main color, MC)
- Color B (Sandy Beige): 800 yards (contrast color 1, CC1)
- Color C (Coral Pink): 400 yards (contrast color 2, CC2)
- Color D (Ivory): 300 yards (contrast color 3, CC3)
- Hook: Size I/9 (5.5 mm) crochet hook
- Other: Yarn needle for weaving ends, scissors, stitch markers (optional), blocking mats and pins
Gauge: 4 C2C squares = 4 inches (10 cm) in pattern. To check gauge, work a small swatch of 4 blocks by 4 blocks using the C2C technique described below. Adjust hook size if needed to match gauge.
Step-by-Step Instructions
Abbreviations
- ch: chain
- dc: double crochet
- sl st: slip stitch
- C2C: corner to corner
- MC: main color (Deep Teal)
- CC1: contrast color 1 (Sandy Beige)
- CC2: contrast color 2 (Coral Pink)
- CC3: contrast color 3 (Ivory)
C2C Basics
This pattern uses the standard C2C technique where each “block” is made of 3 double crochets and a chain-1 space. You will work diagonally from one corner to the opposite corner, increasing on each row until you reach the widest point, then working even, then decreasing.
- Increase Row (starting a new row): Ch 6, dc in 4th ch from hook, dc in next 2 ch. This creates the first block of the new row. Turn your work.
- Next Increase Row (continuing): Ch 6, dc in 4th ch from hook, dc in next 2 ch. Sl st into the ch-1 space of the previous row’s last block, ch 1, 3 dc in same space. Continue across the row, working a block into each ch-1 space of the previous row.
- Decrease Row (ending a row): Sl st across the last 3 dc of the previous row’s first block (so you skip that block). Then, sl st into the ch-1 space of the next block, ch 1, 3 dc in same space. Continue across the row, working a block into each remaining ch-1 space.
Graph and Color Changes
The throw is worked using a graph. Each cell on the graph represents one C2C block. The graph is 50 blocks wide by 50 blocks tall. The sea turtle motif is centered. Follow the graph below for color placement. When changing colors, carry the unused yarn loosely along the back of the work, or cut and rejoin as needed. To change color at the start of a block: work the last dc of the previous block with the new color, then continue.
Graph Key:
- Blank cell: MC (Deep Teal)
- Dotted cell: CC1 (Sandy Beige)
- Striped cell: CC2 (Coral Pink)
- Solid cell: CC3 (Ivory)
Note: For simplicity, we describe the general shape. You will need to follow a visual graph (not provided here) for exact color placement. The turtle’s shell is centered, with the head and flippers extending outward. The graph is symmetrical.
Instructions
Step 1: Start
With MC, ch 6. Dc in 4th ch from hook, dc in next 2 ch. (1 block). Turn.
Step 2: Increase Rows 2–50
Continue increasing as per C2C basics, following the graph for color changes. Each row will have one more block than the previous row. For example:
- Row 2: Ch 6, dc in 4th ch from hook, dc in next 2 ch. Sl st into ch-1 space of previous row’s block, ch 1, 3 dc in same space. (2 blocks)
- Row 3: Ch 6, dc in 4th ch from hook, dc in next 2 ch. Sl st into ch-1 space of the last block of Row 2, ch 1, 3 dc in same space. Continue across Row 2, working a block into each ch-1 space. (3 blocks)
- Continue this pattern, increasing by 1 block each row, until you have 50 blocks in the row. At this point, you will have worked 50 increase rows.
Color changes: Refer to your graph. For example, the turtle’s head might start around Row 20, using CC3 (Ivory). When you reach a cell that requires a different color, change yarn at the beginning of that block.
Step 3: Center Rows 51–99
Work even (no increases or decreases) for 49 rows. Each row will have exactly 50 blocks. To work even:
- At the start of the row, do not ch 6. Instead, sl st across the last 3 dc of the previous row’s first block (to skip it). Then, sl st into the ch-1 space of the next block, ch 1, 3 dc in same space. Continue across the row, working a block into each ch-1 space. At the end of the row, you will have worked 50 blocks.
- Repeat this for rows 51 through 99. During these rows, the turtle’s shell, head, and flippers will be fully formed. Follow the graph carefully for color changes.
Step 4: Decrease Rows 100–149
Begin decreasing as per C2C basics. Each row will have one fewer block than the previous row. To decrease:
- Sl st across the last 3 dc of the previous row’s first block (skipping that block). Then, sl st into the ch-1 space of the next block, ch 1, 3 dc in same space. Continue across the row, working a block into each remaining ch-1 space. At the end of the row, you will have one fewer block than the previous row.
- Continue decreasing until only 1 block remains. Fasten off.
Step 5: Mosaic Overlay (Optional)
For added texture, work a mosaic overlay on the turtle’s shell. Using CC2 (Coral Pink), work surface slip stitches in a spiral pattern over the shell blocks. To do this:
- Insert hook from front to back through the center of a shell block, yarn over, pull through to front (1 sl st made). Continue working sl sts in a spiral, following the shape of the shell. Space them about 1/2 inch apart to create a raised, 3D effect.
- Work the spiral until the entire shell area is covered. Fasten off and weave in ends.
Step 6: Border
With MC, work 2 rounds of single crochet (sc) around the entire throw. In each corner, work 3 sc to turn the corner smoothly.
- Round 1: Join MC with a sl st in any corner. Ch 1, sc in same stitch. Work sc evenly along each side, working 3 sc in each corner. Join with sl st to first sc.
- Round 2: Ch 1, sc in each sc around, working 3 sc in each corner. Join with sl st to first sc. Fasten off.
Step 7: Blocking
Block the throw to size (approximately 50” x 50”) to even out stitches and set the mosaic overlay. Soak the blanket in cool water for 15 minutes, gently squeeze out excess water, and lay flat on blocking mats. Pin to the correct dimensions, focusing on straightening edges and corners. Allow to dry completely.
Finishing
Weave in all ends using a yarn needle. Trim any excess yarn. Your Ancient Mariner C2C Sea Turtle Throw is now ready to enjoy!
This pattern is a labor of love, but the result is a stunning, textured blanket that will be cherished for years. The combination of C2C construction and mosaic overlay creates a piece that’s both visually striking and incredibly cozy. Happy crocheting!