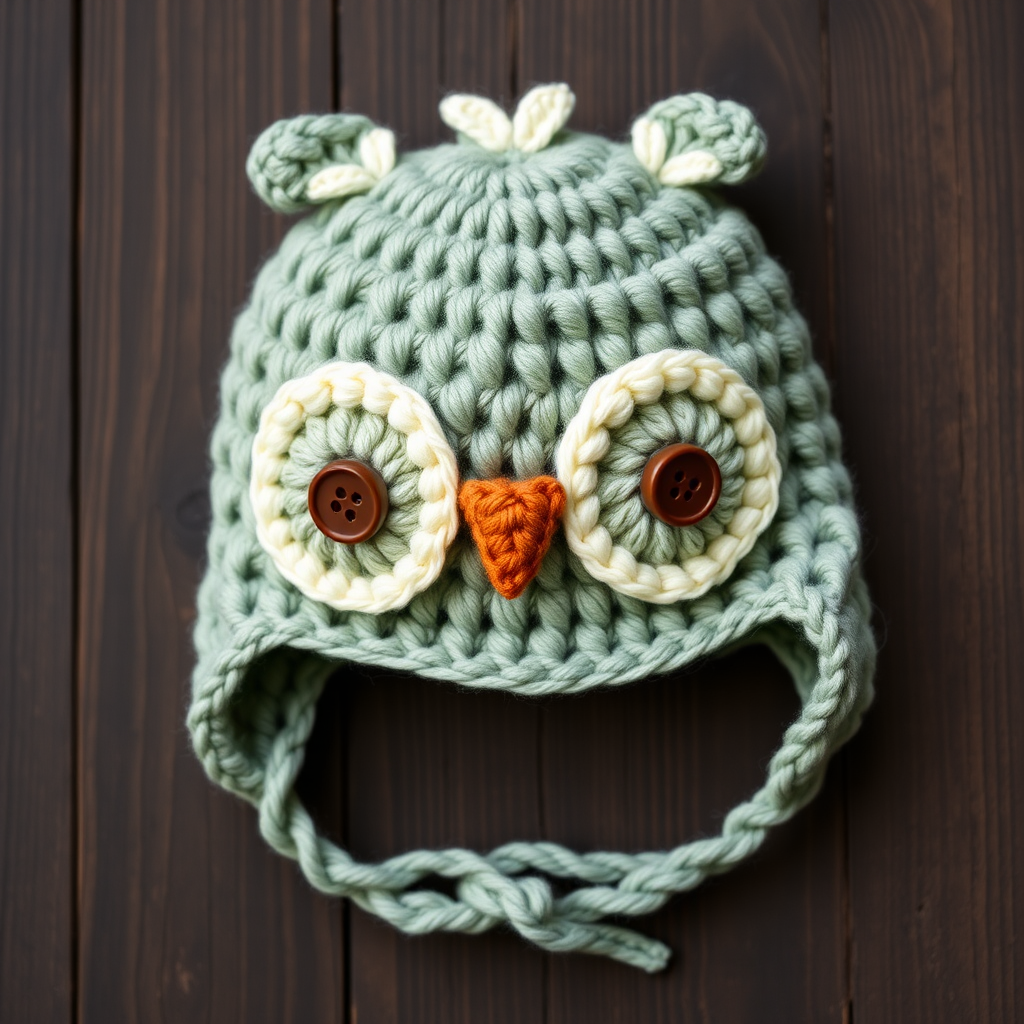
Sun-Kissed Watermelon Baby Hat Free Pattern – A Juicy Summer Crochet
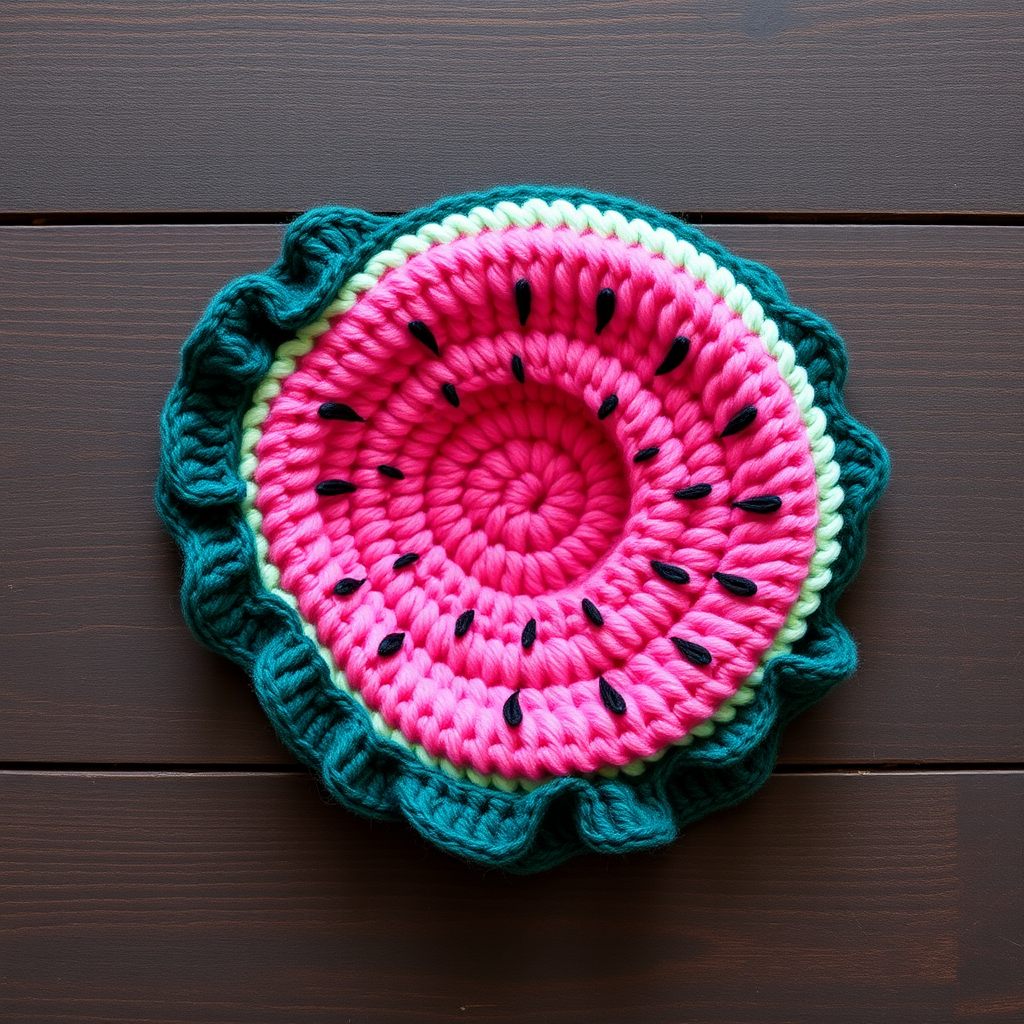
Sun-Kissed Watermelon Baby Hat Free Pattern – A Juicy Summer Crochet
There is nothing quite as delightful as a handmade baby hat that captures the essence of summer. This Sun-Kissed Watermelon Baby Hat is a charming, textured design that transforms your little one into a slice of seasonal sweetness. With its vibrant pink body, minty rind, and playful seed details, this hat is perfect for sunny day photos, gentle breezes, and cozy cuddles. Best of all, this pattern is completely beginner-friendly, using only basic single crochet stitches worked in continuous rounds. Let’s dive into this juicy project and create something truly adorable!
Materials Needed
Before you begin, gather the following supplies. This project is quick to work up and requires minimal materials, making it an ideal last-minute gift or a fun weekend project.
- Yarn: Worsted weight cotton yarn in three colors:
- Watermelon Pink (MC) – for the main body
- Mint Green (GC1) – for the inner rind
- Dark Green (GC2) – for the outer rind and edging
- A small amount of black yarn for the seeds
- Crochet Hook: 5.0 mm (H-8) crochet hook
- Stitch Marker: To track the beginning of each round
- Yarn Needle: For weaving in ends and embroidering seeds
- Scissors: For cutting yarn
Gauge: 16 single crochet (sc) x 18 rows = 4 x 4 inches. Achieving the correct gauge ensures a proper fit, but this hat is forgiving and stretches slightly with cotton yarn.
Step-by-Step Instructions
This hat is worked in continuous rounds from the top down. Use a stitch marker to track the start of each round. Do not join rounds unless specified—just keep working in a spiral. The continuous round technique creates a seamless, smooth fabric that is perfect for this design.
Rounds 1–6 (Crown)
We begin at the top of the hat, creating a flat circle that will form the crown. This section increases evenly to create a dome shape.
- Round 1: With Watermelon Pink (MC), make a magic ring. Work 6 single crochet (sc) into the ring. Pull the tail to close the ring tightly. (6 stitches)
- Round 2: Work 2 sc in each stitch around. (12 stitches)
- Round 3: *Sc in the next stitch, 2 sc in the next stitch*; repeat from * to * around. (18 stitches)
- Round 4: *Sc in the next 2 stitches, 2 sc in the next stitch*; repeat from * to * around. (24 stitches)
- Round 5: *Sc in the next 3 stitches, 2 sc in the next stitch*; repeat from * to * around. (30 stitches)
- Round 6: *Sc in the next 4 stitches, 2 sc in the next stitch*; repeat from * to * around. (36 stitches)
Pro Tip: If you prefer a slightly larger hat, you can continue the increase pattern (sc in next 5 sts, 2 sc in next st) for Round 7 to reach 42 stitches. This pattern is sized for a newborn to 3-month-old baby.
Rounds 7–12 (Sides)
Now we stop increasing and work even to create the sides of the hat. This section will form the deep pink "flesh" of the watermelon.
- Rounds 7–12: Sc in each stitch around. (36 stitches each round)
Continue working in a spiral without joining. Keep your stitch marker in place to track your rounds. The fabric will begin to curl downward naturally, forming the sides of the hat.
Rounds 13–14 (Rind Transition)
It’s time to introduce the first shade of green, creating a smooth transition from the pink flesh to the rind.
- Round 13: Switch to Mint Green (GC1). Sc in each stitch around. (36 stitches)
- Round 14: With GC1, sc in each stitch around. (36 stitches)
When changing colors, complete the last yarn-over of the previous stitch with the new color to create a clean transition. Carry the unused yarn loosely up the inside of the hat or cut and weave in ends later.
Rounds 15–16 (Outer Rind)
Now we add the darker green outer rind, which gives the hat its distinctive watermelon edge.
- Round 15: Switch to Dark Green (GC2). Sc in each stitch around. (36 stitches)
- Round 16: With GC2, sc in each stitch around. (36 stitches)
Edging (Round 17)
This final round creates a playful, ruffled edge that mimics the wavy outer skin of a watermelon slice. It adds a touch of whimsy and helps the hat stay snug on little heads.
- Round 17: With GC2, work *(sc, ch 2, sc) in the same stitch, skip 1 stitch*; repeat from * to * around. Join with a slip stitch to the first sc. Fasten off and weave in ends.
Detailed Explanation: In this round, you are creating a scalloped edge. Insert your hook into the first stitch, pull up a loop, yarn over, and pull through both loops (this is your first sc). Chain 2. Then, work another sc into the same stitch. Skip the next stitch entirely. Repeat this pattern all the way around. When you reach the end, join with a slip stitch to the very first sc of the round. This creates a lovely, wavy ruffle.
Seeds (Make 5–6)
The seeds are what truly bring this watermelon hat to life. They are simple to embroider and add that authentic, juicy detail.
- Thread a yarn needle with the black yarn.
- Embroider small straight stitches or French knots randomly on the pink section between Rounds 4 and 10.
- Space them evenly around the hat for a natural, scattered look. Aim for 5–6 seeds total.
How to make a French knot: Bring the needle up through the fabric. Wrap the yarn around the needle 2–3 times. Insert the needle back down close to where it came up, holding the wraps in place as you pull through. This creates a small, raised knot.
Finishing
Your watermelon hat is almost complete! Follow these final steps for a polished, professional finish.
- Weave in all loose ends securely using your yarn needle. Be sure to weave them through the inside of the hat so they are invisible from the outside.
- Optionally, add a small green leaf-shaped crochet appliqué on top for extra charm. To make a simple leaf: Chain 6, sc in the 2nd chain from hook, hdc in the next, dc in the next, hdc in the next, sc in the last. Fasten off and sew it to the top of the hat.
- Gently block the hat if desired. Cotton yarn can be lightly steamed or misted with water and shaped to fit.
And there you have it—a gorgeous, handcrafted Sun-Kissed Watermelon Baby Hat! This pattern is quick to work up, uses minimal yarn, and creates a stunning result that will be treasured for years. Whether you’re making it for your own little one or as a thoughtful baby shower gift, this hat is sure to bring smiles and capture hearts. Happy crocheting!