Snuggle Sprout Crochet Baby Hat Free Pattern

Snuggle Sprout Crochet Baby Hat: A Free Beginner-Friendly Pattern
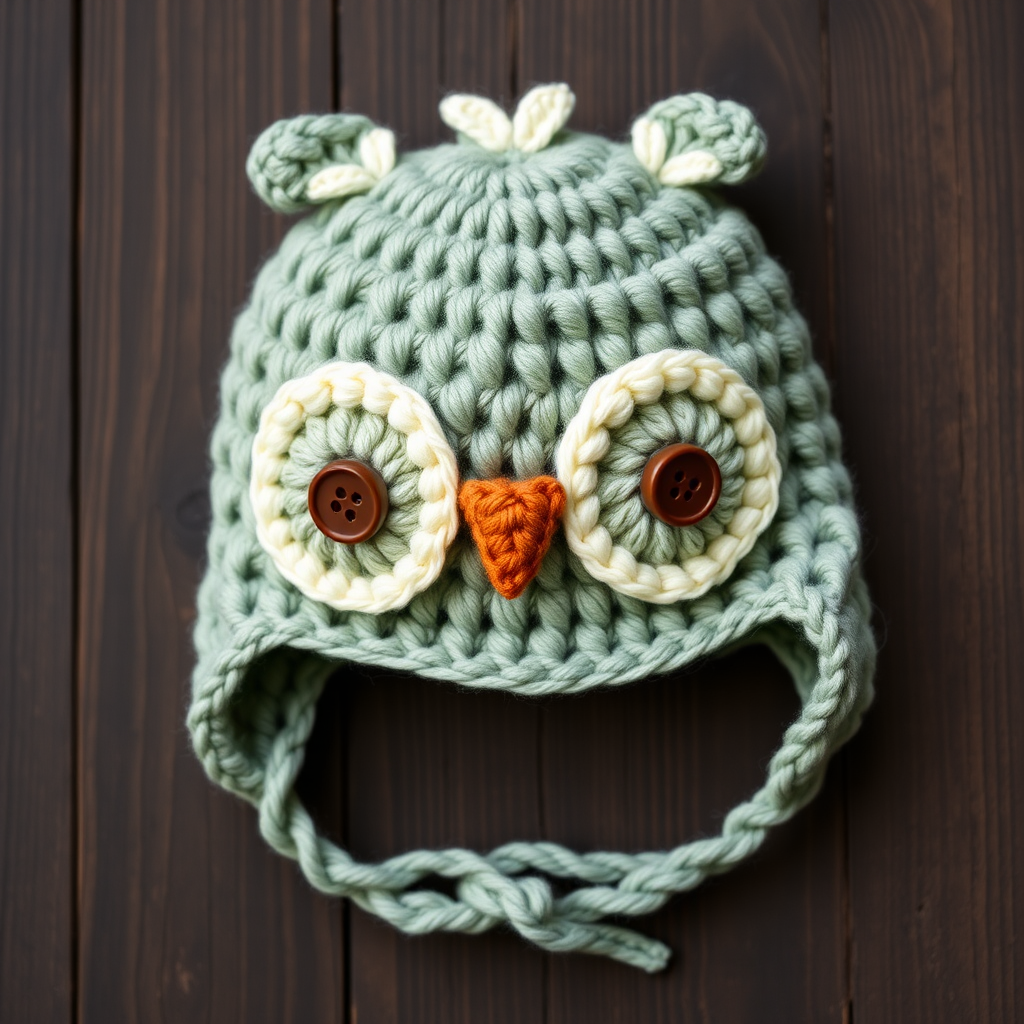
Turn your little one into the cutest pea sprout in the garden with this adorably whimsical crochet baby hat! This "Snuggle Sprout" design features a soft sage green hat body, a rolled dark brown "soil" brim, and a leafy green sprout top with a curly vine. It's a quick, beginner-friendly project that works up in just a few hours, making it a memorable handmade gift for baby showers, newborn photo shoots, or simply for your own bundle of joy. Let's get hooking!
Materials Needed
Before you begin, gather the following supplies. This project uses simple, readily available materials:
- Yarn: Worsted weight yarn in three colors:
- Sage green (for the hat body)
- Leaf green (for the sprout top, vine, and leaves)
- Dark brown (for the soil brim)
- Crochet Hook: 5.5 mm (I/9) crochet hook
- Other: Yarn needle for weaving in ends, scissors, and a small amount of fiberfill stuffing for the sprout top.
Gauge: 14 single crochet (sc) x 16 rows = 4 inches. Gauge is important for sizing, but since this is a baby hat, it's quite forgiving. Always check your gauge to ensure a proper fit.
Step-by-Step Instructions
This pattern is worked in continuous rounds (spiral) unless otherwise stated. Do not join at the end of rounds unless specified. Use a stitch marker to keep track of your rounds.
Part 1: Hat Body (Sage Green)
This creates the main part of the hat that covers the head.
- Start: With sage green yarn, make a magic ring.
- Round 1: Work 6 single crochet (sc) into the ring. Pull the tail to close the ring tightly. (6 stitches)
- Round 2: Work 2 sc into each stitch around. (12 stitches)
- Round 3: *Sc in the next stitch, 2 sc in the next stitch*; repeat from * to * around. (18 stitches)
- Round 4: *Sc in the next 2 stitches, 2 sc in the next stitch*; repeat from * to * around. (24 stitches)
- Round 5: *Sc in the next 3 stitches, 2 sc in the next stitch*; repeat from * to * around. (30 stitches)
- Round 6: *Sc in the next 4 stitches, 2 sc in the next stitch*; repeat from * to * around. (36 stitches)
- Round 7: *Sc in the next 5 stitches, 2 sc in the next stitch*; repeat from * to * around. (42 stitches)
- Rounds 8-15: Sc in each stitch around for 8 rounds. (42 stitches each round)
- Round 16 (Fold Line): Sc in each stitch around, but only into the back loop of each stitch. This creates a distinct ridge that will be used for the fold. (42 stitches)
- Rounds 17-20: Sc in each stitch around normally (through both loops) for 4 rounds. (42 stitches each round)
- Finish: Fasten off, leaving a long tail for sewing. Weave in the starting end from the magic ring.
Part 2: Soil Brim (Dark Brown)
This brim is worked in rows and then folded up to look like a pot of soil.
- Attach Yarn: With dark brown yarn, attach it to the bottom edge of the hat. Insert your hook into the first stitch of the round you just created (the back loop edge from Round 16 of the hat body). Pull up a loop and ch 1.
- Row 1: Sc in each stitch across the edge. You should have 42 stitches. Turn your work.
- Rows 2-4: Ch 1, sc in each stitch across, turn. (42 stitches each row)
- Finish: Fasten off, leaving a long tail (at least 12 inches).
- Assembly: Fold the brown brim up over the outside of the hat (covering the sage green). Using your yarn needle and the long tail, sew the top edge of the brim to the hat body, creating a rolled "soil" look. Weave in the end securely.
Part 3: Leafy Sprout Top (Leaf Green)
This creates the round, stuffed sprout head that sits on top of the hat.
- Start: With leaf green yarn, make a magic ring.
- Round 1: Work 6 sc into the ring. (6 stitches)
- Round 2: Work 2 sc into each stitch around. (12 stitches)
- Round 3: *Sc in the next stitch, 2 sc in the next stitch*; repeat from * to * around. (18 stitches)
- Round 4: *Sc in the next 2 stitches, 2 sc in the next stitch*; repeat from * to * around. (24 stitches)
- Rounds 5-6: Sc in each stitch around for 2 rounds. (24 stitches each round)
- Round 7 (Decrease): *Sc in the next 2 stitches, single crochet 2 together (sc2tog)*; repeat from * to * around. (18 stitches)
- Stuff: Lightly stuff the sprout top with fiberfill to give it a plump, rounded shape.
- Round 8 (Decrease): *Sc in the next stitch, sc2tog*; repeat from * to * around. (12 stitches)
- Round 9 (Decrease): Sc2tog around. (6 stitches)
- Finish: Fasten off, leaving a long tail. Use the tail to sew the sprout top securely to the crown (center top) of the hat. Weave in the end.
Part 4: Curly Vine (Leaf Green)
This adds the whimsical curly detail on top of the sprout.
- Chain: With leaf green yarn, chain (ch) 30.
- Row 1: Work 3 double crochet (dc) into the 4th chain from the hook. *Work 3 dc into the next chain*; repeat from * to * across the entire chain.
- Finish: Fasten off, leaving a long tail. The vine will naturally curl up. Sew the base of the vine to the top of the sprout head, allowing it to spiral upwards. Weave in the end.
Part 5: Small Leaves (Make 2 - Leaf Green)
These little leaves add the final sprouting detail.
- Start: With leaf green yarn, chain (ch) 6.
- Row 1: Sc in the 2nd chain from the hook, half double crochet (hdc) in the next chain, double crochet (dc) in the next chain, hdc in the next chain, and sc in the last chain. This creates a leaf shape.
- Finish: Fasten off, leaving a long tail. Sew the leaves to the base of the vine on top of the sprout head, positioning them to look like they are sprouting outwards. Weave in all remaining ends.
Your adorable Snuggle Sprout Crochet Baby Hat is complete! This charming hat is perfect for a new baby, a fun photo prop, or a unique gift. Enjoy watching your little sprout snuggle up in their new handmade accessory!