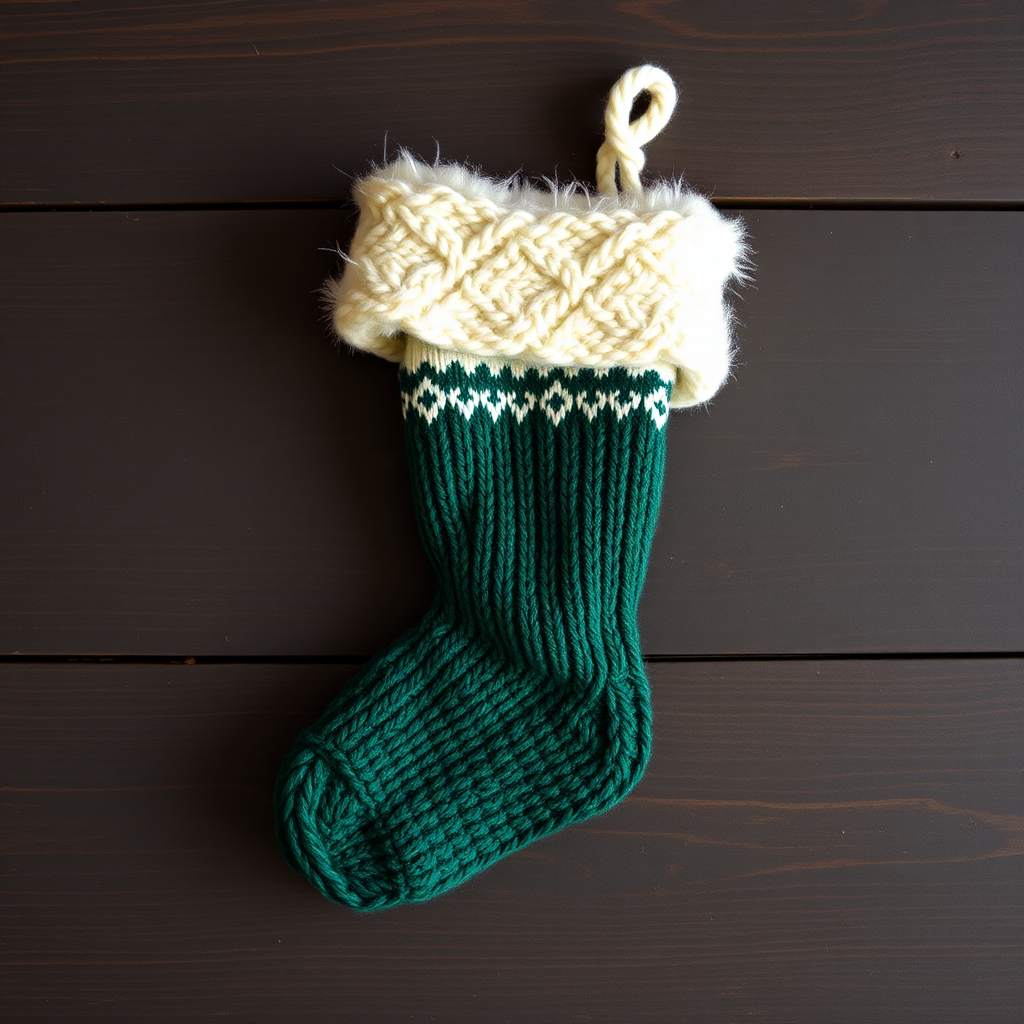
Starlight Spiral Garland Free Pattern – Knit a Twinkling Nordic Tree Trim

Starlight Spiral Garland Free Pattern – Knit a Twinkling Nordic Tree Trim
Wrap your tree in a celestial ribbon of knitted stars and spirals, a cozy alternative to plastic tinsel. This heirloom-quality garland brings a handcrafted glow to any holiday setting. Inspired by Nordic winter nights, this pattern combines crisp, geometric stars with playful, curling spirals—all connected by delicate knitted chains. Whether you're a seasoned knitter or a curious beginner, this project is a delightful way to add a personal touch to your holiday décor. The finished garland is not just a decoration; it's a story of warmth, tradition, and the simple joy of making something beautiful with your own hands.
Materials Needed
Before you begin, gather the following supplies. This project is perfect for using up small amounts of worsted weight yarn from your stash, making it an economical and satisfying make.
- Yarn: Worsted weight cotton or wool blend in two contrasting colors (e.g., cream and deep teal, or soft white and cranberry red). You will need approximately 50-75 yards of each color, depending on the length of your garland.
- Needles: US 6 (4.0 mm) knitting needles. Straight needles are fine, but a circular needle can be used for the i-cord sections if preferred.
- Notions: Yarn needle for weaving in ends, scissors, and a tape measure.
- Gauge: 20 stitches and 28 rows = 4 inches in stockinette stitch. While gauge is not critical for this project, it ensures your motifs are proportionate and your garland hangs nicely.
Step-by-Step Instructions
This garland is made of repeating star-and-spiral motifs connected by a knitted chain. Each motif is worked flat, then joined. The pattern is broken down into three main parts: the Star Motif, the Spiral Motif, and the Connecting Chain. Follow each section carefully, and you'll have a stunning garland in no time.
Star Motif (Make 10)
The star is worked from the bottom point up, using increases to widen the shape and then decreases to form the top points. The garter stitch edges give it a lovely, textured look.
- Cast on: Cast on 5 stitches.
- Row 1 (RS): Knit all stitches.
- Row 2: Purl all stitches.
- Row 3 (Increase Row): K1, m1 (make one), k3, m1, k1. (You now have 7 stitches).
- Row 4: Purl all stitches.
- Row 5 (Increase Row): K1, m1, k5, m1, k1. (9 stitches).
- Row 6: Purl all stitches.
- Row 7 (Increase Row): K1, m1, k7, m1, k1. (11 stitches).
- Row 8: Purl all stitches.
- Row 9 (Increase Row): K1, m1, k9, m1, k1. (13 stitches).
- Row 10: Purl all stitches.
- Row 11 (Decrease Row): K2tog (knit two together), k9, k2tog. (11 stitches).
- Row 12: Purl all stitches.
- Row 13 (Decrease Row): K2tog, k7, k2tog. (9 stitches).
- Row 14: Purl all stitches.
- Row 15 (Decrease Row): K2tog, k5, k2tog. (7 stitches).
- Row 16: Purl all stitches.
- Row 17 (Decrease Row): K2tog, k3, k2tog. (5 stitches).
- Row 18: Purl all stitches.
- Bind Off: Bind off all stitches loosely. Weave in the ends with your yarn needle.
Spiral Motif (Make 10)
The spiral uses a stockinette stitch, which naturally curls at the edges, giving it that beautiful, whimsical spiral effect. The increases and decreases shape the curl.
- Cast on: Cast on 10 stitches.
- Row 1 (RS): Knit all stitches.
- Row 2: Purl all stitches.
- Row 3 (Increase Row): K1, m1, k8, m1, k1. (12 stitches).
- Row 4: Purl all stitches.
- Row 5 (Increase Row): K1, m1, k10, m1, k1. (14 stitches).
- Row 6: Purl all stitches.
- Row 7 (Increase Row): K1, m1, k12, m1, k1. (16 stitches).
- Row 8: Purl all stitches.
- Row 9 (Increase Row): K1, m1, k14, m1, k1. (18 stitches).
- Row 10: Purl all stitches.
- Row 11 (Decrease Row): K2tog, k14, k2tog. (16 stitches).
- Row 12: Purl all stitches.
- Row 13 (Decrease Row): K2tog, k12, k2tog. (14 stitches).
- Row 14: Purl all stitches.
- Row 15 (Decrease Row): K2tog, k10, k2tog. (12 stitches).
- Row 16: Purl all stitches.
- Row 17 (Decrease Row): K2tog, k8, k2tog. (10 stitches).
- Row 18: Purl all stitches.
- Bind Off: Bind off all stitches loosely. Weave in the ends.
Connecting Chain (I-Cord)
The i-cord is a simple, tubular knitted cord that connects your motifs. It's easy to make and adds a professional, polished finish.
- Cast on: With your main color (the color you want for the chains), cast on 3 stitches onto a double-pointed needle (or a regular needle if you prefer).
- Knit the I-Cord: *Knit 3 stitches. Slide the stitches to the other end of the needle without turning your work. Pull the yarn tightly across the back. Repeat from * until the cord measures 6 inches (or your desired spacing).
- Attach to Star: Thread the yarn tail through the bind-off edge of a star motif (at the top point). Tie a secure knot to attach the i-cord to the star.
- Continue the Chain: Knit another 6-inch i-cord, then attach it to a spiral motif in the same way, threading the yarn through the bind-off edge and tying a knot.
- Repeat: Continue alternating star and spiral motifs, connecting each with a 6-inch i-cord, until all 20 motifs are connected. End with a final 6-inch i-cord.
- Finish: Bind off the last i-cord and weave in all ends securely.
Finishing Touches
- Blocking: To even out the shapes and give your garland a professional look, block it flat. Gently wet the garland, squeeze out excess water, and lay it flat on a towel. Pin the stars and spirals into their proper shapes and allow to dry completely.
- Hanging Loops: For easy hanging, create a small loop at each end of the garland. You can do this by folding the final i-cord back on itself and stitching it in place, or by adding a small purchased ring.
Your Starlight Spiral Garland is now ready to adorn your tree, mantle, or staircase. The combination of textured stars and curling spirals creates a dynamic, eye-catching piece that will be treasured for years to come. Happy knitting, and may your holidays be filled with warmth and handmade magic!