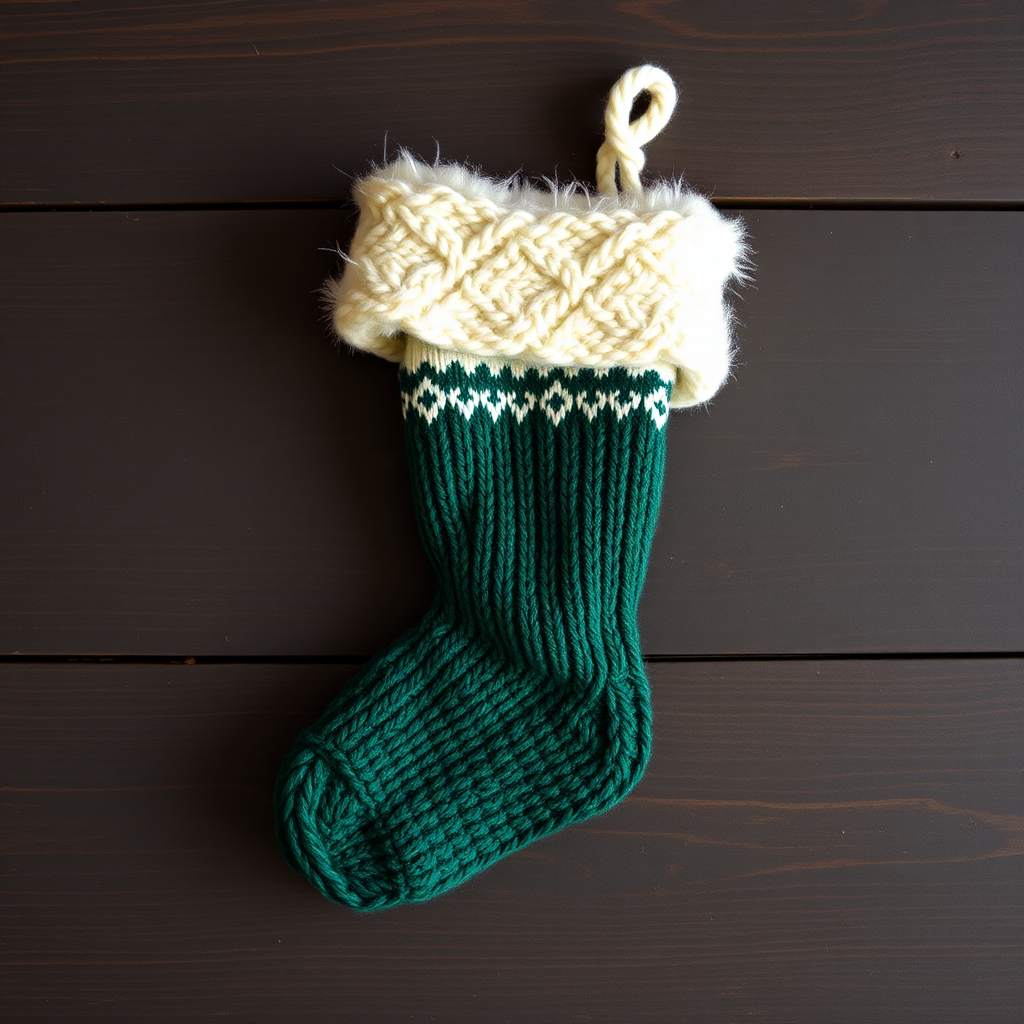
Frosted Forest Gnome Ornaments Free Pattern

Frosted Forest Gnome Ornaments: A Free Knitting Pattern for Whimsical Holiday Decor
Bring a touch of woodland whimsy to your holiday tree this year with these utterly adorable knitted gnome ornaments! Featuring textured, fluffy beards and cozy, felted-looking hats, each gnome is a quick, satisfying project that adds undeniable handmade charm to any festive setting. Whether you're a seasoned crafter looking for a fast gift or a beginner eager to try something new, this free pattern is perfect for creating a set of three delightful characters that will become a treasured part of your holiday traditions.
These little fellows are not just for Christmas trees, either. String them on a garland, attach them to gift tags, or use them as cheerful, seasonal decorations around the house. Their soft, plush texture and charming, slightly irregular handmade quality make them truly special. Let's dive into this enchanting project!
Materials Needed: Gathering Your Gnome-Making Supplies
Before you begin your journey into the frosted forest, gather these simple materials. This project is wonderfully portable and uses minimal supplies, making it ideal for crafting on the go.
Yarn
- Worsted weight yarn in your choice of colors. The classic set uses:
- Red (for the body or hat)
- White (for the body or hat)
- Cream (for the beard)
- Brown or Tan (a small amount for the nose)
- Pro-Tip: To create a festive set of three, you'll want enough yarn to make three bodies and three hats. Consider using red, green, and white as your main colors, mixing and matching for a vibrant look.
Needles & Hooks
- US 6 (4.0 mm) knitting needles. Double-pointed needles (DPNs) are required for knitting in the round. A set of 4 or 5 is standard.
- US H/8 (5.0 mm) crochet hook for the crocheted beard details.
Notions & Extras
- Yarn needle for sewing pieces together and weaving in ends.
- Fiberfill or polyester stuffing for the bodies.
- Small ribbon or yarn for creating hanging loops.
- Scissors.
Gauge
- Knitting: 20 stitches and 26 rows = 4 inches in stockinette stitch.
- Crochet: 16 single crochet (sc) = 4 inches.
Note: Gauge is not critical for this project, but matching it will ensure your gnomes are the intended 3 inches tall.
Step-by-Step Instructions: Crafting Your Gnome Trio
This pattern creates a set of three gnome ornaments, each about 3 inches tall. You will knit the body and hat in the round, then add a crocheted beard and a knitted nose. All pieces are sewn together and stuffed lightly. Follow these detailed instructions carefully, and you'll have a forest of gnomes in no time!
Knitted Body (Make 3)
This creates the gnome's rounded, sturdy base.
- Cast On: Using your chosen body color (e.g., red) and double-pointed needles, cast on 24 stitches.
- Distribute: Evenly distribute the stitches onto 3 of your DPNs (8 stitches on each needle).
- Join in the Round: Place a stitch marker or use the "tail" method to mark the beginning of the round. Join the round by knitting the first stitch from the first needle, being very careful not to twist the cast-on edge.
- Rounds 1-10: Knit all stitches. This creates the stockinette tube that forms the body.
- Round 11 (Decrease): *K2, k2tog (knit two together)*; repeat from * to * around. You will have 18 stitches remaining.
- Round 12: Knit all stitches.
- Round 13 (Decrease): *K1, k2tog*; repeat from * to * around. You will have 12 stitches remaining.
- Round 14: Knit all stitches.
- Round 15 (Decrease): K2tog around. You will have 6 stitches remaining.
- Finish: Cut the yarn, leaving a 6-inch tail. Thread the tail onto a yarn needle, slide it through the remaining 6 stitches, and pull tight to close the top of the body. Weave in the end securely on the inside.
Knitted Hat (Make 3)
This forms the iconic, jaunty gnome hat.
- Cast On: Using your chosen hat color (e.g., white) and DPNs, cast on 18 stitches.
- Distribute & Join: Distribute the stitches evenly (6 per needle) and join in the round, being careful not to twist.
- Rounds 1-6: Knit all stitches.
- Round 7 (Decrease): *K1, k2tog*; repeat from * to * around. You will have 12 stitches remaining.
- Rounds 8-10: Knit all stitches.
- Round 11 (Decrease): K2tog around. You will have 6 stitches remaining.
- Finish: Cut the yarn, leaving a tail. Thread it through the remaining 6 stitches and pull tight to close the top. Weave in the end.
- Shape the Fold: Fold the top point of the hat over to one side. Using a small stitch and the yarn tail, secure the fold in place so it stays jauntily bent.
Crocheted Beard (Make 3)
This creates the fluffy, textured triangular beard.
- Foundation Chain: Using cream yarn and your H/8 (5.0 mm) crochet hook, make a slip knot and chain 10.
- Row 1: Single crochet (sc) in the second chain from the hook and in each chain across. You will have 9 sc stitches. Chain 1 and turn your work.
- Row 2 (Decrease): Skip the first stitch (the one at the base of your chain 1). Single crochet in the next 7 stitches. Skip the last stitch. You will have 7 sc stitches. Chain 1 and turn.
- Row 3 (Decrease): Skip the first stitch. Single crochet in the next 5 stitches. Skip the last stitch. You will have 5 sc stitches.
- Finish: Fasten off, leaving a long tail (at least 12 inches) for sewing the beard onto the body.
Knitted Nose (Make 3)
This creates the cute, round nose.
- Cast On: Using brown or tan yarn and your knitting needles, cast on 5 stitches. You can use a single DPN or straight needle for this small piece.
- Row 1: Knit all stitches.
- Row 2 (Decrease): K2tog, k1, k2tog. You will have 3 stitches remaining.
- Row 3: Knit all stitches.
- Row 4 (Decrease): K3tog (knit three together). You will have 1 stitch remaining.
- Finish: Cut the yarn and pull it through the remaining loop on the needle. Weave in the end to create a small, gathered ball shape.
Assembly: Bringing Your Gnome to Life
Now for the magical part—watching your gnome take shape!
- Stuff the Body: Lightly stuff the knitted body with fiberfill. It should be plump but not overly stretched.
- Attach the Hat: Place the hat on top of the body, overlapping the edge by about 1/4 inch. Using a yarn needle and the yarn tail from the hat (or a new piece of matching yarn), sew the hat securely to the body with a few firm stitches.
- Position the Beard: Place the crocheted beard on the front of the body, just below the hat. The wider, flat edge of the beard should be at the top, near the hat.
- Sew the Beard: Using the long tail left from the beard, sew it securely in place along its top edge. Make sure it's centered and covers the front of the body nicely.
- Attach the Nose: Position the knitted nose in the center of the beard, just above the top edge where the beard meets the body. Sew it on securely with a few small stitches.
- Create a Hanging Loop: Cut a small piece of ribbon or yarn (about 6 inches). Fold it in half to form a loop. Sew the ends of the loop securely to the very top of the hat.
Repeat for all three gnomes! To create the festive set, vary the hat colors. For example, make one gnome with a red body and white hat, one with a green body and red hat, and one with a white body and green hat. This will give you a wonderfully colorful and whimsical trio to hang on your tree or display around your home.
Enjoy your adorable new companions from the frosted forest! They are sure to bring smiles and a touch of handmade warmth to your holiday season for years to come.