Sparkles the Snowman: A Free Knitting Pattern for a Textured, Modern Winter Companion
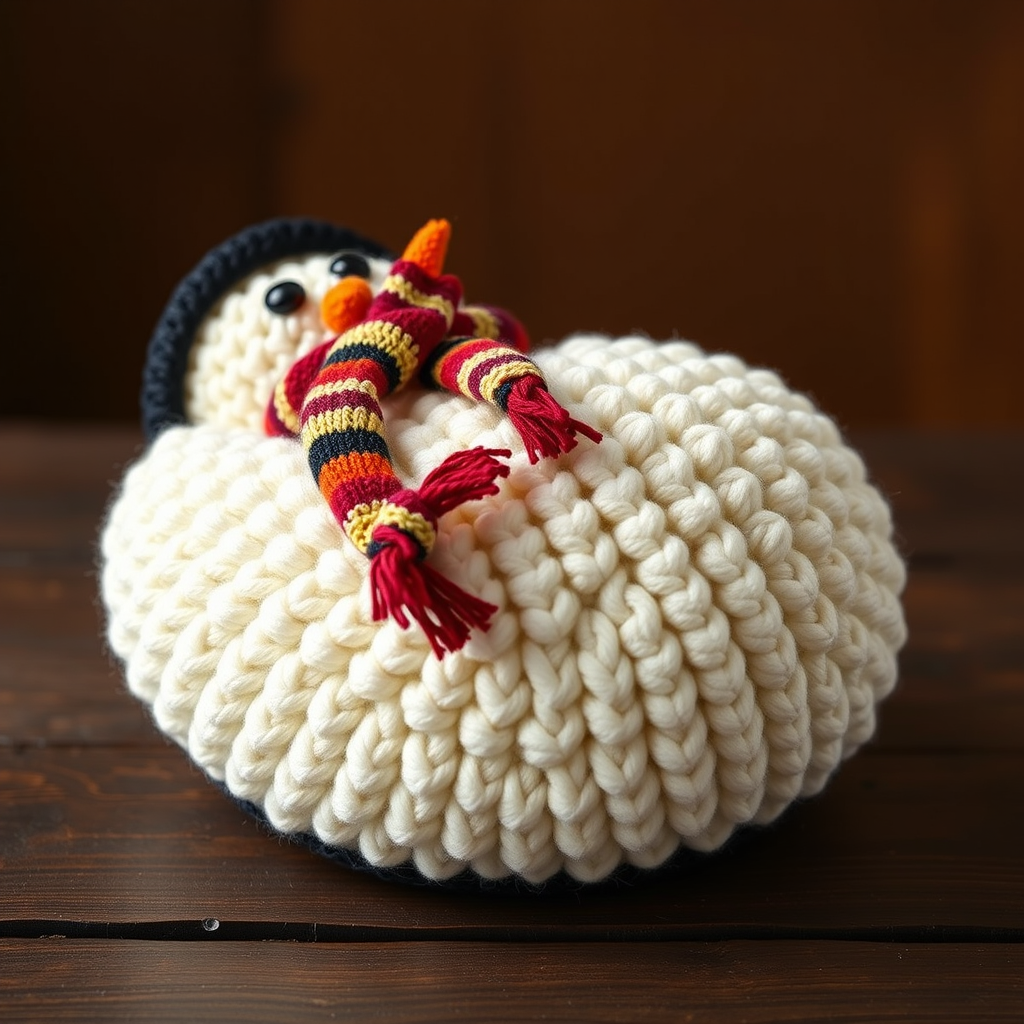
Introducing Sparkles the Snowman: Your New Favorite Winter Companion
Bring a touch of modern, handcrafted charm to your winter decor with Sparkles the Snowman. This free knitting pattern creates a delightfully textured amigurumi that stands out from the crowd. Unlike traditional smooth snowmen, Sparkles features a unique bobble-stitch body that adds incredible depth and a cozy, tactile feel. Paired with a delicate garter-stitch scarf and a classic hat, this little snowman is the perfect handmade gift, seasonal decoration, or a joyful project to brighten your winter evenings. Designed with beginners in mind, this pattern is broken down into simple, flat-knitted pieces that are seamed together, making it an achievable and rewarding project.
Materials Needed
Before you begin, gather the following supplies. Using the exact materials will ensure your Sparkles turns out just like the pattern intends.
- Yarn: Worsted weight (#4 medium) yarn in the following colors:
- White (for the body and head) – approximately 50-60 yards
- Black (for the hat and facial features) – small amount
- Orange (for the nose) – small amount
- Contrasting color for scarf (e.g., soft blue, red, or green) – approximately 15 yards
- Knitting Needles: US size 4 (3.5mm) straight needles. Note: Use the size that matches your gauge for best results.
- Other Tools:
- Tapestry needle (for seaming and weaving in ends)
- Fiberfill stuffing (polyester or wool)
- Scissors
- Stitch markers (optional, for counting rows)
Gauge: 20 stitches and 28 rows = 4 inches in stockinette stitch (blocked). Matching gauge is important for the correct size and shape of your snowman.
Step-by-Step Instructions
This pattern is worked flat in pieces and seamed together. The body is knitted from the bottom up, with bobble stitches creating the textured bands. The head is knitted separately and attached. Follow each step carefully, and you’ll have a charming snowman in no time.
Abbreviations
- K: Knit
- P: Purl
- K2tog: Knit two stitches together (decrease)
- M1: Make one stitch (increase) – pick up the bar between stitches and knit it through the back loop
- BO: Bind off
- CO: Cast on
- Bobble (MB): Knit into the front and back of the same stitch (increase to 2), turn work, purl those 2 stitches, turn, knit those 2 stitches, turn, purl those 2 stitches, turn, knit those 2 stitches together (decrease back to 1). One bobble is complete.
Body (Make 1)
The body is worked flat in stockinette stitch with bobble bands. The bobbles are worked on right-side rows.
- With white yarn, CO 18 stitches.
- Row 1 (RS): K all stitches.
- Row 2: P all stitches.
- Row 3 (Bobble Band 1): K1, *MB (make bobble), K2; repeat from * to last stitch, K1. (You will have 6 bobbles).
- Row 4: P all stitches.
- Row 5: K all stitches.
- Row 6: P all stitches.
- Row 7 (Bobble Band 2, offset): K1, *K2, MB; repeat from * to last stitch, K1. (6 bobbles, offset from the first band).
- Row 8: P all stitches.
- Row 9: K all stitches.
- Row 10: P all stitches.
- Repeat Rows 3-10 two more times (for a total of 3 bobble bands). After the last repeat, you will have completed Row 10 of the third band.
- Next row (RS): K all stitches.
- Next row: P all stitches.
- BO all stitches loosely. Weave in ends.
Head (Make 1)
The head is worked flat and shaped with increases and decreases.
- With white yarn, CO 12 stitches.
- Row 1 (RS): K all stitches.
- Row 2: P all stitches.
- Row 3 (Increase row): K1, M1, K10, M1, K1. (14 stitches)
- Row 4: P all stitches.
- Row 5 (Increase row): K1, M1, K12, M1, K1. (16 stitches)
- Row 6: P all stitches.
- Row 7: K all stitches.
- Row 8: P all stitches.
- Row 9: K all stitches.
- Row 10: P all stitches.
- Row 11 (Decrease row): K2tog, K12, K2tog. (14 stitches)
- Row 12: P all stitches.
- Row 13 (Decrease row): K2tog, K10, K2tog. (12 stitches)
- Row 14: P all stitches.
- BO all stitches. Weave in ends.
Hat (Make 1)
The hat is worked flat and then seamed.
- With black yarn, CO 16 stitches.
- Row 1 (RS): K all stitches.
- Row 2: P all stitches.
- Row 3: K all stitches.
- Row 4: P all stitches.
- Row 5: K all stitches.
- Row 6: P all stitches.
- Row 7 (Decrease row): K2tog across the row. (8 stitches)
- Row 8: P all stitches.
- Cut yarn, leaving a long tail (about 12 inches). Thread the tail through a tapestry needle, then pass it through the remaining 8 stitches on the needle. Pull tight to gather the top of the hat. Use the same tail to sew the side seam of the hat. Weave in ends.
Scarf
- With contrasting yarn, CO 6 stitches.
- Work in garter stitch (knit every row) for 30 rows, or until the scarf is about 6-7 inches long.
- BO all stitches. Weave in ends.
- Optional: Cut 6-8 pieces of yarn about 4 inches long. Fold each in half and attach to the short ends of the scarf to create fringe. Trim evenly.
Assembly
Now it’s time to bring Sparkles to life! Use the tapestry needle and matching yarn for each seam.
- Sew the body side seam: Fold the body piece in half with right sides together. Sew the side seam, leaving the bottom edge open. Turn right side out. Stuff the body firmly with fiberfill. Sew the bottom edge closed.
- Sew the head side seam: Fold the head piece in half with right sides together. Sew the side seam, leaving the bottom edge open. Turn right side out. Stuff the head firmly. Sew the head to the top of the body, using a whipstitch around the opening.
- Attach the hat: Place the hat on the head. Sew it in place around the base of the hat using a few small stitches.
- Add the scarf: Wrap the scarf around the snowman’s neck. Secure it with a few stitches at the back or front to keep it in place.
- Embroider the face:
- Eyes: Using black yarn, make two small straight stitches (or French knots) for the eyes, positioned about 1 inch apart.
- Mouth: Using black yarn, embroider a small smile with 3-4 straight stitches.
- Nose: Using orange yarn, embroider a long triangle shape (a carrot nose) by making a series of straight stitches that form a triangle, starting from a point and widening as you go down.
- Optional buttons: Embroider three small dots down the front of the body using black yarn, or sew on small black buttons.
Your Sparkles the Snowman is complete! Display it proudly on a shelf, mantel, or give it as a heartfelt handmade gift. Enjoy your new textured, modern winter companion.


