Frosted Berry Bead Stitch Beanie Free Pattern – Knit a Cozy Winter Crown
Frosted Berry Bead Stitch Beanie: A Cozy Winter Knitting Pattern
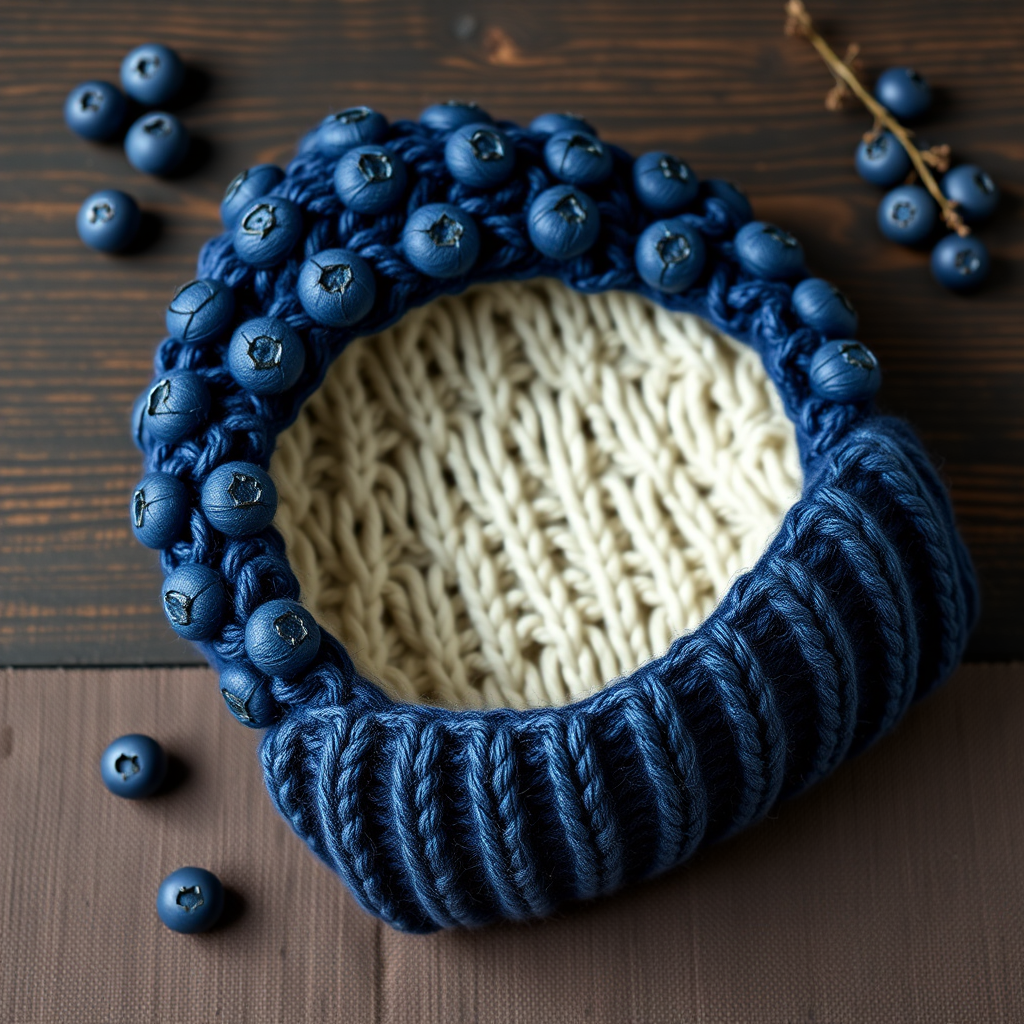
Wrap your head in the plush, textured warmth of the Frosted Berry Beanie, where delicate bead stitches mimic a scatter of frozen blueberries. This quick-knit pattern creates a snug, stylish crown perfect for chilly strolls and fireside evenings. The contrasting cream band adds a touch of frosty elegance, making this beanie as beautiful as it is functional. Whether you're a seasoned knitter or looking for your next satisfying project, this pattern is designed to be both engaging and achievable.
In this comprehensive guide, we'll walk you through every step, from gathering your materials to weaving in the final ends. By the end, you'll have a gorgeous, hand-knit beanie that's sure to become a winter favorite. Let's get started!
Materials Needed
Before you begin, gather the following supplies. Having everything ready will make your knitting experience smooth and enjoyable.
- Yarn: Worsted weight yarn in two colors:
- Main Color (MC): Deep blueberry – approximately 220 yards
- Contrast Color (CC): Soft cream – approximately 50 yards
- Needles: US 7 (4.5 mm) 16-inch circular needle and a set of double-pointed needles (or size needed to obtain gauge).
- Notions: Stitch markers, tapestry needle for weaving in ends, scissors.
Gauge
20 stitches x 28 rows = 4 inches in stockinette stitch. Always take time to check your gauge to ensure your beanie fits as intended. If your gauge is off, adjust your needle size accordingly.
Step-by-Step Instructions
This pattern is worked in the round from the brim up. Follow these detailed instructions carefully, and you'll have a beautiful beanie in no time.
Sizes & Abbreviations
Sizes: Adult S/M (M/L). Finished circumference: 20 (22) inches, height 9 (10) inches.
Abbreviations:
- k = knit
- p = purl
- k2tog = knit two together (right-leaning decrease)
- ssk = slip slip knit (left-leaning decrease)
- yo = yarn over
- pm = place marker
- rnd = round
- MC = main color (deep blueberry)
- CC = contrast color (soft cream)
Special Stitch – Bead Stitch (worked over 3 stitches)
This stitch creates the beautiful, raised "berry" bumps that give this beanie its name. Practice it a few times on a swatch to get comfortable with the motion.
- Insert the right needle into the third stitch on the left needle as if to knit. Knit it, but do not drop it off the left needle.
- Yarn over, then knit the same stitch again. Now you can drop it off the left needle. You have increased 1 stitch (now 4 stitches from 3).
- Slip the next 2 stitches from the left needle to the right needle purlwise (one at a time). Then, pass the first increased stitch (the one you just created) over these two slipped stitches and off the needle. This decreases back to 3 stitches and creates a raised bead-like bump.
Ribbing
- With MC, cast on 100 (110) stitches. Join in the round, being careful not to twist your stitches. Place a marker for the beginning of the round.
- Work K1, P1 ribbing for 1.5 inches. This creates a stretchy, snug brim.
Body
Now we'll introduce the contrast color and the bead stitch pattern.
- Switch to CC and knit 2 rounds even. This creates a clean, crisp cream band.
- Switch back to MC and work the bead stitch pattern as follows:
- Rnd 1: *K2, bead stitch over next 3 stitches, K2* repeat to end of round.
- Rnd 2: Knit all stitches.
- Rnd 3: *K1, bead stitch over next 3 stitches, K3* repeat to end of round.
- Rnd 4: Knit all stitches.
- Repeat these 4 rounds until the piece measures 6 (7) inches from the cast-on edge, ending with Rnd 4. The staggered placement of the bead stitches creates the beautiful, organic texture.
Crown Decreases
Time to shape the top of your beanie. We'll switch to the contrast color for a final band, then decrease gradually.
- Switch to CC and knit 1 round even.
- Switch back to MC and begin the decrease rounds. As you decrease, switch from the circular needle to double-pointed needles when the stitches become too tight for the circular.
- Follow these decrease rounds:
- Rnd 1: *K8, k2tog* repeat to end (90 (99) stitches).
- Rnd 2: Knit all stitches.
- Rnd 3: *K7, k2tog* repeat to end (80 (88) stitches).
- Rnd 4: Knit all stitches.
- Rnd 5: *K6, k2tog* repeat to end (70 (77) stitches).
- Rnd 6: Knit all stitches.
- Rnd 7: *K5, k2tog* repeat to end (60 (66) stitches).
- Rnd 8: Knit all stitches.
- Rnd 9: *K4, k2tog* repeat to end (50 (55) stitches).
- Rnd 10: *K3, k2tog* repeat to end (40 (44) stitches).
- Rnd 11: *K2, k2tog* repeat to end (30 (33) stitches).
- Rnd 12: *K1, k2tog* repeat to end (20 (22) stitches).
- Rnd 13: *K2tog* repeat to end (10 (11) stitches).
- Cut the yarn, leaving a 10-inch tail. Thread the tail through a tapestry needle, then pass it through the remaining stitches on your needle. Pull tight to gather the crown, and secure with a knot. Weave in all loose ends.
Finishing
Your beanie is almost complete! Here are the final touches:
- Fold up the ribbed brim for a cozy cuff, or leave it down for a slouchier look. Both styles are adorable.
- Block lightly if desired. This helps even out the stitches and gives the beanie a professional finish. Simply wet the beanie, gently squeeze out excess water, and lay it flat to dry in the desired shape.
And there you have it—a beautiful, hand-knit Frosted Berry Beanie! The combination of the deep blueberry and soft cream yarns, along with the textured bead stitches, creates a truly unique and cozy accessory. Perfect for gifting or keeping for yourself, this beanie is sure to bring warmth and style to any winter day. Happy knitting!