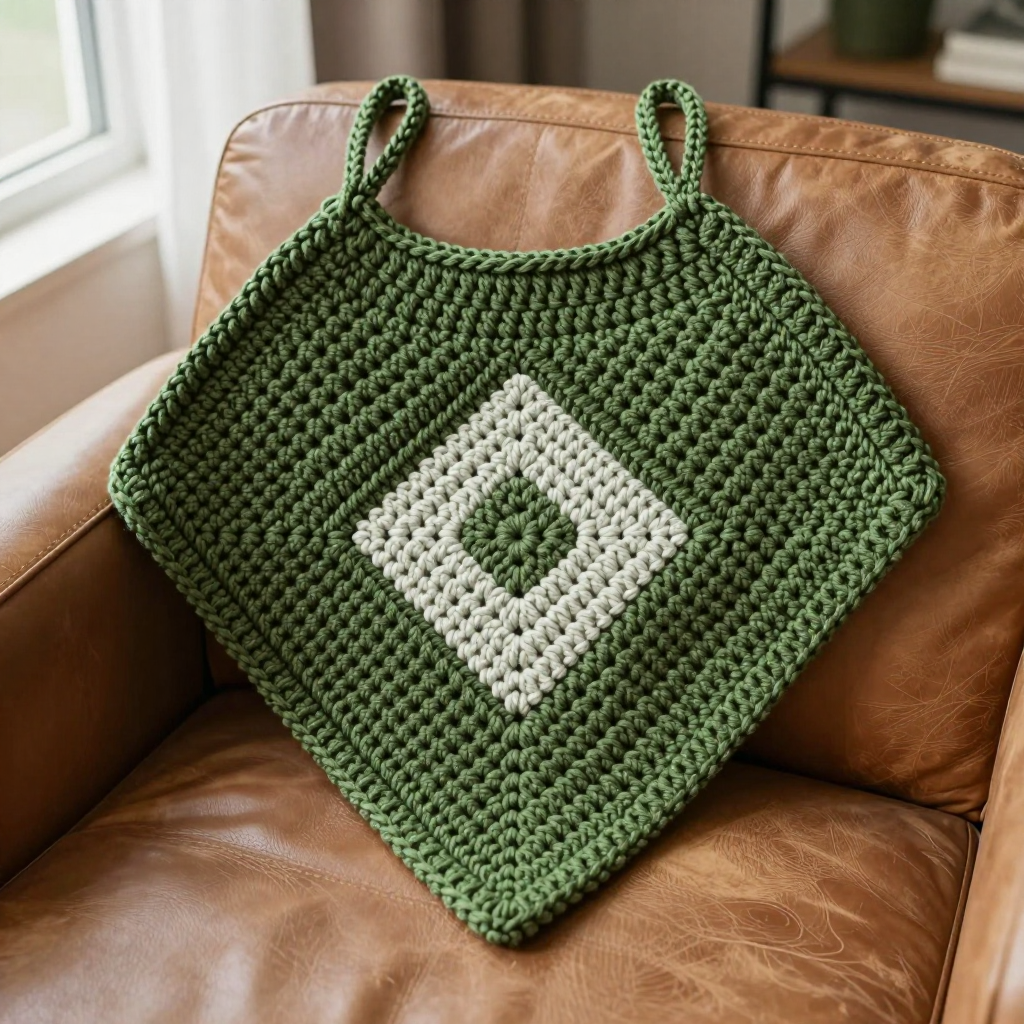
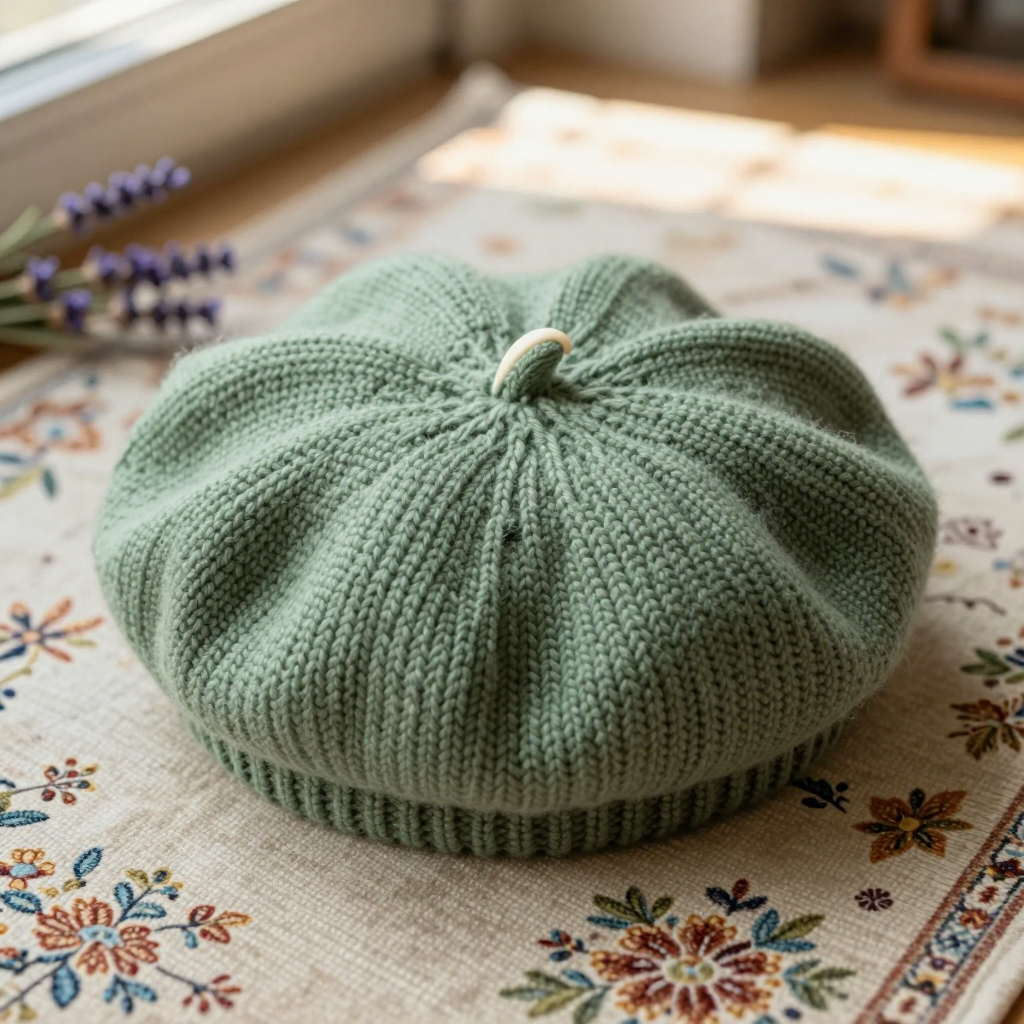
Free Pattern: Otter Pup Triangle Lace Knit Top with Matching Bloomer

Otter Pup Triangle Lace Knit Top with Matching Bloomer: A Free Beginner-Friendly Pattern
This sweet little set is perfect for anyone who has just learned to knit and purl and wants to make something truly charming. The top is worked from the neck down in a soft, deep burnt-orange DK merino, shaped into a gentle A-line triangle with simple eyelet lace bands that look far more complicated than they are. A cobalt-blue crocheted otter head sits proudly on the chest, and a thin matching tie threads through the neckline for a dark-academia finish. The matching bloomer is plain, stretchy, and quick to knit, making the whole outfit feel cozy, vintage, and completely adorable. If you can knit, purl, and make a yarn over, you can make this set.
Materials Needed
- Yarn: DK weight merino wool (approximately 125 yds / 115 m per 50 g skein).
- Main color (MC), deep burnt orange: approx. 150 (180, 210) yds for the top, plus 120 (140, 160) yds for the bloomer.
- Contrast color (CC), cobalt blue: approx. 15 yds for the otter appliqué and neck tie.
- Knitting needles: US 6 (4.0 mm) 24" circular needle and a set of 4 US 6 (4.0 mm) double-pointed needles (DPNs).
- Smaller needle: US 4 (3.5 mm) 16" circular needle (for neck edging and bloomer waistband) and US 4 (3.5 mm) DPNs (for sleeve and leg edging).
- Crochet hook: US E/4 (3.5 mm) for the appliqué and neck tie.
- Stitch markers (at least 5).
- Stitch holders or waste yarn for holding sleeve and leg stitches.
- Tapestry needle (blunt tip, large eye) for seaming and weaving in ends.
- Scissors.
Finished sizes: 12–18 months (2T, 3T). Finished chest circumference: 20 (22, 24)" / 51 (56, 61) cm. Finished length from shoulder: 11 (12, 13)" / 28 (30.5, 33) cm. Bloomer waist fits 18 (19, 20)" / 46 (48, 51) cm.
Abbreviations and Beginner Glossary
- k – knit stitch (insert right needle into the front of the stitch from left to right, wrap yarn around, pull through, and slide the old stitch off).
- p – purl stitch (insert right needle into the front of the stitch from right to left, wrap yarn around, pull through, and slide the old stitch off).
- k2tog – knit 2 together (insert needle into the next two stitches at once and knit them as one; this decreases by one stitch and leans to the right).
- ssk – slip, slip, knit (slip one stitch knitwise, slip the next stitch knitwise, then insert the left needle into the front of both slipped stitches and knit them together; this decreases by one stitch and leans to the left).
- yo – yarn over (bring the yarn over the right needle to create an extra loop; this makes a small eyelet hole and increases by one stitch).
- kfb – knit front and back (knit into the front of the stitch, then knit into the back of the same stitch before sliding it off; this increases by one stitch).
- sc – single crochet (insert hook into stitch, pull up a loop, yarn over, pull through both loops on the hook).
- sl st – slip stitch (insert hook into stitch, yarn over, pull through both the stitch and the loop on your hook).
- ch – chain (yarn over and pull through the loop on your hook).
- st(s) – stitch(es).
- pm – place marker (slide a stitch marker onto your needle to mark a spot).
- sm – slip marker (move the marker from the left needle to the right needle as you work past it).
- BOR – beginning of round (the marker that shows where each round starts).
- MC – main color (burnt orange).
- CC – contrast color (cobalt blue).
- DPNs – double-pointed needles (short needles with points at both ends, used to knit small tubes in the round).
Gauge
22 sts and 30 rows = 4" (10 cm) in stockinette stitch on US 6 (4.0 mm) needles, blocked. One eyelet repeat (8 sts x 6 rows) measures approximately 1½" wide x ¾" tall.
Why gauge matters: Gauge is how many stitches and rows fit into a square of knitting. If your stitches are bigger than the pattern expects, the finished top will be too large; if they are smaller, it will be too tight. Always make a gauge swatch first.
How to make a gauge swatch: Cast on about 30 stitches with your US 6 (4.0 mm) needles and knit in stockinette stitch (knit one row, purl one row) for about 4–5 inches. Bind off, then lay the swatch flat and block it lightly. Place a ruler across the middle and count how many stitches fit in 4 inches. If you have more than 22, go up a needle size; if you have fewer, go down a needle size. Repeat until you match the gauge.
Beginner Tips Before You Start
- Use stitch markers to track your raglan points. Place a marker at each of the four increase points and leave them there. You will knit up to each marker, increase, slip the marker, and increase again.
- Do not pull your yarn too tight. Tension is the number one beginner issue. Let the yarn flow gently through your fingers; tight stitches make the eyelets disappear and the fabric stiff.
- Count your stitches at the end of every increase round. The pattern tells you exactly how many stitches you should have. If the number is off, you can fix it before it becomes a bigger problem.
- Try on the top as you go. Because it is worked top-down, you can slip the live stitches onto waste yarn and gently try it on your little one to check the fit before you divide for the sleeves.
- Keep your yarn overs loose. A yarn over that is pulled tight will close up and you will lose the eyelet hole. Give it a little slack as you make it.
- Work the appliqué last. Finish and block the top first, then crochet and attach the otter so it sits exactly where you want it.
Step-by-Step Instructions
Top: Neckband
Using the US 4 (3.5 mm) 16" circular needle and MC, cast on 64 (72, 80) sts using the long-tail method. Join to work in the round, being careful not to twist the stitches. Place a BOR marker.
Rounds 1–4: *K1, p1; repeat from * to end. (64 / 72 / 80 sts)
Change to the US 6 (4.0 mm) 24" circular needle.
Top: Yoke Set-Up
The top is worked top-down as a triangle. Increases are made at four points (two front raglans and two back raglans) every other round to create the A-line triangle shape.
Set-up round: K8 (10, 12) [left front], pm, k16 (18, 20) [left sleeve], pm, k16 (16, 16) [back], pm, k16 (18, 20) [right sleeve], pm, k8 (10, 12) [right front]. (64 / 72 / 80 sts total)
Top: Yoke Increase Rounds
Round 1 (increase): *Knit to 1 st before marker, kfb, sm, kfb; repeat from * 4 times, knit to end. (8 sts increased)
Round 2: Knit all sts.
Repeat Rounds 1–2 a total of 10 (11, 12) times. Total stitches after yoke: 144 (160, 176) sts.
Top: Divide for Body and Sleeves
Next round: Knit to first marker (left front + raglan), place sleeve sts on waste yarn (32 / 36 / 40 sts), cast on 4 (4, 6) sts for underarm, knit across back to next marker, place next sleeve sts on waste yarn (32 / 36 / 40 sts), cast on 4 (4, 6) sts for underarm, knit to end. Body stitches: 88 (96, 108) sts.
Top: Body
Round 1: Knit all sts.
Round 2 (eyelet round): *K2, yo, k2tog, k4; repeat from * to end. (Eyelet holes form a diagonal lace band.)
Round 3: Knit all sts.
Round 4: Knit all sts.
Round 5 (eyelet round): *K4, yo, k2tog, k2; repeat from * to end.
Round 6: Knit all sts.
Repeat Rounds 1–6 until body measures 7 (7½, 8)" / 18 (19, 20.5) cm from underarm, ending after Round 6.
Top: Hem Edging
Change to the US 4 (3.5 mm) needle.
Round 1: *K1, p1; repeat from * to end.
Rounds 2–4: Work in 1x1 rib as established. (88 / 96 / 108 sts)
Bind off loosely in rib pattern.
Top: Sleeve Edging (both sleeves)
Using the US 4 (3.5 mm) DPNs, slip held sleeve sts onto the needles. Pick up and knit 4 (4, 6) sts at the underarm. Total: 36 (40, 46) sts.
Rounds 1–3: *K1, p1; repeat from * to end.
Bind off loosely in rib. Repeat for the second sleeve.
Otter-Head Appliqué (crochet)
Using the US E/4 (3.5 mm) hook and CC cobalt yarn, make a magic ring.
Round 1: 6 sc into ring. Join with sl st. (6)
Round 2: Ch 1, 2 sc in each st around. Join. (12)
Round 3: Ch 1, *sc in next st, 2 sc in next st; repeat from * around. Join. (18)
Round 4: Ch 1, sc in each st around. Join. (18)
Round 5 (ears): Ch 1, sc in next 4 sts, ch 3, skip 2 sts, sc in next 6 sts, ch 3, skip 2 sts, sc in last 4 sts. Join. Fasten off, leaving a long tail.
Shape ears: With the tapestry needle, tack each ch-3 loop into a small pointed ear.
Embroider face: Using deep orange yarn, embroider two small French-knot eyes and a tiny straight-stitch nose on the appliqué.
Attach appliqué: Center it on the chest, approximately 2" / 5 cm below the neckband, using the long tail and small whipstitches around the edge.
Neck Tie (crochet)
Using the US E/4 (3.5 mm) hook and CC cobalt yarn, ch 40, fasten off. Thread through the eyelet holes at the neckline and tie in a small bow at center front.
Bloomer: Waistband
Using the US 4 (3.5 mm) circular needle and MC, cast on 96 (104, 112) sts. Join in the round, place BOR marker.
Rounds 1–6: *K1, p1; repeat from * to end. (96 / 104 / 112 sts)
Change to the US 6 (4.0 mm) circular needle.
Bloomer: Body
Round 1: Knit all sts.
Round 2 (eyelet round): *K2, yo, k2tog, k4; repeat from * to end.
Round 3: Knit all sts.
Round 4: Knit all sts.
Round 5 (eyelet round): *K4, yo, k2tog, k2; repeat from * to end.
Round 6: Knit all sts.
Repeat Rounds 1–6 until bloomer measures 5 (5½, 6)" / 12.5 (14, 15) cm from cast-on, ending after Round 6.
Bloomer: Divide for Legs
Next round: K48 (52, 56) sts, place remaining 48 (52, 56) sts on waste yarn for the second leg.
Bloomer: First Leg
Join to work in the round on the US 6 (4.0 mm) DPNs, place a marker at the inner leg.
Rounds 1–4: Knit all sts.
Round 5 (decrease): K1, k2tog, knit to last 3 sts, ssk, k1. (2 sts decreased)
Repeat Rounds 1–5 twice more. (42 / 46 / 50 sts)
Work even in stockinette until leg measures 3 (3½, 4)" / 7.5 (9, 10) cm from divide.
Change to the US 4 (3.5 mm) DPNs.
Rounds 1–3: *K1, p1; repeat from * to end.
Bind off loosely in rib.
Bloomer: Second Leg
Slip the held sts onto the DPNs and work as for the first leg.
Assembly and Finishing
Weave in all ends. Turn the top and bloomer inside out and use the tapestry needle to weave each yarn tail through several stitches on the wrong side, then trim. Never tie a knot; weaving hides the end securely.
Block the pieces. Soak the top and bloomer in cool water with a little wool wash for 15 minutes. Gently squeeze out the water (do not wring). Roll in a towel to remove excess moisture, then lay flat on a blocking mat and pin to the finished measurements. Leave to dry completely, away from direct heat.
Attach the appliqué. Once the top is dry, sew the otter head securely to the center chest using the long tail and small whipstitches around the edge. Make sure all edges are tacked down so little fingers cannot pull it loose.
Add the neck tie. Thread the crocheted chain through the eyelet holes at the neckline and tie a small bow at center front. Trim the chain ends if needed, or leave them as a decorative finish.
Final check. Gently stretch the neckline and leg openings to make sure they are comfortable and not too tight. Check that all seams and joins are secure.
Pro Tips and Variations
- Change the colors. Try a soft mustard or sage green for the main color, and pick a contrasting appliqué color such as charcoal or cream. The eyelet lace looks lovely in any shade.
- Adjust the size. To make the top slightly longer, simply work extra repeats of the body rounds before the hem edging. To make the bloomer larger, add 8 stitches to the cast-on (one full eyelet repeat) and adjust the leg divide accordingly.
- Substitute the yarn. Any DK weight yarn will work, but choose one with good stitch definition so the eyelets show. Avoid fluffy or fuzzy yarns that hide the lace pattern.
- Make it a dress. For a longer tunic or dress version, continue the body repeats until the piece measures 12–14 inches from the underarm, then add the hem edging. The bloomer can be worn underneath as a matching set.