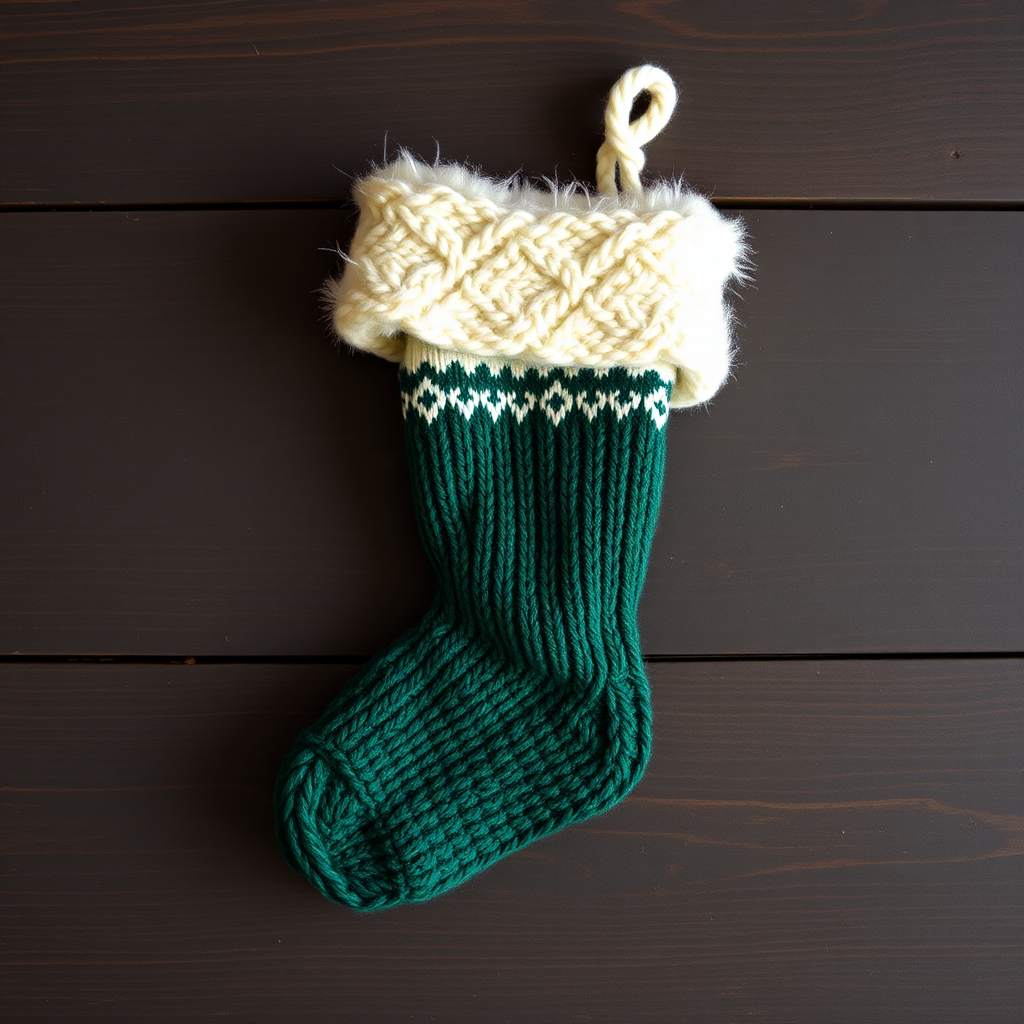
Evergreen Spiral Wind Spinner Christmas Tree Free Pattern – A Knitted Twirling Tabletop Ornament
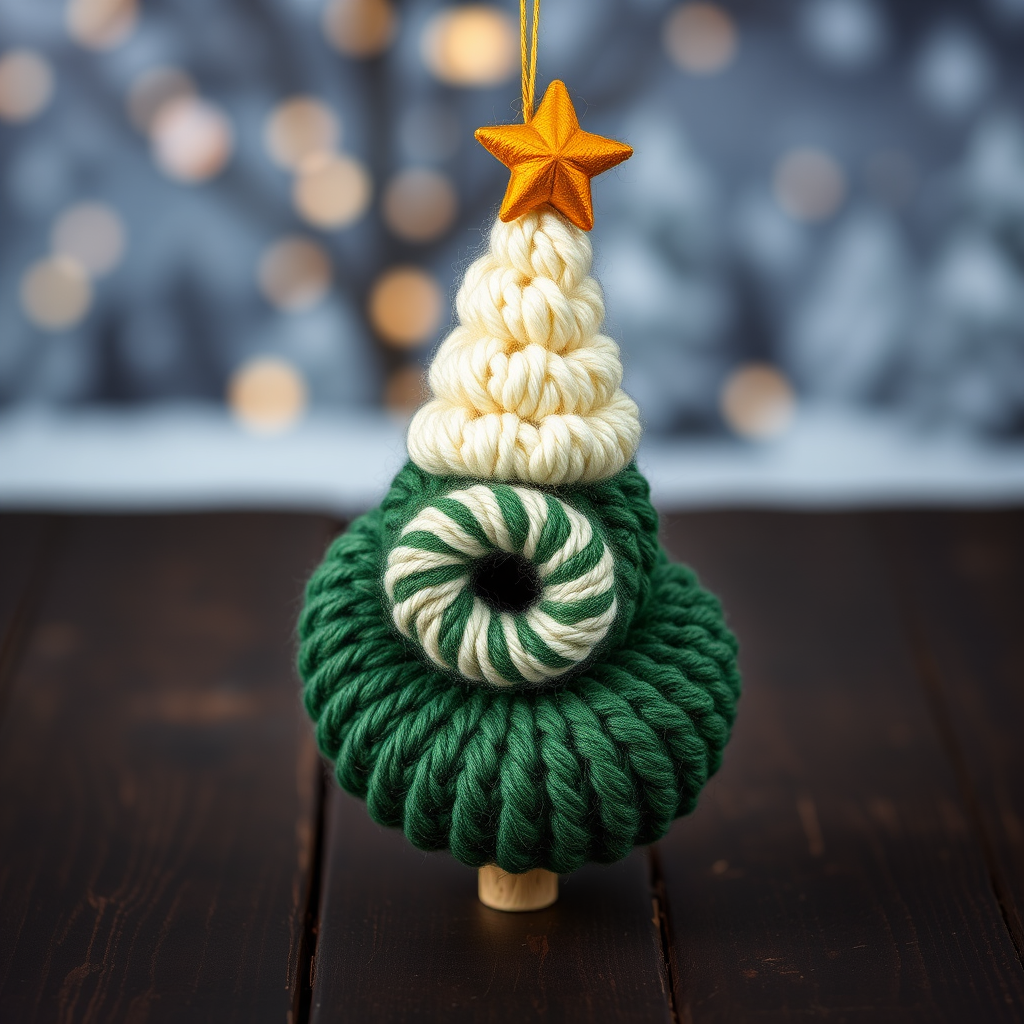
Evergreen Spiral Wind Spinner Christmas Tree Free Pattern – A Knitted Twirling Tabletop Ornament
Bring a whimsical, cozy twist to your holiday decor with this knitted wind spinner shaped like a Christmas tree, designed to gently twirl with the air currents in your home. Made entirely from soft, chunky yarn, it’s a charming, handmade centerpiece that captures the magic of winter without any metal or plastic. This free pattern is perfect for beginners and experienced knitters alike, offering a quick and satisfying project that will delight family and guests all season long.
Why You'll Love This Pattern
This isn't just another Christmas tree ornament—it's a kinetic piece of art. The spiral shape catches air currents and twirls gracefully, adding a touch of whimsy to any room. The combination of forest green, cream, and gold yarn creates a classic holiday palette that feels both traditional and fresh. Plus, because it's knitted flat and then seamed, it's a portable project you can take anywhere.
Materials Needed
Before you begin, gather the following supplies. All items are readily available at craft stores or online.
- Yarn: Worsted weight yarn in forest green, cream, and gold (approx. 150g total). Look for a soft, chunky worsted weight for the best drape and twirl.
- Knitting Needles: US 7 (4.5 mm) knitting needles. Straight or circular both work fine.
- Tapestry Needle: For weaving in ends and seaming the pieces together.
- Liquid Starch: For stiffening the finished tree so it holds its spiral shape.
- Gold Thread or Yarn: For creating the hanging loop.
- Scissors: For cutting yarn.
Gauge
20 stitches and 28 rows = 4 inches in stockinette stitch. While gauge isn't critical for this ornament, matching it will ensure your tree is the intended size. If you knit loosely or tightly, adjust your needle size accordingly.
Step-by-Step Instructions
This pattern creates a flat, spiral-shaped tree that you can hang from a ceiling or place on a stand to catch breezes. The spiral is knitted in one piece, then shaped and stiffened slightly with a light starch solution to hold its twirling form. Follow along carefully, and you'll have a beautiful twirling tree in no time.
Abbreviations
- CO: cast on
- K: knit
- P: purl
- K2tog: knit two together (decrease)
- P2tog: purl two together (decrease)
- YO: yarn over (increase/hole)
- St(s): stitch(es)
- Rep: repeat
- RS: right side
- WS: wrong side
Tree Spiral (Make 2 Identical Pieces)
You will knit two identical flat pieces and then seam them together. This creates a double-sided tree that looks finished from every angle.
Step 1: Cast On
Using forest green yarn, CO 40 sts. Leave a long tail (about 6 inches) for seaming later.
Step 2: Eyelet Row for Hanging
Row 1 (RS): K all sts.
Row 2 (WS): P all sts.
Row 3: K1, *YO, K2tog, K1; rep from * to last st, K1. (This creates a decorative eyelet row for hanging.)
Row 4: P all sts.
Row 5: K all sts.
Row 6: P all sts.
Step 3: Begin Spiral Shaping
Now you'll start decreasing at the beginning of every right-side row to create the taper of the tree.
Row 7: K2tog, K to end. (39 sts)
Row 8: P all sts.
Row 9: K2tog, K to end. (38 sts)
Row 10: P all sts.
Row 11: K2tog, K to end. (37 sts)
Row 12: P all sts.
Step 4: Continue Decreasing
Continue decreasing 1 st at the beginning of every RS row (knit rows) until you have 20 sts remaining. To do this, repeat the pattern of "K2tog, K to end" on RS rows and "P all sts" on WS rows. Count your stitches after each decrease row to track your progress. Once you reach 20 sts, work even in stockinette (K on RS, P on WS) for 10 rows. This straight section forms the middle of the tree.
Step 5: Switch to Cream Yarn for the Snowcap
Cut the forest green yarn, leaving a tail to weave in. Join the cream yarn.
Next row (RS): K all sts.
Next row (WS): P all sts.
Repeat these 2 rows for 6 more rows (total 8 rows of cream). This creates the snowy top section of the tree.
Step 6: Switch to Gold Yarn for the Star Tip
Cut the cream yarn, leaving a tail. Join the gold yarn.
Next row (RS): K2tog, K to end. (19 sts)
Next row (WS): P all sts.
Next row: K2tog, K to end. (18 sts)
Next row: P all sts.
Next row: K2tog, K to end. (17 sts)
Next row: P all sts.
Step 7: Decrease Every Row to Close the Tip
Now you'll decrease on both knit and purl rows to quickly close the point.
Next row (RS): K2tog, K to end. (16 sts)
Next row (WS): P2tog, P to end. (15 sts)
Rep these 2 rows until 5 sts remain. Cut yarn, leaving a 6-inch tail. Thread the tail through a tapestry needle, slide the needle through the remaining 5 sts, and pull tight to close the tip. Weave in the end securely.
Finishing: Seaming and Shaping
Now that both pieces are complete, it's time to bring them together.
Step 1: Weave in All Ends
Using your tapestry needle, weave in all loose yarn ends on both pieces, except the cast-on tails which you'll use for seaming.
Step 2: Block Both Pieces
Block both pieces flat to the same shape. To block, wet the pieces with lukewarm water, gently squeeze out excess (don't wring), and lay them flat on a towel. Shape them into identical rectangles with the taper at the top. Pin them down if needed and let them dry completely. This ensures both sides match perfectly.
Step 3: Seam the Pieces Together
Place the two pieces together with wrong sides facing. Using a tapestry needle and forest green yarn, whip stitch around the outer edge, leaving the bottom edge open. Do not stuff. The whip stitch should be neat and even, going through both layers of fabric. Leave the bottom open so the tree can be turned right side out.
Step 4: Turn Right Side Out
Carefully turn the tree right side out through the bottom opening. Use a blunt pencil or knitting needle to gently push out the tip and corners. The spiral will naturally twist as you handle it—this is the desired effect.
Step 5: Stiffen the Tree
To help it hold its shape, lightly spray with a mixture of 1 part liquid starch to 3 parts water. You can use a spray bottle for even coverage. Gently shape the tree, twisting it slightly to encourage the spiral form, and let it dry flat on a towel. The starch will add body without making it stiff or crunchy.
Step 6: Add the Hanging Loop
Thread a piece of gold yarn or thin gold thread through the eyelet row at the top. Tie the ends together in a secure knot to create a hanging loop. Make the loop long enough to hang from a hook or stand.
Step 7: Make It Spin
To make it spin, hang it from a ceiling hook or place it on a small rotating stand (like a cake turntable) and give it a gentle push. The spiral shape will catch air and twirl beautifully. For best results, hang it near a heat vent, ceiling fan, or open window where there's a gentle breeze.
Tips for Success
- Count Your Stitches: After each decrease row, count your stitches to ensure you're on track. It's easy to lose count, and a quick check saves time later.
- Use Stitch Markers: Place a marker at the beginning of each row to help you keep track of RS vs. WS rows.
- Choose the Right Yarn: A soft, slightly fuzzy yarn (like wool or a wool blend) will catch air better than a smooth cotton. The "halo" of fuzz helps the spinner catch breezes.
- Experiment with Colors: While the classic green, cream, and gold is festive, feel free to use your own color scheme—silver and blue for a winter wonderland, or red and white for a candy cane look.
Display Ideas
This versatile ornament can be displayed in many ways:
- Hang from a ceiling: Use a small hook or adhesive ceiling mount in a corner or above a table.
- Place on a mantel: Set it on a small rotating cake stand for a dynamic display.
- Use as a gift topper: Make a smaller version and attach it to a wrapped gift for a personal touch.
- Create a forest: Knit several in different sizes and colors to create a whimsical forest scene.
This Evergreen Spiral Wind Spinner Christmas Tree is a delightful project that combines the coziness of knitting with the magic of motion. Whether you're a seasoned knitter or just starting out, this pattern is accessible and rewarding. The finished piece makes a wonderful gift, a charming addition to your own holiday decor, or a unique conversation starter. Happy knitting, and may your holidays be filled with twirling joy!