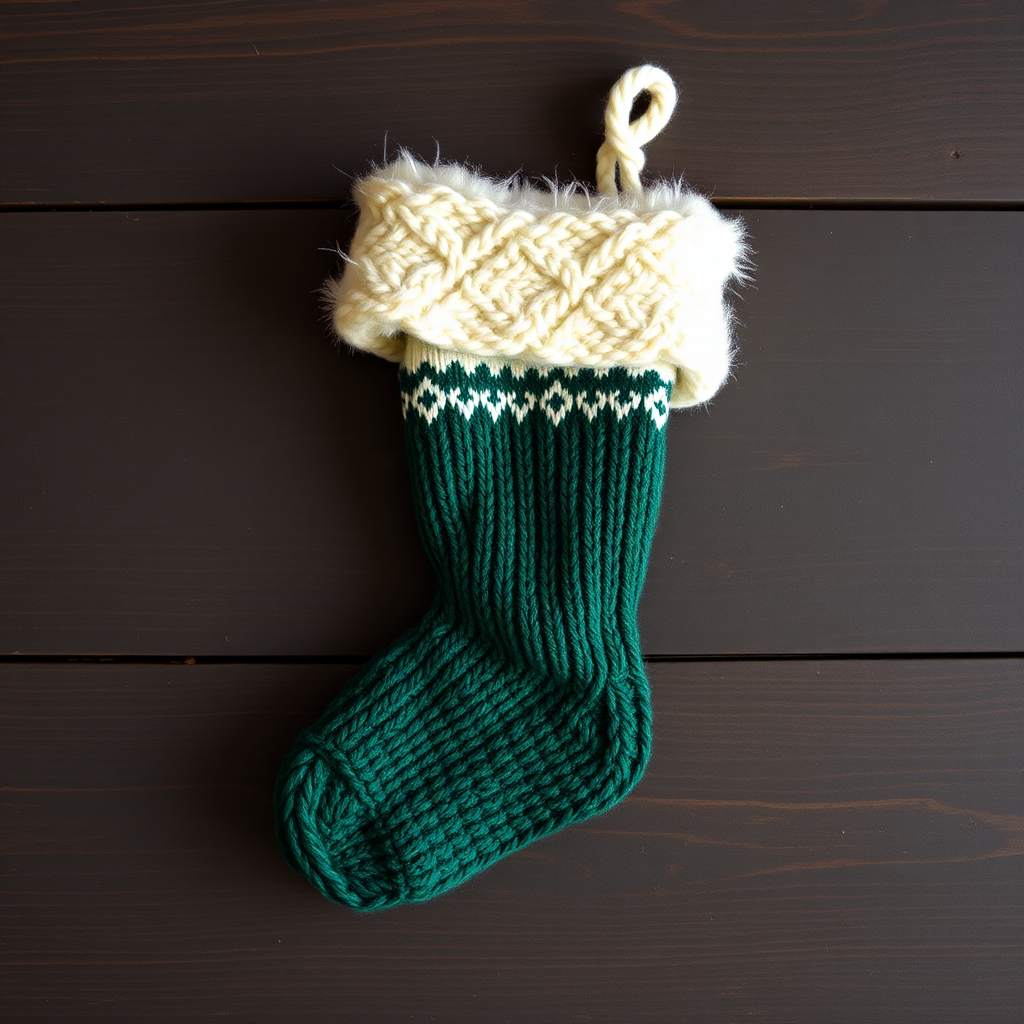
Evergreen Glow Luminaria Free Knitting Pattern – Festive Centerpiece

Evergreen Glow Luminaria: A Free Knitting Pattern for a Festive Centerpiece
Bring a warm, woodland glow to your holiday table with this knitted luminaria, featuring a textured pine tree motif and a soft, cozy silhouette. This free pattern is perfect for crafters seeking a unique, yarn-based centerpiece that captures the spirit of the season. Whether you're an experienced knitter looking for a quick seasonal project or a beginner ready to try stranded colorwork for the first time, this pattern offers a rewarding and beautiful result. The finished piece is a rectangular knitted fabric seamed into a tube, gathered at the top and bottom to form a lantern-like shape that glows beautifully when lit from within.
Materials Needed
Before you begin, gather the following supplies to ensure a smooth knitting experience:
- Yarn: Worsted weight yarn in forest green (MC) and cream (CC). You will need approximately 150 yards of MC and 50 yards of CC. Choose a soft, pliable yarn for the best drape.
- Needles: US 7 (4.5 mm) knitting needles. Straight needles are fine since we'll work flat and seam later.
- Gauge: 20 stitches and 28 rows = 4 inches in stockinette stitch. Always check your gauge to ensure the correct size.
- Notions: Tapestry needle for weaving in ends and seaming, scissors, stitch markers (optional), and a glass votive holder or LED candle for the final display.
Step-by-Step Instructions
This pattern creates a rectangular knitted piece that is seamed into a tube, then gathered at the top and bottom to form a lantern-like shape. The pine tree motif is worked in stranded colorwork. Follow these detailed instructions carefully, and you'll have a stunning centerpiece in no time.
Abbreviations
- CO: Cast on
- K: Knit
- P: Purl
- K2tog: Knit two together (decrease)
- MC: Main color (forest green)
- CC: Contrast color (cream)
- St: Stitch
- RS: Right side
- WS: Wrong side
Bottom Gusset
CO 60 sts with MC.
Row 1 (RS): K all.
Row 2 (WS): P all.
Repeat rows 1-2 until piece measures 2 inches from cast-on edge, ending with a WS row. This creates a sturdy base for your luminaria.
Body (Worked Flat with a Seam)
Continue in stockinette stitch (K on RS, P on WS) for 4 rows. This establishes a clean transition into the colorwork section.
Begin Pine Tree Motif (Worked over 30 Rows)
Now we'll create the beautiful pine tree design using stranded colorwork. Remember to carry the unused yarn loosely across the back of your work to avoid puckering.
Row 1 (RS): With MC, K15, with CC, K30, with MC, K15.
Row 2 (WS): With MC, P15, with CC, P30, with MC, P15.
Row 3: With MC, K15, with CC, K30, with MC, K15.
Row 4: With MC, P15, with CC, P30, with MC, P15.
Row 5: With MC, K15, with CC, K30, with MC, K15.
Row 6: With MC, P15, with CC, P30, with MC, P15.
Row 7: With MC, K15, with CC, K30, with MC, K15.
Row 8: With MC, P15, with CC, P30, with MC, P15.
Row 9: With MC, K15, with CC, K30, with MC, K15.
Row 10: With MC, P15, with CC, P30, with MC, P15.
Row 11: With MC, K15, with CC, K30, with MC, K15.
Row 12: With MC, P15, with CC, P30, with MC, P15.
Row 13: With MC, K15, with CC, K30, with MC, K15.
Row 14: With MC, P15, with CC, P30, with MC, P15.
Row 15: With MC, K15, with CC, K30, with MC, K15.
Row 16: With MC, P15, with CC, P30, with MC, P15.
Row 17: With MC, K15, with CC, K30, with MC, K15.
Row 18: With MC, P15, with CC, P30, with MC, P15.
Row 19: With MC, K15, with CC, K30, with MC, K15.
Row 20: With MC, P15, with CC, P30, with MC, P15.
Row 21: With MC, K15, with CC, K30, with MC, K15.
Row 22: With MC, P15, with CC, P30, with MC, P15.
Row 23: With MC, K15, with CC, K30, with MC, K15.
Row 24: With MC, P15, with CC, P30, with MC, P15.
Row 25: With MC, K15, with CC, K30, with MC, K15.
Row 26: With MC, P15, with CC, P30, with MC, P15.
Row 27: With MC, K15, with CC, K30, with MC, K15.
Row 28: With MC, P15, with CC, P30, with MC, P15.
Row 29: With MC, K15, with CC, K30, with MC, K15.
Row 30: With MC, P15, with CC, P30, with MC, P15.
Tip: To keep your colorwork even, gently spread the stitches on your right needle every few rows. This prevents the CC yarn from being pulled too tightly.
After Motif
Continue in stockinette stitch with MC for 4 rows. This completes the body of the luminaria.
Top Gusset (Shaping the Top)
Now we'll decrease stitches to gather the top of the luminaria. Follow each row carefully, noting the stitch count in parentheses.
Row 1 (RS): K2tog, K26, K2tog, K2tog, K26, K2tog (56 sts)
Row 2 (WS): P all.
Row 3: K2tog, K24, K2tog, K2tog, K24, K2tog (52 sts)
Row 4: P all.
Row 5: K2tog, K22, K2tog, K2tog, K22, K2tog (48 sts)
Row 6: P all.
Row 7: K2tog, K20, K2tog, K2tog, K20, K2tog (44 sts)
Row 8: P all.
Row 9: K2tog, K18, K2tog, K2tog, K18, K2tog (40 sts)
Row 10: P all.
Row 11: K2tog, K16, K2tog, K2tog, K16, K2tog (36 sts)
Row 12: P all.
Row 13: K2tog, K14, K2tog, K2tog, K14, K2tog (32 sts)
Row 14: P all.
Row 15: K2tog, K12, K2tog, K2tog, K12, K2tog (28 sts)
Row 16: P all.
Row 17: K2tog, K10, K2tog, K2tog, K10, K2tog (24 sts)
Row 18: P all.
Row 19: K2tog, K8, K2tog, K2tog, K8, K2tog (20 sts)
Row 20: P all.
Row 21: K2tog, K6, K2tog, K2tog, K6, K2tog (16 sts)
Row 22: P all.
Row 23: K2tog, K4, K2tog, K2tog, K4, K2tog (12 sts)
Row 24: P all.
Row 25: K2tog, K2, K2tog, K2tog, K2, K2tog (8 sts)
Row 26: P all.
Row 27: K2tog, K2tog, K2tog, K2tog (4 sts)
Cut yarn, leaving a long tail (about 12 inches). Thread through remaining 4 sts, and pull tight to close. Secure with a knot.
Finishing
Now it's time to assemble your luminaria:
- Seam the side edges: Fold the piece in half with right sides together, matching the side edges. Use mattress stitch or whip stitch to seam the sides together, leaving the bottom open. Turn right side out.
- Weave in all ends: Use your tapestry needle to weave in any loose yarn ends from the colorwork and seams.
- Shape the bottom: Run a gathering thread through the cast-on edge using a tapestry needle and a length of MC yarn. Pull tight to gather the bottom closed, then secure with a few stitches.
- Insert your light source: Place a glass votive holder with a candle or an LED candle inside the luminaria. The knitted fabric will glow beautifully, casting a warm, festive light.
- Optional Star Topper: For an extra festive touch, add a crocheted star on top (instructions below).
Optional Star Topper (Crochet)
With CC, make a magic ring, ch 2, work 10 dc into ring, join with sl st. Then ch 3, sl st into same st, ch 3, sl st into next st, repeat around to form a star. Fasten off and sew to the top of the luminaria.
Your Evergreen Glow Luminaria is now complete! Place it on your holiday table, mantle, or windowsill, and enjoy the cozy, woodland ambiance it creates. This pattern is a wonderful way to add a handmade touch to your seasonal decor, and it makes a thoughtful gift for fellow crafters and nature lovers alike.