Ember & Oak Cocoon Cardigan Free Pattern

Ember & Oak Cocoon Cardigan: A Free Knitting Pattern for Cozy Fall Days
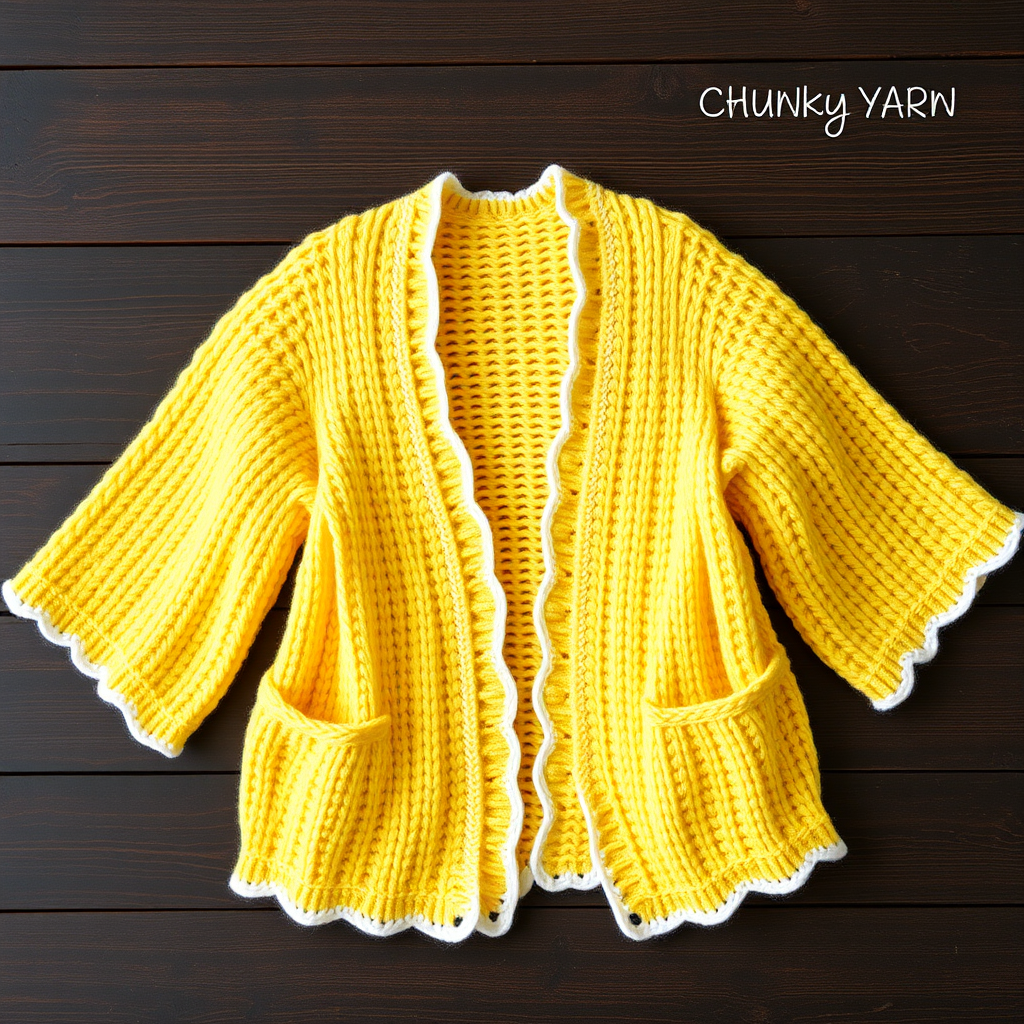
Wrap yourself in the warmth of autumn with this stunning oversized cocoon cardigan. Featuring a dramatic shawl collar and rich, heathered earth tones, the Ember & Oak Cardigan is the perfect layering piece for crisp fall days. The unique slipped-stitch mosaic pattern creates a subtle woven effect that evokes cozy flannel and crackling fires, making this cardigan as beautiful as it is comfortable. Best of all, this pattern is beginner-friendly, so even those new to knitting can create a stunning, professional-looking garment.
This free pattern is designed to be knit in one piece from the top down, starting with the back panel and then picking up stitches for the shoulders and fronts. The sleeves are worked in the round from picked-up stitches, creating a seamless, polished finish. The mosaic pattern is created by slipping stitches with the yarn held in front or back, creating a woven look without the hassle of stranding multiple yarns across rows.
Materials Needed
Before you begin, gather the following materials to ensure a smooth knitting experience:
Yarn
- Main Color (MC): Heathered Rust - Worsted weight yarn, approximately 1200 (1350, 1500) yards for sizes S/M (L/XL, 2XL/3XL)
- Contrast Color (CC): Deep Forest Green - Worsted weight yarn, approximately 400 (450, 500) yards for sizes S/M (L/XL, 2XL/3XL)
Needles & Notions
- US Size 9 (5.5 mm) circular knitting needle, 32-inch or longer (for magic loop or working back and forth)
- A spare circular needle or stitch holders for sleeves
- Stitch markers
- Tapestry needle for weaving in ends
- Decorative button or clasp (optional, for shawl collar)
Gauge
- Stockinette stitch: 18 stitches and 24 rows = 4 inches
- Mosaic pattern: 18 stitches and 28 rows = 4 inches (after blocking)
Note: Always check your gauge before beginning to ensure your finished cardigan matches the intended measurements.
Step-by-Step Instructions
This cardigan is knit in one piece from the top down, starting with the back panel and then picking up stitches for the shoulders and fronts. The sleeves are worked in the round from picked-up stitches. The mosaic pattern is created by slipping stitches with the yarn held in front or back, creating a woven look without stranding.
Abbreviations
- CO: Cast on
- BO: Bind off
- K: Knit
- P: Purl
- St(s): Stitch(es)
- RS: Right side
- WS: Wrong side
- Sl wyif: Slip stitch purlwise with yarn in front
- Sl wyib: Slip stitch purlwise with yarn in back
- K2tog: Knit two stitches together
- P2tog: Purl two stitches together
- M1L: Make one left (increase)
- M1R: Make one right (increase)
- PM: Place marker
- SM: Slip marker
Mosaic Pattern (worked over an even number of stitches)
This pattern creates the beautiful woven texture that makes this cardigan so special. Work these rows in the order specified:
- Row 1 (RS, MC): Knit all stitches.
- Row 2 (WS, MC): Purl all stitches.
- Row 3 (RS, CC): *K1, Sl1 wyib; repeat from * to end.
- Row 4 (WS, CC): *P1, Sl1 wyif; repeat from * to end.
- Row 5 (RS, MC): Knit all stitches.
- Row 6 (WS, MC): Purl all stitches.
- Row 7 (RS, CC): *Sl1 wyib, K1; repeat from * to end.
- Row 8 (WS, CC): *Sl1 wyif, P1; repeat from * to end.
Repeat Rows 1-8 for pattern.
Back Panel
- CO 90 (100, 110) sts with MC.
- Work in Garter stitch (knit every row) for 6 rows.
- Begin Mosaic pattern, starting with Row 1. Work even in pattern until piece measures 12 (13, 14) inches from cast-on edge, ending with a WS row.
Shape Shoulders
- Next RS row: BO 10 (12, 14) sts at beginning of next 2 rows, then BO 8 (10, 12) sts at beginning of next 2 rows.
- BO remaining 54 (56, 58) sts for back neck. Cut yarn.
Left Front Panel
- With RS facing, pick up and knit 30 (34, 38) sts along the left shoulder edge of the back panel (from the shoulder to the neck).
- Work in Mosaic pattern, starting with Row 1 (RS). Work even for 2 inches.
Increase for Neck Shaping
- Next RS row: K1, M1L, work to end.
- Repeat this increase every 4th row 5 more times. (36, 40, 44 sts)
- Work even until piece measures 10 (11, 12) inches from pick-up row, ending with a WS row.
Shape Front Edge
- Next RS row: Work to last 3 sts, K2tog, K1.
- Repeat this decrease every 4th row 8 more times. (27, 31, 35 sts)
- Work even until piece measures 20 (22, 24) inches from pick-up row, ending with a WS row.
- BO all sts loosely.
Right Front Panel
- With RS facing, pick up and knit 30 (34, 38) sts along the right shoulder edge of the back panel (from the neck to the shoulder).
- Work in Mosaic pattern, starting with Row 1 (RS). Work even for 2 inches.
Increase for Neck Shaping
- Next RS row: Work to last st, M1R, K1.
- Repeat this increase every 4th row 5 more times. (36, 40, 44 sts)
- Work even until piece measures 10 (11, 12) inches from pick-up row, ending with a WS row.
Shape Front Edge
- Next RS row: K1, K2tog, work to end.
- Repeat this decrease every 4th row 8 more times. (27, 31, 35 sts)
- Work even until piece measures 20 (22, 24) inches from pick-up row, ending with a WS row.
- BO all sts loosely.
Sleeves
- With RS facing, pick up and knit 60 (66, 72) sts evenly around the armhole opening (between the front and back panels). PM at the underarm center. Join for working in the round.
- Work in Mosaic pattern in the round as follows:
- Round 1: With MC, knit all sts.
- Round 2: With CC, *K1, Sl1 wyib; repeat from * to end.
- Round 3: With CC, knit all sts.
- Round 4: With MC, *Sl1 wyib, K1; repeat from * to end.
- Repeat Rounds 1-4 for pattern. Work even for 2 inches.
Decrease Round
- K1, K2tog, knit to last 3 sts, K2tog, K1.
- Repeat decrease round every 6 (5, 4) inches 4 (5, 6) more times. (50, 54, 58 sts)
- Work even until sleeve measures 16 (17, 18) inches from pick-up row, or desired length.
- BO all sts loosely.
Shawl Collar
- With RS facing, starting at the bottom of the right front edge, pick up and knit sts evenly along the right front edge, around the neck, and down the left front edge. The number of sts should be approximately 120 (130, 140).
- Work in Garter stitch (knit every row) for 4 inches, increasing 1 st at each end of every 4th row to create a shawl shape.
- BO all sts loosely.
Finishing
- Weave in all ends using a tapestry needle.
- Block the cardigan to measurements for a professional finish.
- Sew side seams from the underarm to the bottom edge.
- Sew sleeve seams if desired (or leave open for a batwing look).
- Attach a decorative button or clasp at the top of the shawl collar if desired.
Tips for Success
- Check your gauge: Always knit a swatch first to ensure your tension matches the pattern. This is crucial for achieving the correct fit.
- Use stitch markers: Place markers at the beginning of pattern repeats to help you keep track of where you are in the mosaic pattern.
- Blocking is essential: Blocking will help even out your stitches and give your cardigan that beautiful, polished look. It also helps the mosaic pattern truly shine.
- Take your time with the slipped stitches: Remember to slip stitches purlwise and keep the yarn on the correct side (front for wyif, back for wyib) to achieve the proper woven effect.
This Ember & Oak Cocoon Cardigan is the perfect project for knitters looking to create a statement piece for fall. The combination of the rich, earthy colors and the intricate-looking mosaic pattern (which is actually quite simple!) makes this a rewarding project that you'll be proud to wear all season long. Happy knitting!