Blooming Harmony Bouquet Free Pattern
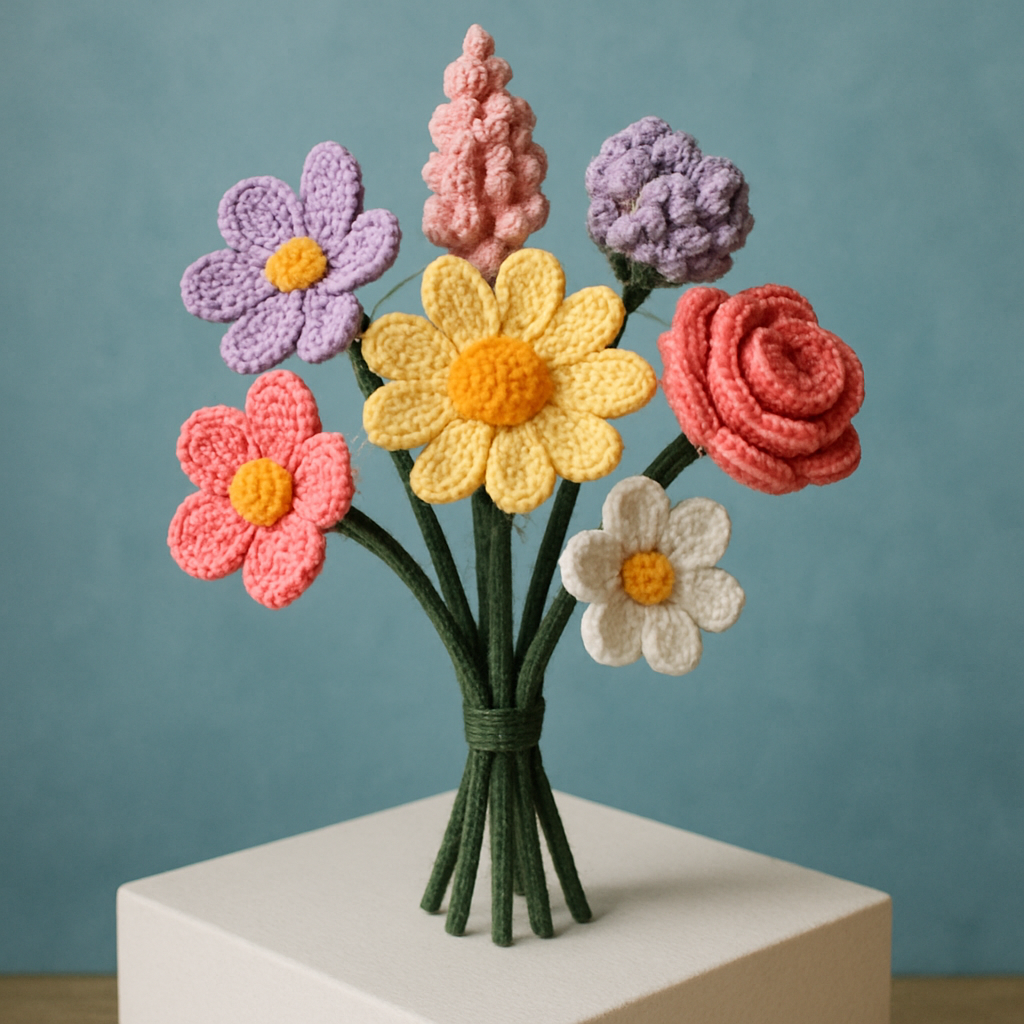
Blooming Harmony Bouquet Free Pattern
Introduction
Welcome to the world of amigurumi! In this tutorial, we will guide you through creating a stunning amigurumi bouquet featuring a variety of unique floral designs. Perfect for brightening any space, this pattern combines intricate crochet techniques to form a harmonious collection of blossoms. Whether you're a seasoned crocheter or a beginner, this project will inspire your creativity and add a personal touch to your home decor.
Materials Needed
- Yarn: Lightweight cotton yarn in various colors (suggested colors: pink, yellow, lavender, and white)
- Hook: 3.5mm crochet hook
- Gauge: 22 stitches x 30 rows = 4 inches in single crochet
- Additional Supplies: Pipe cleaners (for stems), green yarn (to wrap stems), scissors, and a yarn needle for weaving in ends.
Step-by-Step Instructions
Follow these detailed instructions to create each flower for your bouquet. You can repeat the steps using different colors and slight variations in petal shapes to create a diverse bouquet.
Flower Body
- Round 1: Start with a magic ring. Chain 1, then work 6 single crochets (sc) into the ring. (You should have 6 stitches total.)
- Round 2: Increase (inc) in each stitch around. (You should have 12 stitches total.)
- Round 3: *Single crochet in the next stitch, increase in the next stitch; repeat from * around. (You should have 18 stitches total.)
- Round 4: *Single crochet in the next 2 stitches, increase in the next stitch; repeat from * around. (You should have 24 stitches total.)
- Rounds 5-8: Single crochet in each stitch around. (You should have 24 stitches total for each round.)
- Round 9: *Single crochet in the next 2 stitches, decrease (dec) over the next 2 stitches; repeat from * around. (You should have 18 stitches total.)
- Round 10: *Single crochet in the next stitch, decrease over the next 2 stitches; repeat from * around. (You should have 12 stitches total.)
- Round 11: Decrease over each 2 stitches around. (You should have 6 stitches total.)
- Fasten off and weave in the ends using a yarn needle.
Assembling the Bouquet
- To create the stems, take a pipe cleaner and wrap it with green yarn, securing the yarn with a few knots as you go.
- Once you have your flowers completed, attach each flower to a green stem by either sewing or using hot glue.
- Arrange the flowers in a harmonious, balanced manner to showcase the diversity and beauty of each individual bloom.
Enjoy your beautiful Blooming Harmony Bouquet! This project not only enhances your crocheting skills but also adds a delightful touch to your home. Happy crocheting!


