Amigurumi Patterns
Bea The Bunny Keychain Crochet Free Pattern
Anonymous
•
July 18, 2026
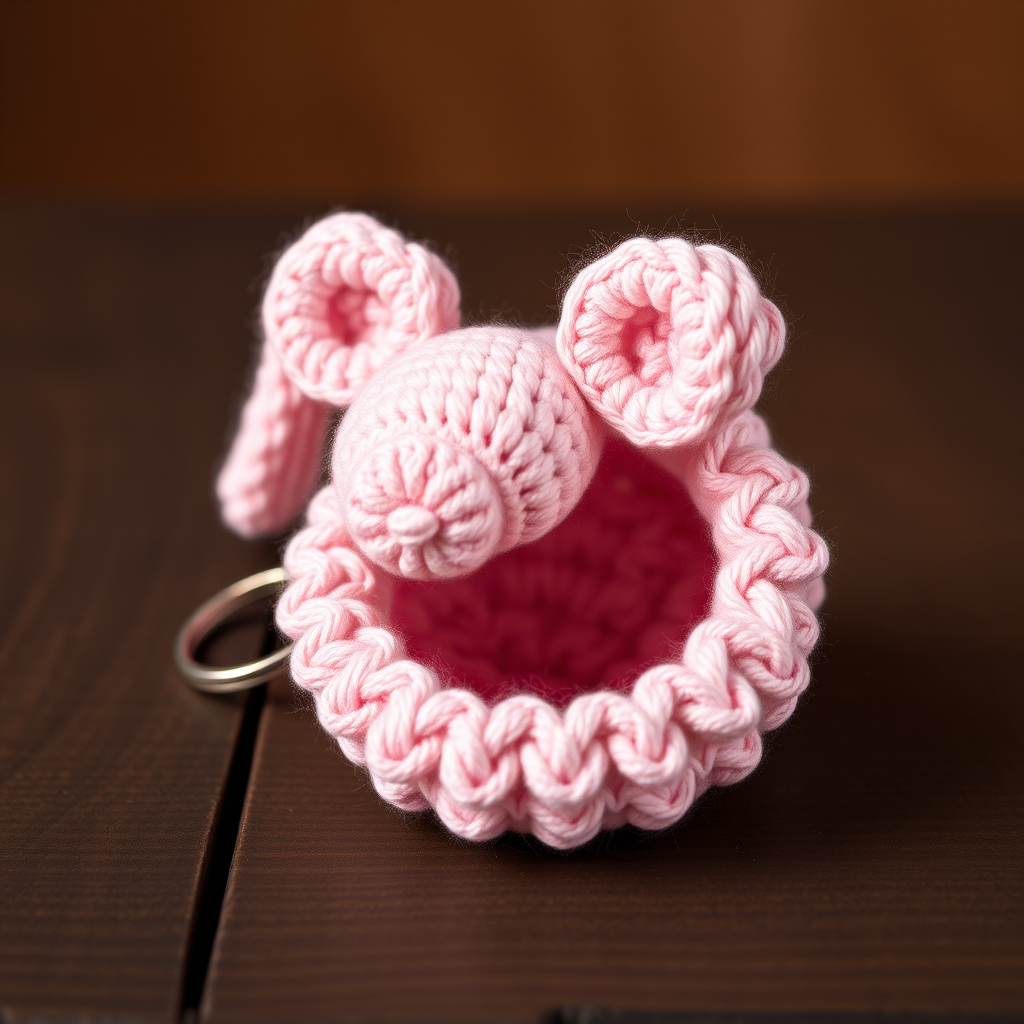
Bea The Bunny Keychain Crochet Free Pattern
Introduction
Welcome to the delightful world of crochet! Today, we’re going to create an adorable Bea The Bunny Keychain. This charming little bunny is perfect for adding a touch of whimsy to your keys or bags. With its soft, pastel pink color and cute floppy ears, Bea is not only a fun project but also a fantastic gift idea. This pattern is designed to be beginner-friendly, so grab your materials and let’s get started!
Materials Needed
- Yarn: Sport weight cotton yarn (preferably in a gentle pastel pink color)
- Hook: 2.5 mm crochet hook
- Stuffing: Fiberfill or any soft stuffing material
- Keyring: A small keyring for attaching the bunny
- Scissors: For cutting yarn
- Tapestry needle: For weaving in ends and sewing parts together
Step-by-Step Instructions
Creating the Bunny Head
- Round 1: Start with a magic ring. Inside the ring, crochet 6 single crochets (sc). You should have 6 stitches total.
- Round 2: Increase in each stitch around. You will have 12 stitches at the end of this round.
- Round 3: (Sc in the next stitch, increase) around. You should have 18 stitches now.
- Round 4: (Sc in the next 2 stitches, increase) around. This will give you 24 stitches.
- Rounds 5-8: Sc in each stitch around for 4 rounds. You will maintain 24 stitches throughout these rounds.
- Round 9: (Sc in the next 2 stitches, decrease) around. You will have 18 stitches at the end of this round.
- Round 10: (Sc in the next stitch, decrease) around. You should now have 12 stitches.
- Stuff the head: Firmly stuff the head with fiberfill to give it shape.
- Round 11: Decrease around until you have 6 stitches left. Fasten off and weave in the end using a tapestry needle.
Making the Ears (Make 2)
- Chain 6 stitches.
- In the 2nd chain from the hook, single crochet across the chain (you will have 5 stitches).
- Fasten off, leaving a long tail for sewing the ears onto the head.
Assembling the Bunny
- Using the long tail from the ears, sew the ears to the top of the bunny's head. Position them slightly apart for a cute look.
- Attach a small keyring to the top of the head by threading it through the magic ring or the top stitches.
Conclusion
Congratulations! You’ve just completed your very own Bea The Bunny Keychain. This charming little accessory is perfect for adding a personal touch to your keys or bags. Feel free to experiment with different colors and yarn types to create a whole collection of bunnies. Happy crocheting!


