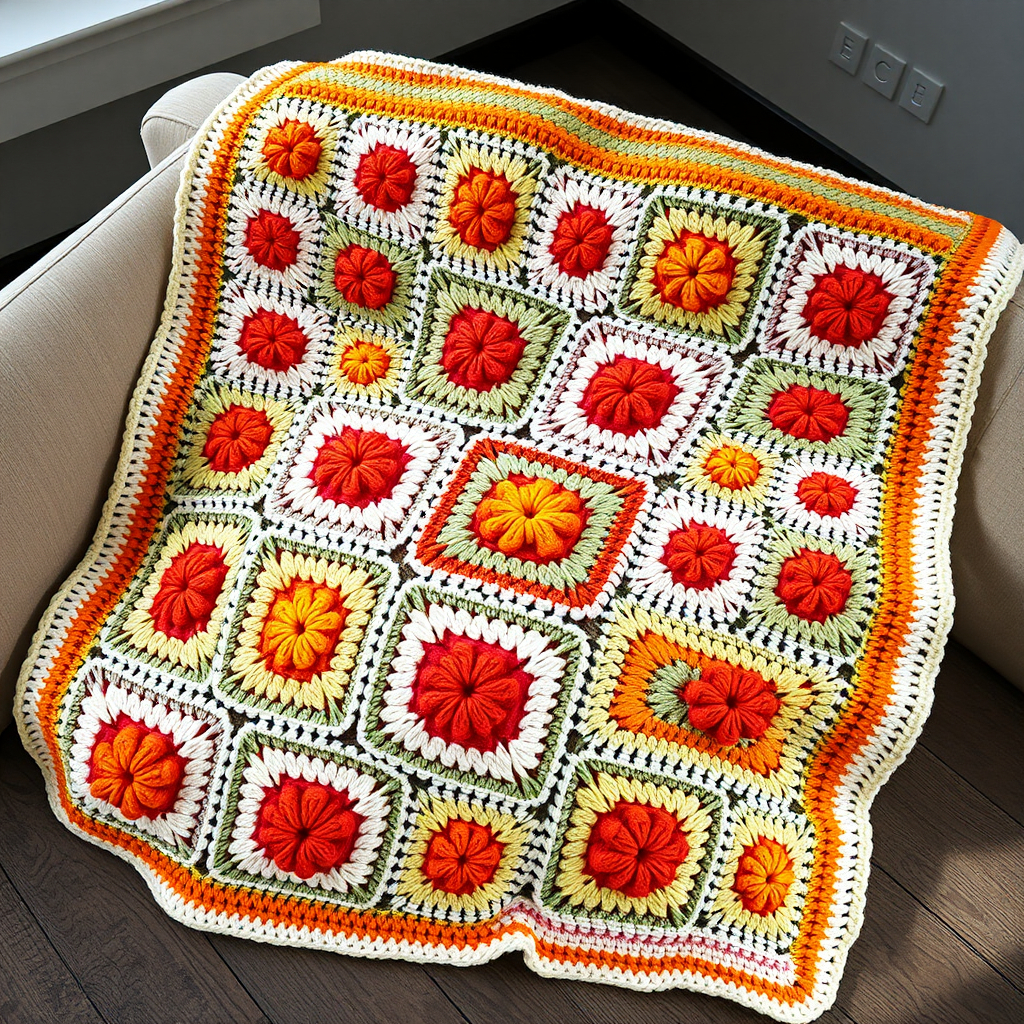
Aurora Waves Mosaic Crochet Throw Free Pattern – Dreamy Gradient Blanket

Aurora Waves Mosaic Crochet Throw: A Dreamy Gradient Blanket Pattern
Imagine wrapping yourself in the ethereal beauty of the northern lights, with colors shifting from deep midnight navy through teal, aqua, and lavender, to a soft cream center. The Aurora Waves Mosaic Crochet Throw is a stunning, heirloom-quality piece that transforms any room into a cozy sanctuary. This free pattern uses a mesmerizing mosaic overlay technique with dropped stitches to create a woven, textured fabric that drapes beautifully. Whether you're an experienced crocheter looking for a new challenge or a confident beginner ready to expand your skills, this gradient throw will become your new favorite project.
With its modern boho aesthetic and rich, woven-like texture, this throw is more than just a blanket—it's a statement piece. The gradient color shifts are achieved through a clever sequence of color changes that create a symmetrical ombre effect, evoking the aurora borealis in all its glory. Let's dive into this magical project!
Materials Needed
Before you begin, gather the following supplies to ensure a smooth crocheting experience:
Yarn
- Worsted weight (#4) cotton or acrylic blend in 5 colors:
- Color A: Midnight Navy (approx. 400-450 yards)
- Color B: Deep Teal (approx. 400-450 yards)
- Color C: Soft Aqua (approx. 400-450 yards)
- Color D: Dusty Lavender (approx. 400-450 yards)
- Color E: Cream (approx. 400-450 yards)
- Total yardage: Approximately 1800-2200 yards
Tools
- 5.5 mm (I-9) crochet hook
- Tapestry needle for weaving in ends
- Scissors
Gauge
- 14 stitches x 16 rows = 4 inches in single crochet (sc) with 5.5mm hook
- Note: Exact gauge is not critical for this project, but consistent tension is essential for the mosaic pattern to look crisp and even.
Understanding the Mosaic Technique
This throw is worked flat in rows using a mosaic overlay technique with dropped stitches. The pattern creates the illusion of woven colorwork by working front post double crochet (fpdc) stitches around chain spaces from previous rows, then filling in with single crochet on the following row. The result is a dense, textured fabric with raised diagonal ridges that catch the light beautifully.
The pattern is built on a 2-row repeat within a 6-row sequence, and you'll work with two colors per row set. Don't worry if this sounds complex—the step-by-step instructions below break it down into manageable, easy-to-follow steps.
Step-by-Step Instructions
Foundation Row (with Color A)
- Chain 122 loosely.
- Work 1 single crochet (sc) in the 2nd chain from the hook.
- Work 1 sc in each chain across the row.
- Turn your work. (You should have 121 sc stitches.)
Row 1 (Right Side, with Color A)
- Chain 1, work 1 sc in the first stitch.
- Repeat: *Chain 1, skip the next stitch, work 1 sc in the next stitch.*
- Repeat from * to * across the entire row.
- Turn your work. (You should have 61 sc stitches and 60 chain-1 spaces.)
Row 2 (Wrong Side, with Color B)
- Chain 1, work 1 sc in the first sc stitch.
- Repeat: *Working in the front loop only of the sc from Row 1, work 1 front post double crochet (fpdc) around the chain-1 space from the row below. Skip the next sc from Row 1. Work 1 sc in the next sc.*
- To work the fpdc: Insert your hook from front to back around the chain-1 space, yarn over, pull up a loop, yarn over, pull through two loops, yarn over, pull through two loops.
- Repeat from * to * across the row, ending with 1 sc in the last sc stitch.
- Turn your work. (You should have 61 sc stitches and 60 fpdc stitches.)
Row 3 (Right Side, with Color C)
- Chain 1, work 1 sc in the first sc stitch.
- Repeat: *Skip the next fpdc (it will be hidden behind your work), work 1 sc in the next sc (the one that was skipped in Row 2), then work 1 sc in the top of the fpdc from Row 2 (the one you just skipped).*
- Repeat from * to * across the row, ending with 1 sc in the last sc stitch.
- Turn your work. (You should have 121 sc stitches.)
Row 4 (Wrong Side, with Color D)
- Chain 1, work 1 sc in the first sc stitch.
- Repeat: *Chain 1, skip the next stitch, work 1 sc in the next stitch.*
- Repeat from * to * across the entire row.
- Turn your work. (You should have 61 sc stitches and 60 chain-1 spaces.)
Row 5 (Right Side, with Color E)
- Chain 1, work 1 sc in the first sc stitch.
- Repeat: *Working in the front loop only of the sc from Row 4, work 1 fpdc around the chain-1 space from the row below. Skip the next sc from Row 4. Work 1 sc in the next sc.*
- Repeat from * to * across the row, ending with 1 sc in the last sc stitch.
- Turn your work. (You should have 61 sc stitches and 60 fpdc stitches.)
Row 6 (Right Side, with Color A)
- Chain 1, work 1 sc in the first sc stitch.
- Repeat: *Skip the next fpdc, work 1 sc in the next sc (the one that was skipped in Row 5), then work 1 sc in the top of the fpdc from Row 5.*
- Repeat from * to * across the row, ending with 1 sc in the last sc stitch.
- Turn your work. (You should have 121 sc stitches.)
Creating the Gradient: Repeating the Pattern
Now that you've completed the first 6-row sequence, it's time to repeat Rows 1-6, but with a crucial twist: shift the color order each time you start a new sequence. This is what creates the beautiful gradient effect.
Here's the color sequence to follow:
- Sequence 1: A, B, C, D, E, A (as written above)
- Sequence 2: B, C, D, E, A, B
- Sequence 3: C, D, E, A, B, C
- Sequence 4: D, E, A, B, C, D
- Sequence 5: E, A, B, C, D, E
After completing Sequence 5, you'll reverse the order for the second half of the throw to create a symmetrical gradient:
- Sequence 6: D, E, A, B, C, D
- Sequence 7: C, D, E, A, B, C
- Sequence 8: B, C, D, E, A, B
- Sequence 9: A, B, C, D, E, A
Important: When you start a new sequence, the first row of that sequence (Row 1) should be worked with the first color listed in that sequence. For example, in Sequence 2, Row 1 uses Color B, Row 2 uses Color C, and so on.
Continue working the pattern until the throw measures approximately 60 inches long, ending with a full sequence. Remember to maintain consistent tension throughout—this is key to achieving the crisp, woven look of the mosaic pattern.
Finishing the Throw: Border
Once your throw reaches the desired length, it's time to add a clean, polished border:
- Round 1: With Color A, work 1 sc in each stitch across the top and bottom edges. Work 3 sc in each corner to turn. Along the sides, work 1 sc in each row end (approximately 1 sc per row).
- Round 2: Work 1 sc in each stitch around the entire perimeter, working 3 sc in each corner again.
- Fasten off and weave in all ends with your tapestry needle.
Tips for Success
- Keep your tension consistent. The mosaic pattern relies on even tension to create those beautiful, raised ridges. If you find your tension changing, take a break and come back refreshed.
- Use stitch markers to keep track of your sequences, especially when you're shifting colors.
- Weave in ends as you go to avoid a daunting pile of yarn tails at the end. With 5 colors and 9 sequences, you'll have plenty of ends to manage!
- Block your finished throw to even out the stitches and enhance the drape. Gently wet block or steam block according to your yarn's care instructions.
Final Thoughts
The Aurora Waves Mosaic Crochet Throw is a labor of love that rewards you with a stunning, heirloom-quality piece. The gradient color shifts and intricate woven texture create a mesmerizing effect that will be the centerpiece of any room. Whether you're making it for yourself or as a gift for someone special, this throw is sure to be treasured for years to come.
Remember, the key to success with this pattern is patience and consistent tension. Take your time, enjoy the process, and watch as the aurora borealis unfolds beneath your hook. Happy crocheting!