Aurora Boreal Shawl Free Pattern – Knit a Sweater of Shimmering Sky Textures

Wrap Yourself in the Night Sky: The Aurora Boreal Shawl
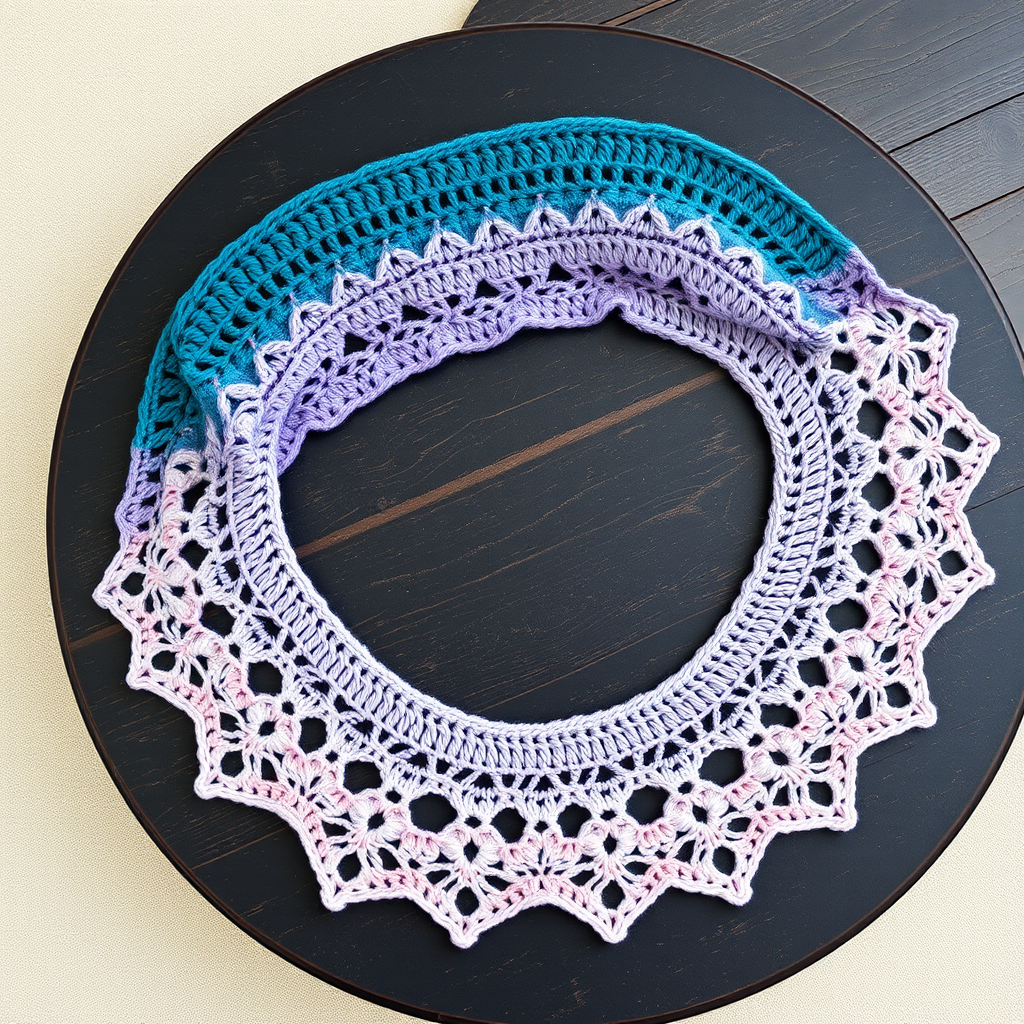
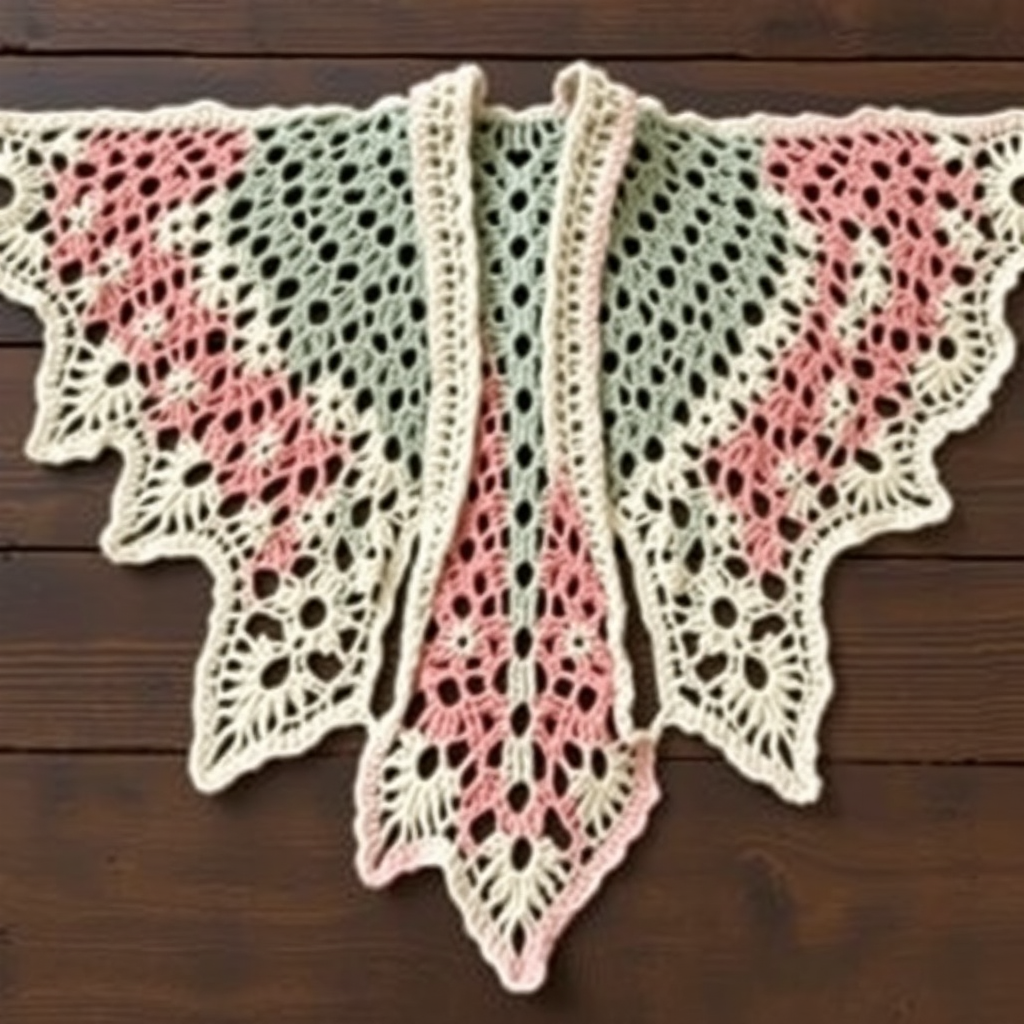
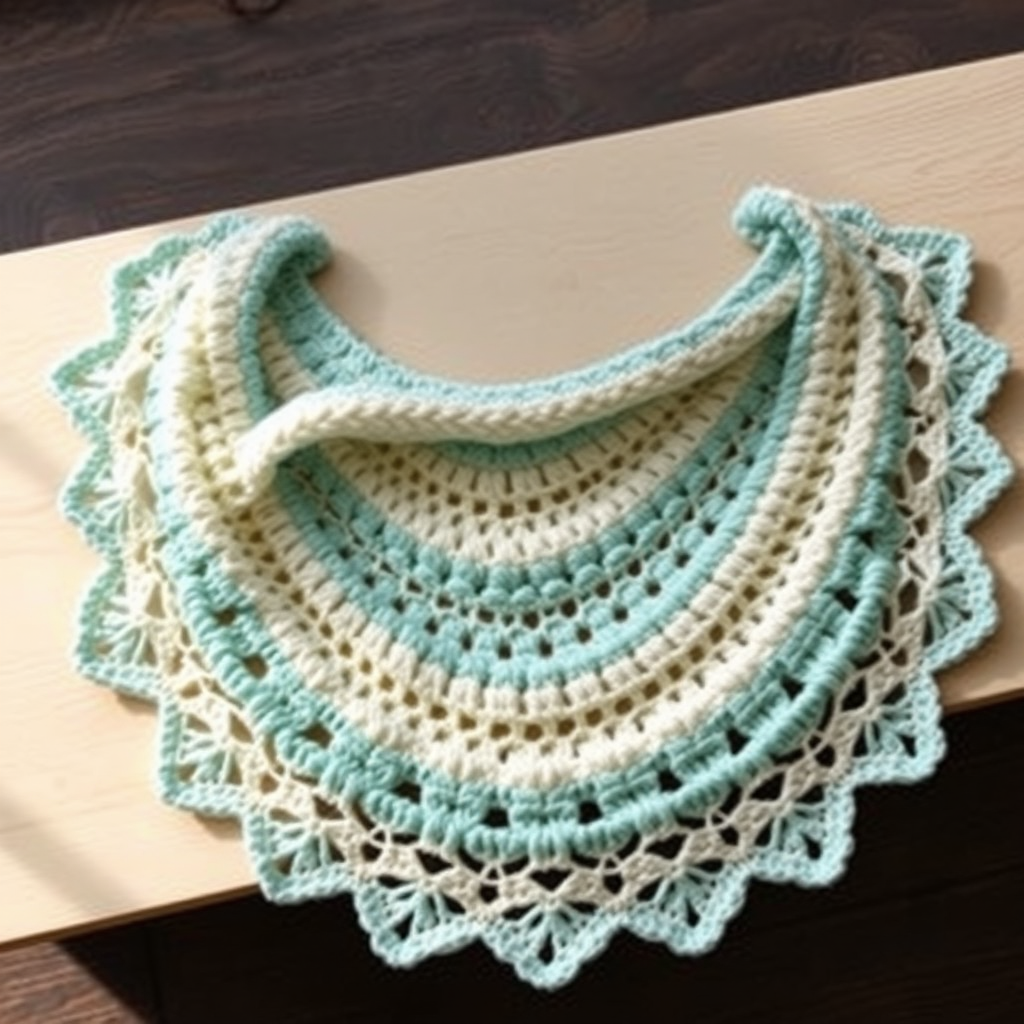
Imagine draping the shimmering, dancing colors of the northern lights over your shoulders. With the Aurora Boreal Shawl, you can turn that ethereal vision into a cozy, wearable reality. This free crochet pattern uses a mesmerizing gradient of teal, purple, and magenta, worked in a textured shell stitch that catches the light just like the aurora itself. Whether you're a seasoned crocheter or a confident beginner looking for a rewarding project, this shawl is a beautiful way to create a piece of wearable art that is both elegant and incredibly snug.
This pattern is designed to be accessible and relaxing. Worked from the top down in a simple triangular shape, it builds on a single, repetitive stitch pattern that is easy to memorize. The result is a rhythmic, meditative project that grows quickly, making it perfect for cozy evenings on the couch. Let's gather our materials and begin crafting a garment that feels like a piece of the night sky.
Materials Needed
Before you begin your journey into the aurora, ensure you have all the necessary supplies. This project is wonderfully portable and requires only a few key items.
- Yarn: Worsted weight yarn in a gradient colorway. You will need approximately 800-900 yards total. Look for a pre-made gradient set in teal, deep purple, and magenta, or select your own three coordinating solid colors plus a soft cream for the edging.
- Crochet Hook: A 5.5 mm (I-9) crochet hook is essential for achieving the correct gauge and a lovely, drapey fabric.
- Other Tools: A tapestry needle for weaving in ends and a pair of scissors.
- Gauge: For best results, match the gauge of 4 shell stitches and 6 rows = 4 inches in the pattern stitch. While gauge isn't critical for a shawl's fit, it will affect the overall size and drape.
Step-by-Step Instructions
This shawl is worked from the top center down, increasing one shell on each row to form a beautiful triangle. The pattern is repetitive and easy to follow once you get the hang of it. Let's break it down.
Understanding the Shell Stitch
The foundation of this pattern is the "shell" stitch, which is a cluster of three double crochet (dc) stitches worked into the same space. This creates the scalloped, textured look of the shawl.
Getting Started: The Foundation
Foundation Row: Chain 4. Work 3 double crochets (dc) into the 4th chain from your hook. This creates your first shell. Turn your work.
Building the Triangle: Row 1
Row 1: Chain 3 (this counts as your first double crochet). Work 2 more double crochets into the same stitch (the base of your chain-3). This forms the first shell of the row. Chain 1. Then, work 3 double crochets into the very last stitch (the top of the turning chain from the foundation row). You should now have 2 shells. Turn your work.
Increasing the Pattern: Row 2
Row 2: Chain 3, and work 2 double crochets into the same stitch to create your first shell. Chain 1. Now, work 3 double crochets into the chain-1 space from the previous row. Chain 1. Finally, work 3 double crochets into the top of the turning chain (the chain-3 from the previous row). You should now have 3 shells. Turn your work.
The Main Repetition: Row 3 and Beyond
Row 3: Chain 3, and work 2 double crochets into the same stitch to create your first shell. Chain 1. *Work 3 double crochets into the next chain-1 space, chain 1; repeat from * across the row. To finish, work 3 double crochets into the top of the turning chain. You should now have 4 shells. Turn your work.
Continue in this manner: Repeat Row 3 for all subsequent rows. Each row will increase by exactly one shell. This is the magic of the pattern—it's simple, repetitive, and creates a beautiful, even triangle. Continue working rows until your shawl reaches your desired width. The pattern suggests approximately 60 inches across the top edge, but you can make it larger or smaller to suit your preference.
Adding the Finishing Touch: Edging
Once your main body is complete, it's time to add a beautiful border. Do not turn your work at the end of the final row.
Single Crochet Border: Work a border of single crochet (sc) evenly around all three edges of the triangle. When you reach each corner, work 3 single crochets into the corner stitch to keep the corners flat and neat.
Decorative Picot Edging (Optional): For a more refined, delicate finish, you can add a picot edging. To do this, work as follows: *sc in the next stitch, chain 3, slip stitch into the same stitch where you just made the sc; repeat from * around the entire perimeter of the shawl. This creates a lovely, scalloped edge that perfectly complements the shell stitch.
Finishing and Blocking
Weave in Ends: Use your tapestry needle to carefully weave in all loose yarn ends on the wrong side of the shawl. This is a crucial step for a professional finish.
Blocking: Blocking is essential for this project. It will open up the shell stitches, define the texture, and dramatically enhance the drape of the shawl. Soak the shawl in lukewarm water with a gentle wool wash, then gently squeeze out excess water (do not wring). Lay it flat on a blocking mat or a clean towel, and gently stretch it to its final dimensions, pinning the edges if needed. Allow it to dry completely.
Once dry, your Aurora Boreal Shawl is ready to wear. Drape it over your shoulders and enjoy the cozy, celestial beauty you've created with your own hands. This pattern is a wonderful way to practice your skills and create a stunning, one-of-a-kind accessory that you'll treasure for years to come.