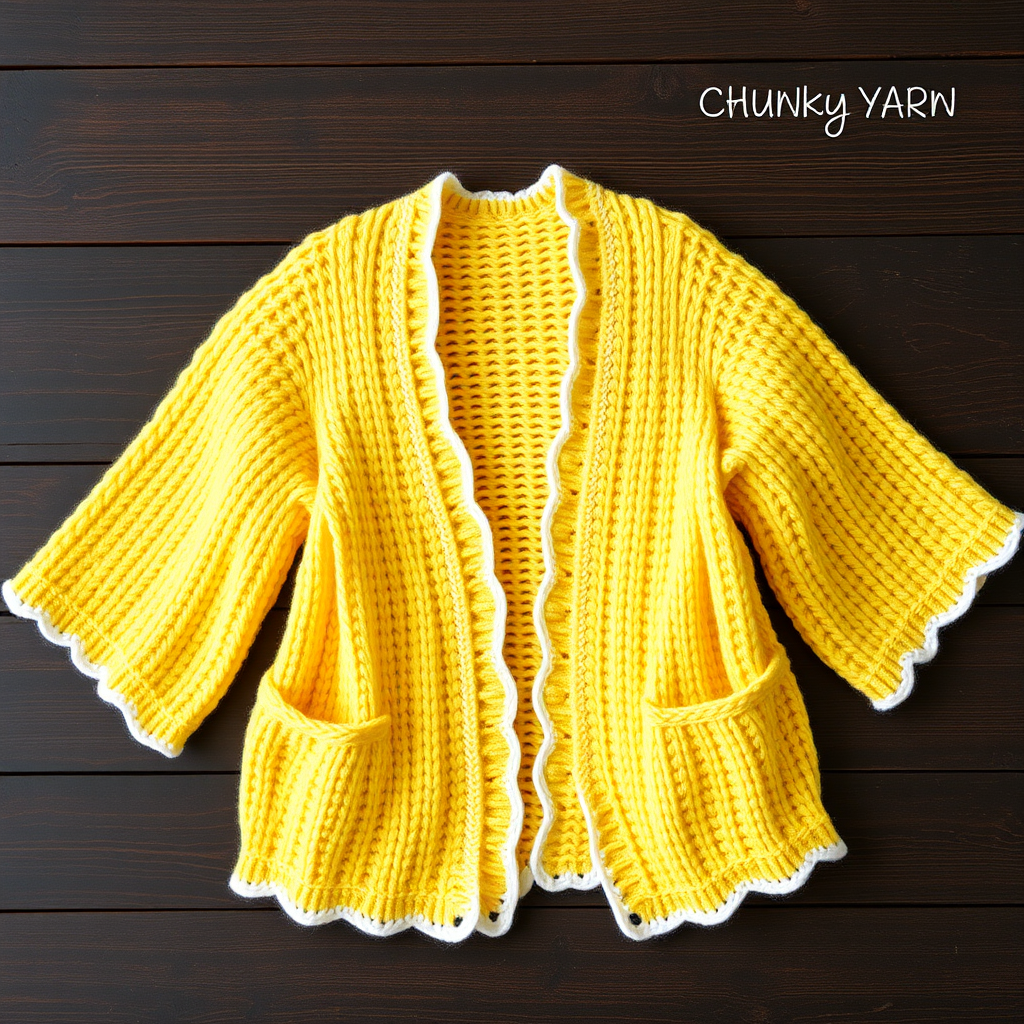
Aurora Bloom Mosaic Cocoon Cardigan Free Pattern – Knit a Gradient Garden Wrap

Aurora Bloom Mosaic Cocoon Cardigan Free Pattern – Knit a Gradient Garden Wrap
Wrap yourself in the soft embrace of a hand-knitted cocoon cardigan that blooms with a mosaic of gradient petals. This cozy, oversized layer is perfect for cool evenings and adds a touch of botanical artistry to any outfit. The Aurora Bloom cardigan is a stunning project that combines the relaxing rhythm of stockinette stitch with the visual intrigue of mosaic knitting—a technique that creates complex-looking patterns using simple slipped stitches and strategic color changes. Whether you're curling up with a good book or heading out for a crisp autumn walk, this gradient garden wrap will become your new favorite handmade companion.
This pattern is designed with the adventurous beginner in mind. The construction is surprisingly simple—a flat rectangle with shoulder increases that creates the signature cocoon silhouette. The mosaic pattern looks intricate but is incredibly forgiving, making it an excellent introduction to colorwork without the stress of carrying multiple yarns at once. Let's dive into this botanical knitting adventure!
Materials Needed
Before you begin, gather the following supplies to ensure a smooth knitting experience:
Yarn
- Worsted weight yarn in 4 colors:
- Color A: Deep forest green – approximately 400g
- Color B: Soft sage – approximately 200g
- Color C: Dusty rose – approximately 150g
- Color D: Cream – approximately 150g
- Total yarn needed: approximately 800g
Pro tip: Choose yarns with similar fiber content and weight for consistent drape. A wool-blend worsted weight works beautifully for this project, providing warmth and stitch definition.
Needles and Notions
- US 8 (5mm) circular knitting needles, 32-inch length (the long cable is essential for accommodating the large number of stitches)
- Stitch markers (optional, but helpful for tracking increase rows)
- Tapestry needle for weaving in ends
- Scissors
- Measuring tape
- Blocking mats and pins (for finishing)
Gauge
18 stitches and 24 rows = 4 inches in stockinette stitch (knit on US 8 needles). Always knit a gauge swatch before beginning to ensure your finished cardigan matches the intended dimensions. If your gauge is off, adjust your needle size accordingly.
Step-by-Step Instructions
This cocoon cardigan is knitted flat in one piece from the top down, then seamed at the sides. The mosaic pattern is created using slipped stitches and color changes. Follow these detailed instructions carefully, and you'll have a beautiful gradient garden wrap in no time.
Abbreviations
- CO: cast on
- K: knit
- P: purl
- Sl: slip stitch purlwise
- K2tog: knit two together
- Yo: yarn over
- St(s): stitch(es)
- RS: right side
- WS: wrong side
Pattern Notes
- The cardigan is worked in a rectangular shape with increases at the shoulders to create the cocoon silhouette.
- The mosaic pattern is worked in a 4-row repeat, using two colors per row.
- Always slip stitches purlwise with yarn in back on RS rows, and yarn in front on WS rows.
- Take your time with the slipped stitches—they create the beautiful mosaic effect, and consistency is key.
Step 1: Cast On and Neckline
With Color A (deep forest green), CO 80 sts using your preferred long-tail cast-on method. This will form the top edge of your cardigan, which will become the neckline and upper back.
Row 1 (RS): K all sts.
Row 2 (WS): P all sts.
Row 3 (RS - Increase Row): K1, *yo, K8, yo, K1* repeat from * to * across. This increase row adds 16 stitches, bringing your total to 96 sts. The yarn overs create deliberate eyelets that will be hidden in the fabric but add subtle texture.
Row 4 (WS): P all sts.
Step 2: Shoulder Increases
Continue in stockinette stitch (K on RS, P on WS) and increase 8 sts evenly every 4th row, 4 times total. Here's how to work these increases evenly:
Increase Row (RS): K1, *yo, K11, yo, K1* repeat from * to * across. This adds 8 stitches per increase row.
Work the increase row, then knit 3 plain rows (K on RS, P on WS) between each increase row. After completing all 4 increase rows, you should have 128 sts on your needles.
Tip: Place stitch markers every 16 stitches before beginning your increases to help you track placement. Move the markers up as you work.
Step 3: Mosaic Pattern Body
Now it's time for the star of the show—the mosaic pattern! Change to Color B (soft sage) and Color C (dusty rose) for this section. The mosaic technique uses slipped stitches to create the illusion of complex colorwork while only working with one color at a time.
Row 1 (RS, Color B): K all sts.
Row 2 (WS, Color B): P all sts.
Row 3 (RS, Color C): K1, *Sl 1, K3* repeat from * to * until last 3 sts, Sl 1, K2.
Row 4 (WS, Color C): P1, *Sl 1, P3* repeat from * to * until last 3 sts, Sl 1, P2.
Row 5 (RS, Color B): K all sts.
Row 6 (WS, Color B): P all sts.
Row 7 (RS, Color C): K3, *Sl 1, K3* repeat from * to * until last 1 st, K1.
Row 8 (WS, Color C): P3, *Sl 1, P3* repeat from * to * until last 1 st, P1.
Repeat Rows 1-8 for 12 inches, ending with a WS row. The offset slipped stitches in Rows 3-4 and Rows 7-8 create the staggered mosaic tile effect that gives this cardigan its botanical charm.
Important: When slipping stitches, always slip them purlwise (insert needle as if to purl) to prevent twisting. On RS rows, keep yarn in back; on WS rows, keep yarn in front.
Step 4: Lower Body and Color Gradient
Now we transition into the gradient section that gives this cardigan its "garden" feel. Change to Color D (cream) and continue in stockinette stitch for 4 inches.
Then, change to Color C (dusty rose) and work 2 inches in stockinette.
Next, change to Color B (soft sage) and work 2 inches in stockinette.
Finally, change to Color A (deep forest green) and work 4 inches in stockinette.
This creates a beautiful ombré effect that grounds the mosaic pattern and adds visual interest to the lower portion of the cardigan. The color transitions should be subtle and gradual, mimicking the natural gradient of a blooming garden.
Step 5: Ribbing and Bind Off
Work in K1, P1 ribbing for 2 inches. This ribbed band will provide structure and a polished finish to the bottom edge of your cardigan.
Bind off all sts loosely in pattern. To ensure a stretchy bind-off that won't pull the ribbing, use a larger needle or the following technique: K1, *K1, pass first stitch over second* repeat across. This creates a flexible edge that maintains the ribbing's elasticity.
Step 6: Seaming
Fold the piece in half with RS together. The cast-on edge should be at the top (this becomes the neckline), and the bind-off edge at the bottom.
Sew side seams from the bottom up, leaving 10 inches open at the top for armholes. Use a mattress stitch or whip stitch with matching yarn for invisible seams. The open section at the top creates the wide, comfortable sleeves of the cocoon silhouette.
Tip: Before seaming, try the cardigan on to determine the ideal armhole placement. You can adjust the seam length slightly for a custom fit.
Step 7: Finishing
Weave in all ends using a tapestry needle, being careful to secure them on the wrong side of the fabric. Take your time with this step—properly woven ends will ensure your cardigan lasts for years.
Block the cardigan to shape, allowing the cocoon silhouette to drape naturally. Wet blocking is recommended for wool blends: soak the cardigan in lukewarm water with a gentle wool wash, gently squeeze out excess water (never wring), and lay flat on blocking mats. Pin to the desired dimensions and allow to dry completely. This will even out your stitches, open up the mosaic pattern, and give the cardigan its beautiful drape.
Once dry, your Aurora Bloom Mosaic Cocoon Cardigan is ready to wear! The relaxed, oversized shape pairs beautifully with jeans and boots for a cozy autumn look, or with a simple dress for an elegant evening layer.
Care Instructions
To keep your hand-knit cardigan looking its best, hand wash in cold water with a gentle detergent and lay flat to dry. Store folded (not hung) to maintain the shape of the cocoon silhouette.
Happy knitting, and enjoy your beautiful gradient garden wrap! The combination of the mosaic pattern and the thoughtful color transitions makes this a truly special piece that you'll treasure for seasons to come.