Agape Wrap Crochet Pattern 73281 – Free Flowing Lace Embrace

The Agape Wrap: A Free-Flowing Lace Embrace
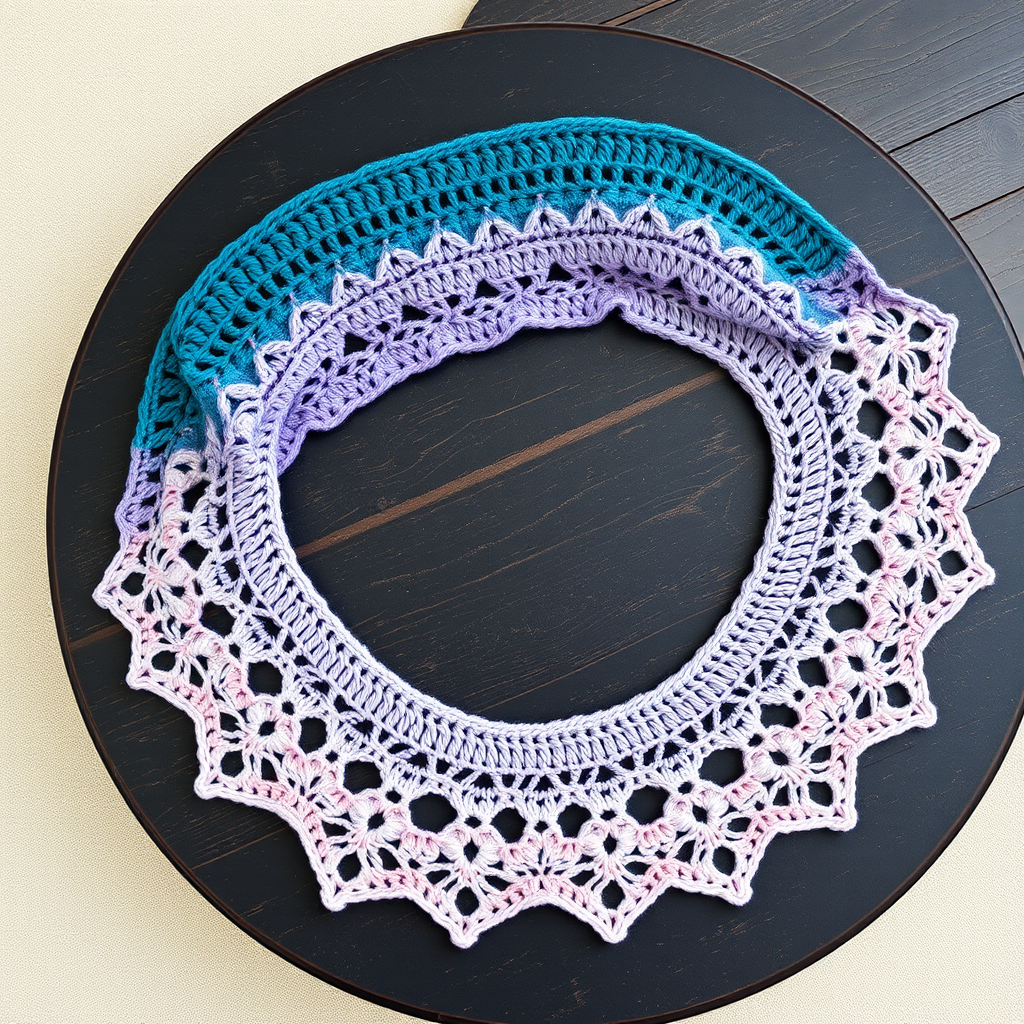
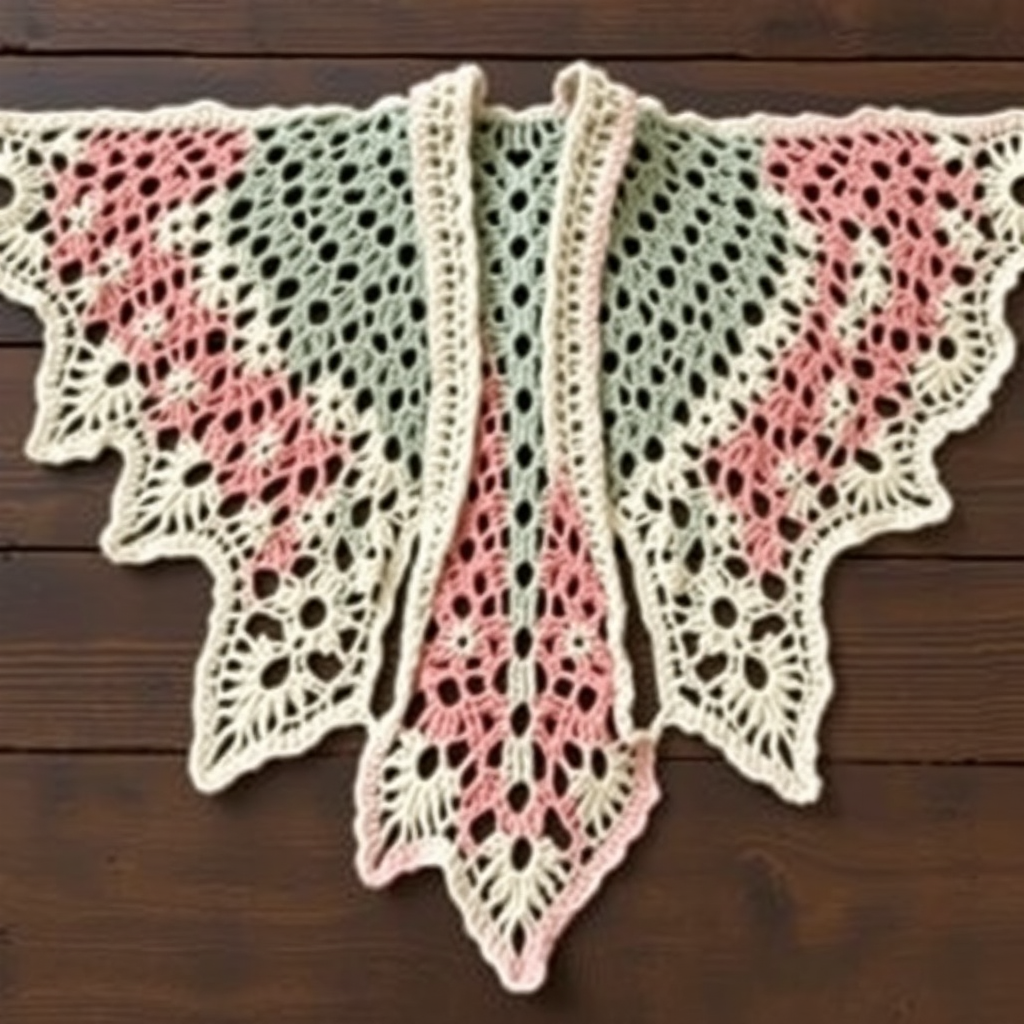
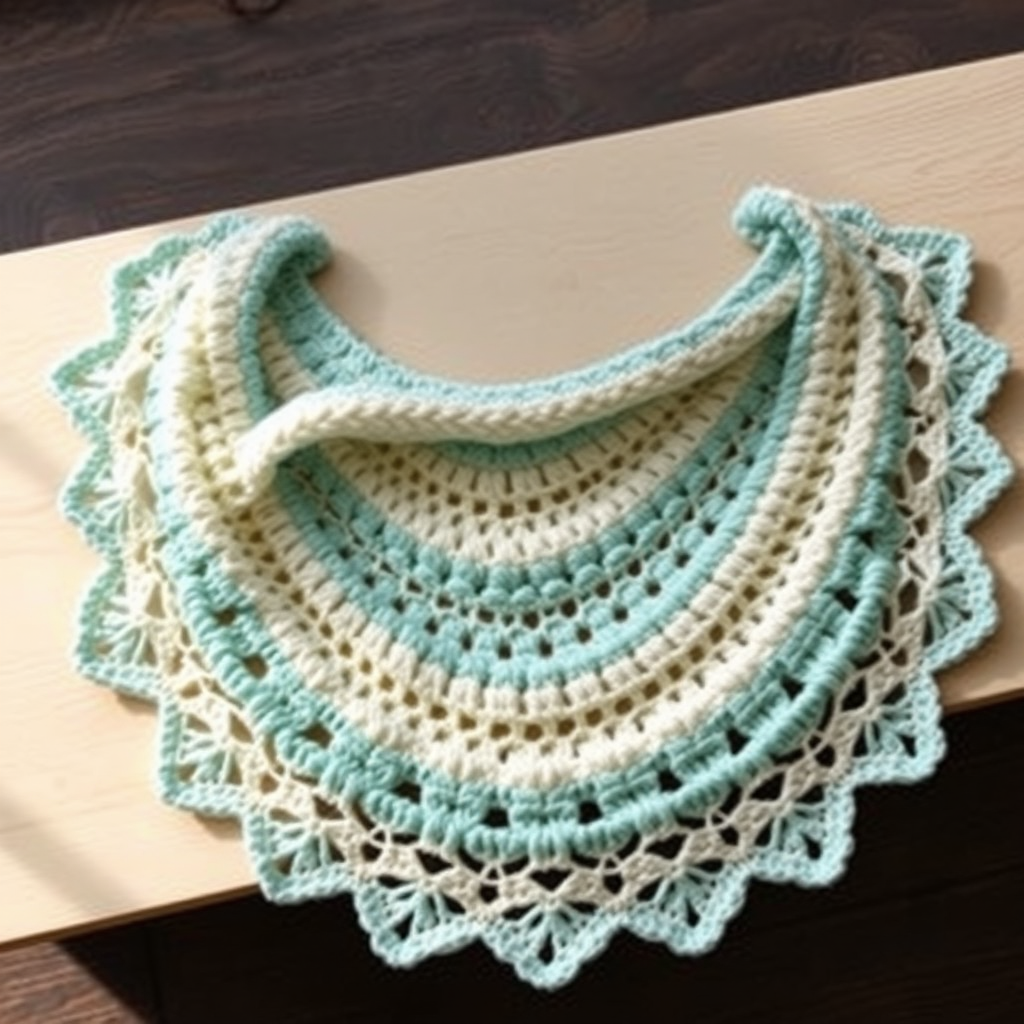
Wrap yourself in the ethereal beauty of the Agape Wrap—a crescent-shaped crochet shawl that drapes like a gentle embrace. This free pattern uses a simple, repeatable V-stitch mesh to create a sophisticated, airy fabric that's perfect for cool evenings, special occasions, or as a thoughtful handmade gift. Whether you're a seasoned crocheter or a confident beginner looking for a rewarding project, the Agape Wrap offers a meditative rhythm and a stunning result that will become a wardrobe staple.
The name "Agape" reflects the unconditional love woven into every stitch—a reminder that handmade items carry a special warmth. The muted heather sage green suggested in the pattern evokes calm and nature, but feel free to choose any fingering-weight yarn that speaks to you. The delicate lace border with picot points adds a romantic, airy finish that catches the light beautifully.
Materials Needed
Before you begin, gather the following supplies to ensure a smooth crochet experience:
- Yarn: Fingering weight yarn (e.g., Malabrigo Sock, 100% superwash merino, 440 yds/100g) – 2 skeins (approx. 880 yds) in a soft heather sage green or your preferred color.
- Crochet Hook: US G/6 (4.0 mm) crochet hook.
- Gauge: 16 dc x 9 rows = 4 inches in dc pattern (after blocking). Gauge is important for achieving the correct drape and size, so take a moment to swatch.
- Other Tools: Yarn needle for weaving in ends, blocking mats and pins, and a spray bottle or basin for wet blocking.
Step-by-Step Instructions
This pattern is worked from the center top down, increasing at both ends to form the crescent shape. The lace mesh is created using V-stitches and chain spaces, which open up beautifully after blocking. Follow along carefully, and you'll have a gorgeous wrap in no time.
Special Stitches
- V-stitch (V-st): (dc, ch 1, dc) in same stitch or space.
- Shell (sh): 5 dc in same stitch or space.
- Picot: ch 3, slip st in 3rd ch from hook.
Pattern Notes
- Worked from the center top down, increasing at both ends to form a crescent.
- Ch 3 at beginning of rows counts as a dc unless otherwise stated.
- Blocking is essential to open up the lace and achieve the final shape.
Getting Started: The Foundation
Row 1: Ch 5, dc in 5th ch from hook (counts as dc, ch 1, dc). Turn. (1 V-st)
Row 2: Ch 3, V-st in ch-1 space of previous V-st, dc in top of turning ch. Turn. (2 V-sts)
Row 3: Ch 3, V-st in first V-st, V-st in next V-st, dc in top of turning ch. Turn. (3 V-sts)
Creating the Diagonal Mesh
Row 4: Ch 3, V-st in first V-st, ch 1, skip next V-st, V-st in next V-st, dc in top of turning ch. Turn. (2 V-sts, 1 ch-1 space)
Row 5: Ch 3, V-st in first V-st, V-st in ch-1 space, V-st in next V-st, dc in top of turning ch. Turn. (3 V-sts)
Rows 6-15: Repeat Rows 4-5, alternating the ch-1 space placement to create a gentle diagonal mesh. At the end of Row 15, you should have 8 V-sts across.
Increasing for the Crescent Shape
Row 16 (Increase row): Ch 3, 2 dc in first V-st, V-st in each V-st across, 2 dc in last V-st, dc in top of turning ch. Turn. (10 V-sts)
Rows 17-30: Repeat Rows 4-5 pattern, working V-sts across all V-sts, with ch-1 spaces placed every other row. End with 10 V-sts.
Row 31 (Increase row): Repeat Row 16. (12 V-sts)
Rows 32-45: Continue the mesh pattern, increasing every 15 rows as established. At the end of Row 45, you should have 14 V-sts.
Row 46 (Increase row): Repeat Row 16. (16 V-sts)
Rows 47-60: Continue mesh pattern without further increases. End with 16 V-sts.
Adding the Scalloped Lace Edging
The edging transforms the wrap from simple to stunning. Worked along the bottom curved edge, it creates a romantic scalloped finish.
Row 1: Attach yarn to the bottom right corner. Ch 1, sc evenly along the bottom edge, working 2 sc in each V-st and 1 sc in each ch-1 space. Turn.
Row 2: Ch 1, sc in first sc, *skip 2 sc, sh in next sc, skip 2 sc, sc in next sc; repeat from * across, ending with sc in last sc. Turn.
Row 3: Ch 1, sc in first sc, *ch 5, skip to next sc, sc in that sc; repeat from * across. Turn.
Row 4: Ch 1, sc in first sc, *work (3 dc, picot, 3 dc) in next ch-5 loop, sc in next sc; repeat from * across. Fasten off.
Finishing and Blocking
Weave in all ends with your yarn needle. To open up the lace and achieve the beautiful crescent shape, wet blocking is essential:
- Soak the wrap in lukewarm water with a drop of wool wash for 20 minutes.
- Gently squeeze out excess water—do not wring or twist.
- Lay flat on a blocking mat.
- Pin out the bottom edge to open the lace scallops, and pin the top edge to a gentle crescent curve.
- Allow to dry completely before unpinning.
Once dry, your Agape Wrap is ready to wear or gift. The soft drape and delicate lace make it a versatile accessory that pairs beautifully with both casual and dressy outfits. Enjoy the process, and remember—every stitch is an expression of love.