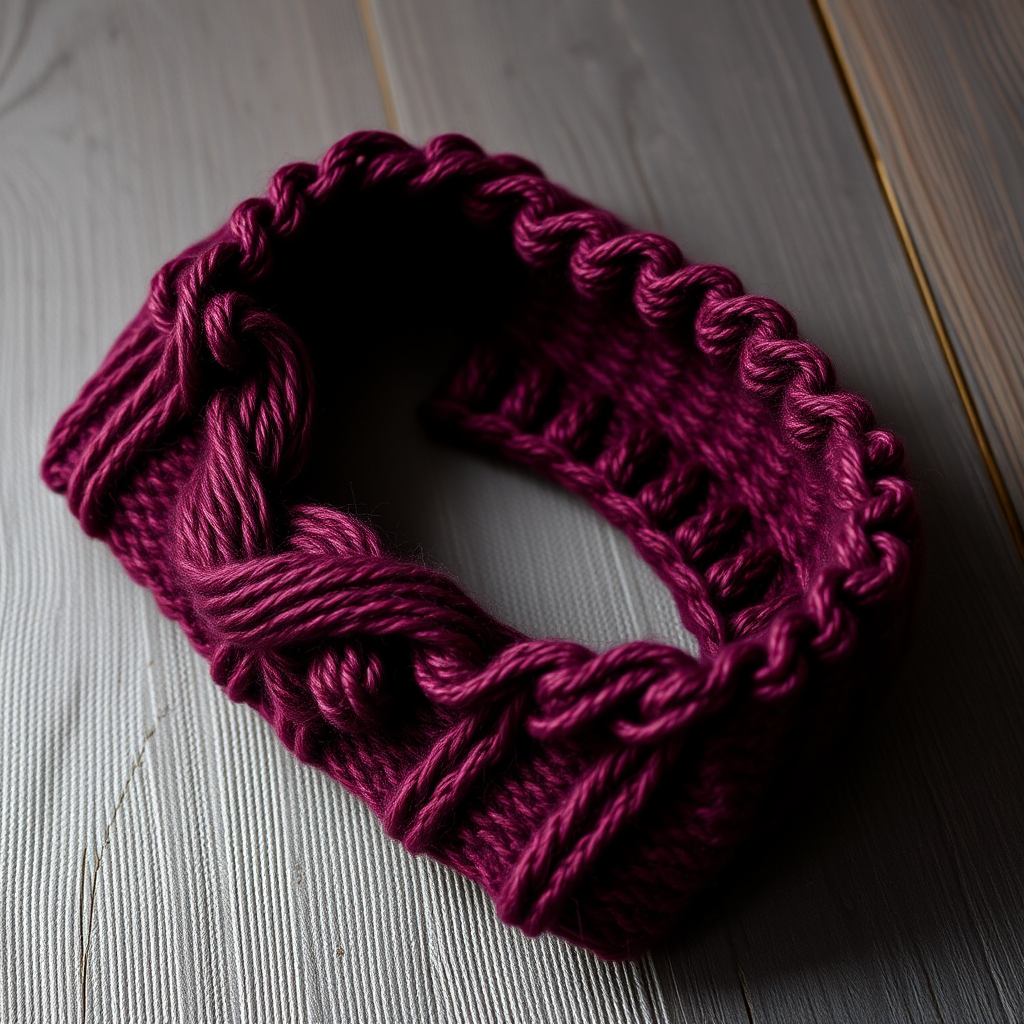
Whispering Dunes Fingerless Mitts Free Pattern – A Knitted Desert Mirage
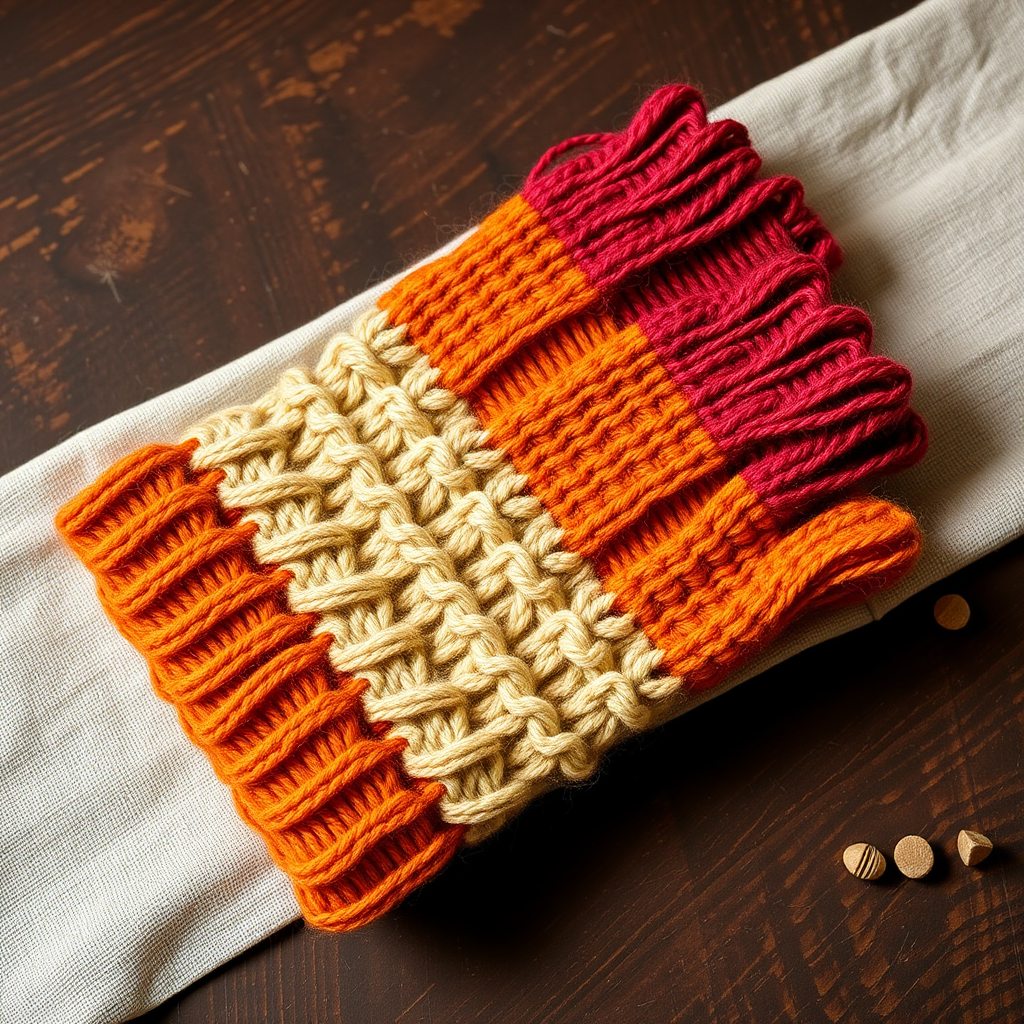
Whispering Dunes Fingerless Mitts: A Knitted Desert Mirage
Wrap your hands in the warm, shifting sands of a desert sunset with these uniquely textured fingerless mitts. The clever use of slipped stitches and a gradient yarn creates a mesmerizing dune-like ripple effect that's both cozy and chic. This free knitting pattern is perfect for intermediate beginners looking to expand their skills while creating a stunning, wearable accessory. The combination of three warm earthy tones—sand, terracotta, and deep rust—evokes the breathtaking beauty of desert landscapes, making these mitts a true statement piece for fall and winter wardrobes.
What makes these mitts truly special is the ingenious slipped stitch pattern that requires no complicated cable needles or intricate lacework. Simply by slipping stitches and working in the round, you'll create a dimensional, textured fabric that mimics the rolling curves of desert sand dunes. The gradient effect from the three-color design adds depth and visual interest, while the ribbed cuffs and top edges ensure a snug, comfortable fit. Whether you're treating yourself or crafting a heartfelt gift, these fingerless mitts are sure to become a beloved staple.
Materials Needed
Before you begin your knitting journey, gather the following materials:
Yarn
- Color A (Sand): Worsted weight yarn, approximately 50g
- Color B (Terracotta): Worsted weight yarn, approximately 50g
- Color C (Deep Rust): Worsted weight yarn, approximately 50g
Total yarn needed: approximately 150g of worsted weight yarn in three coordinating colors. Choose a soft, warm yarn like merino wool or an alpaca blend for maximum coziness.
Needles and Notions
- US 6 (4.0 mm) knitting needles – set of double-pointed needles (DPNs) or a circular needle for magic loop method
- Stitch markers (at least 2)
- Waste yarn or stitch holders for thumb stitches
- Tapestry needle for weaving in ends
- Scissors
Gauge
20 stitches and 28 rows = 4 inches in stockinette stitch (knit every round). Always knit a gauge swatch to ensure your mitts fit perfectly. Adjust needle size if necessary to achieve the correct gauge.
Step-by-Step Instructions
Follow these detailed instructions to create your Whispering Dunes Fingerless Mitts. The pattern is worked in the round, so you'll be knitting continuously without turning your work. Take your time, and enjoy the rhythmic, meditative process of watching the dune pattern emerge.
Mitt 1 (Make 2)
Cuff
- With Color A (sand), cast on 40 stitches using your preferred method (long-tail cast on works beautifully).
- Divide stitches evenly among your double-pointed needles (13, 13, 14) or place them on your circular needle for magic loop.
- Join in the round: Place a stitch marker to mark the beginning of the round. Carefully join, being extremely careful not to twist your stitches. The cast-on edge should form a neat circle.
- Work K1, P1 ribbing for 1.5 inches (approximately 10-12 rounds). This creates a snug, stretchy cuff that will keep the mitts securely on your hands.
Main Body – Dune Ripple Pattern
- Switch to Color B (terracotta). Work in stockinette stitch (knit every round) for 4 rounds. This creates a smooth base for the textured pattern.
- Begin the dune ripple pattern. This 4-round repeat creates the mesmerizing desert dune effect:
- Round 1: *K4, slip 2 stitches purlwise with yarn in back*; repeat from * to * around. (You'll have 6 pattern repeats of 6 stitches each = 36 stitches, plus 4 extra stitches at the end. Simply work the last 4 stitches as K4.)
- Round 2: Knit all stitches.
- Round 3: *Slip 2 stitches purlwise with yarn in back, K4*; repeat from * to * around. (The slipped stitches will now be offset from Round 1, creating the ripple effect.)
- Round 4: Knit all stitches.
- Repeat these 4 rounds until the piece measures 4 inches from the cast-on edge, ending after a Round 4. This ensures you're at the right point to begin the thumb gusset.
Thumb Gusset
- Place a stitch marker after the first 20 stitches. This marks the center of your thumb gusset area.
- Continue in the dune ripple pattern, but now incorporate increases for the thumb:
- Increase Round: K1, M1L (make 1 left), knit to 1 stitch before the marker, M1R (make 1 right), K1, then continue the pattern around. This adds 2 stitches to your thumb gusset.
- Work the increase round every 4th round, 4 times total. After all increases, you'll have 48 stitches on your needles (40 original + 8 increases).
- On the next round, carefully place the 9 thumb stitches (the stitches between the increases) onto a waste yarn holder. These will be worked later for the thumb.
- Cast on 1 stitch over the gap using the backward loop method. Continue in the pattern around. You now have 40 stitches again (48 - 9 thumb stitches + 1 cast-on = 40).
Hand Section
- Continue working in the dune ripple pattern until the mitt measures 7 inches from the cast-on edge, or your desired length to cover the hand while leaving fingers free. Try it on as you go to ensure the perfect fit.
- End after completing a full pattern repeat (Round 4) for a clean transition to the top edging.
Top Edging
- Switch to Color C (deep rust). Work K1, P1 ribbing for 1 inch (approximately 8-10 rounds). This mirrors the cuff and creates a polished, finished look.
- Bind off loosely in pattern (knit the knits and purl the purls as you bind off). A loose bind-off ensures the mitts can easily slip over your hand.
Thumb
- Carefully transfer the 9 thumb stitches from the waste yarn holder onto your needles.
- Pick up 2 additional stitches from the gap (one on each side of the cast-on stitch). You'll now have 11 stitches total.
- Work in stockinette stitch (knit every round) for 1 inch. This creates a comfortable, flexible thumb that allows full finger movement.
- Bind off loosely. Weave in the yarn end securely.
Mitt 2
- Work exactly as Mitt 1, but when placing the thumb gusset marker, place it after the first 20 stitches on the opposite side of the round. This ensures the thumbs are mirrored, so you have a left and right mitt.
- Follow all other instructions identically.
Finishing
- Weave in all loose ends using a tapestry needle. Be sure to secure them well, especially at color changes and the thumb base.
- Block gently to even out the slipped stitch texture. Wet blocking works beautifully: soak the mitts in lukewarm water with a drop of mild soap, gently squeeze out excess water (never wring), lay flat on a towel, and shape to the correct dimensions. Allow to dry completely.
- Once dry, your Whispering Dunes Fingerless Mitts are ready to wear! The slipped stitch texture will have relaxed and bloomed, creating a soft, dimensional fabric that's both warm and breathable.
Tips for Success
- Keep your slipped stitches loose: When slipping stitches purlwise with yarn in back, ensure the yarn floats aren't too tight. This maintains the fabric's elasticity and prevents puckering.
- Use a lifeline: If you're new to working in the round, consider threading a lifeline through your stitches after the first pattern repeat. This makes it easy to rip back if you make a mistake.
- Try on as you go: Fingerless mitts should fit snugly but comfortably. Don't be afraid to adjust the length of the hand section to suit your hand size.
- Color placement: Feel free to customize the color order to create your own unique desert palette. A sunset-inspired gradient from peach to magenta would be stunning!
These Whispering Dunes Fingerless Mitts are more than just a knitting project—they're a journey through texture and color. The slipped stitch pattern is deceptively simple yet produces a sophisticated, professional-looking result. As you knit, you'll watch the colors blend and the dune-like ripples emerge, creating a wearable piece of art. Perfect for chilly mornings, outdoor adventures, or cozy evenings by the fire, these mitts keep your hands warm while leaving your fingers free for texting, crafting, or turning pages.
Share your finished mitts with the knitting community using #WhisperingDunesMitts. We'd love to see your color combinations and how the pattern transforms with different yarns. Happy knitting, and may your hands always be wrapped in the warmth of desert sands!