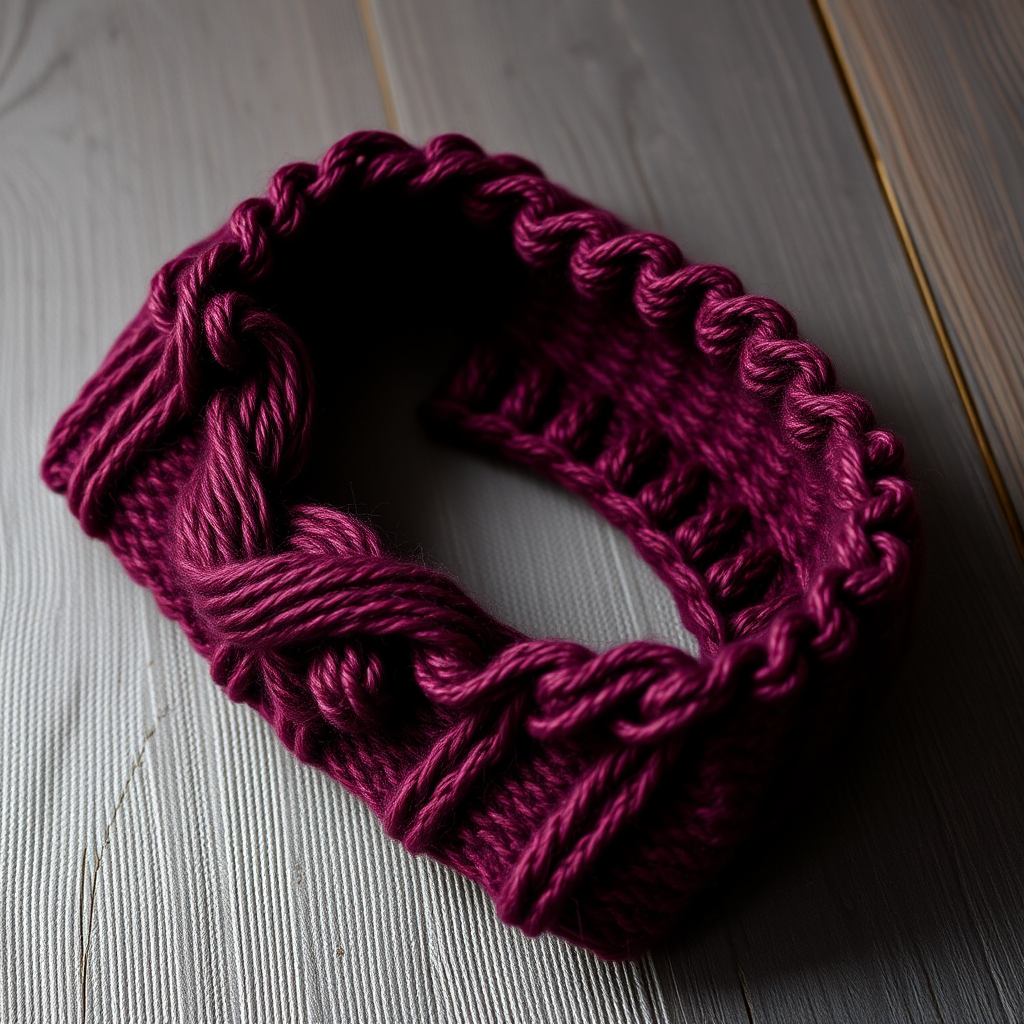
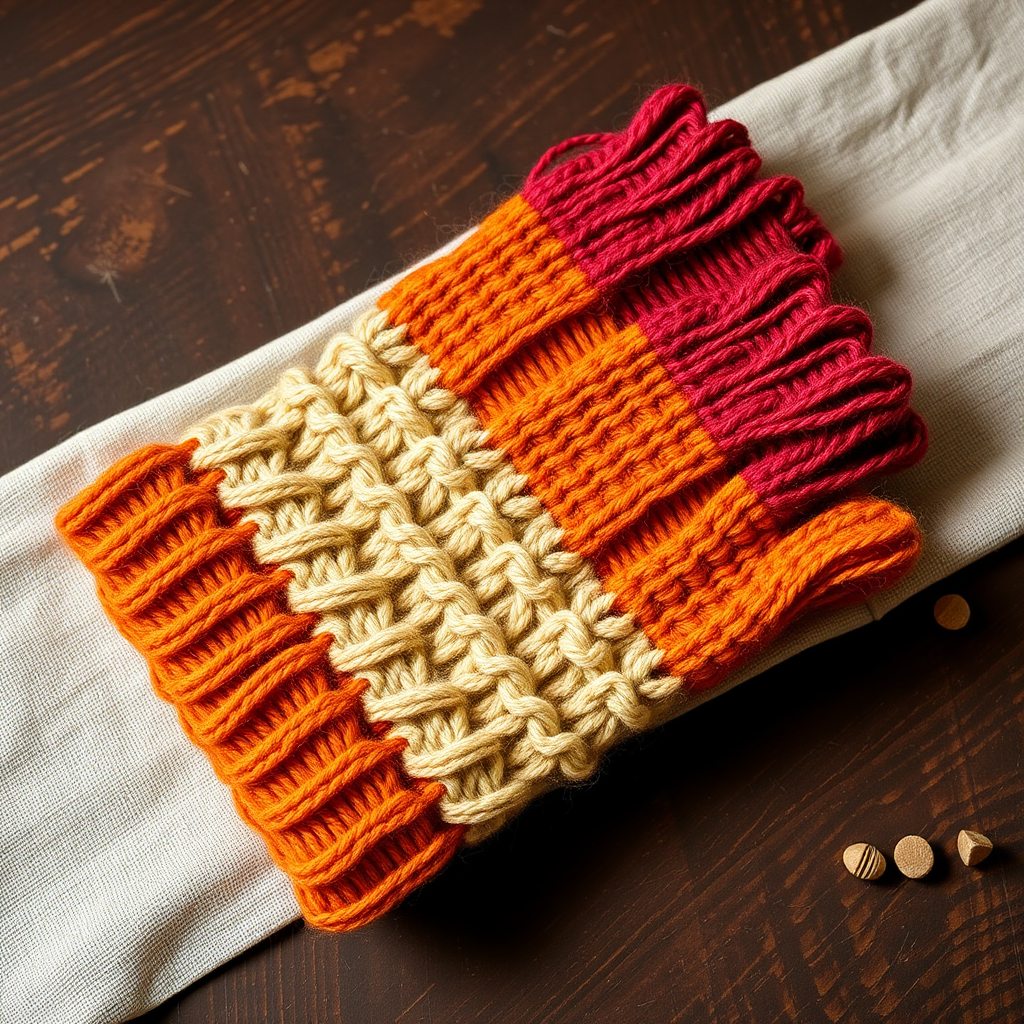
Aurora Bloom Ruffle Handwarmers Free Pattern – Knit a Cozy Floral Wristlet

Wrap Your Hands in Bloom: The Aurora Bloom Ruffle Handwarmers
Imagine wrapping your hands in a delicate garden of soft, sculptural ruffles. That is the magic of the Aurora Bloom Ruffle Handwarmers. This free knitting pattern transforms simple worsted-weight yarn into a cozy, floral wristlet that feels like a gentle hug for your hands. Knitted flat from the wrist upward, this project is surprisingly beginner-friendly while delivering a stunning, high-fashion look. The smooth stockinette body in a soft blush pink gives way to a dramatic, cascading ruffle edged in cream, creating a wavy, petal-like silhouette that catches light and shadow beautifully. Whether you are a seasoned knitter looking for a quick, satisfying project or a beginner ready to learn increases, this pattern is your perfect companion. Let’s dive into creating these blooming beauties.
Materials Needed: Gathering Your Garden
Before you cast on, gather these simple supplies. The beauty of this pattern lies in its simplicity—you only need a few basics to create something extraordinary.
- Yarn: Worsted weight yarn in two colors:
- Main Color (MC): Soft blush pink (approx. 100g / 200 yards)
- Contrast Color (CC): Cream (approx. 50g / 100 yards)
- Needles: US 7 (4.5 mm) knitting needles, or the size needed to achieve gauge.
- Notions: Stitch markers (optional, but helpful), a tapestry needle for weaving in ends and seaming.
- Gauge: 20 stitches and 26 rows = 4 inches in stockinette stitch (after blocking). Tip: Always knit a swatch to ensure your handwarmers fit perfectly!
Step-by-Step Instructions: Knitting Your Floral Wristlet
This pattern is worked flat from the wrist upward, then seamed. The ruffle is created with a simple increase technique that forms a wavy, petal-like edge. Follow these detailed instructions carefully, and you will have a beautiful pair in no time.
Abbreviations
- CO: Cast on
- K: Knit
- P: Purl
- K2tog: Knit two together (decrease)
- Kfb: Knit into front and back of stitch (increase)
- St(s): Stitch(es)
- RS: Right side
- WS: Wrong side
Handwarmer (Make 2)
This pattern is identical for both handwarmers. Take your time and enjoy the process!
Step 1: The Cuff (Ribbing)
With your Main Color (MC), cast on 32 stitches.
- Row 1 (RS): *K2, P2; repeat from * across the row.
- Rows 2-10: Repeat Row 1. This creates a stretchy, snug ribbing that will hug your wrist. You should have about 1.5 inches of ribbing.
Step 2: The Body (Stockinette Stitch)
Now we will create the smooth, sleek body of the handwarmer.
- Row 11 (RS): Knit all stitches.
- Row 12 (WS): Purl all stitches.
- Rows 13-20: Repeat Rows 11 and 12. Continue this pattern until the piece measures 4 inches from the cast-on edge, ending with a wrong-side (purl) row. Pro Tip: Place a stitch marker on the RS to help you keep track of your rows.
Step 3: Begin Ruffle Increases
This is where the magic happens! We will use the Kfb (knit front and back) increase to rapidly expand the fabric, creating the foundation for your ruffle.
- Row 21 (RS): K1, *Kfb, K1; repeat from * across the row. You will now have 47 stitches.
- Row 22 (WS): Purl all stitches.
- Row 23 (RS): K1, *Kfb, K2; repeat from * across the row. You will now have 62 stitches.
- Row 24 (WS): Purl all stitches.
- Row 25 (RS): K1, *Kfb, K3; repeat from * across the row. You will now have 77 stitches.
- Row 26 (WS): Purl all stitches.
- Row 27 (RS): K1, *Kfb, K4; repeat from * across the row. You will now have 92 stitches.
- Row 28 (WS): Purl all stitches.
Notice how the fabric is flaring out beautifully. This is the base of your petal ruffle.
Step 4: The Ruffle Edging (Contrast Color)
Now, switch to your Contrast Color (CC) cream yarn. This will give your ruffle a crisp, delicate finish.
- Row 29 (RS): Knit all stitches.
- Row 30 (WS): Purl all stitches.
- Row 31 (RS): *K2tog; repeat from * across the row. You will now have 46 stitches.
- Row 32 (WS): Purl all stitches.
- Row 33 (RS): *K2tog; repeat from * across the row. You will now have 23 stitches.
- Row 34 (WS): Purl all stitches.
- Bind off loosely on the right side. Tip: Bind off very loosely to keep the edge from pulling and to maintain the wavy, petal-like shape.
Step 5: Finishing and Seaming
You are almost done! Now we will shape your handwarmer into a wearable tube.
- Fold the piece in half with the right sides together, matching the cast-on edge and the bind-off edge.
- Sew the side seam from the cuff up to the start of the ruffle (about 3 inches). Important: Leave the ruffle section open! This creates the flared, petal-like opening for your hand.
- Weave in all ends using your tapestry needle to ensure a clean, professional finish.
- Block gently to shape the ruffles and even out the stitches. This will help the ruffles lay beautifully.
Repeat the entire process for the second handwarmer. Once complete, slip them on and admire your handiwork—you have just knitted a garden for your wrists!
These handwarmers make a wonderful gift or a special treat for yourself. The combination of the smooth blush body and the cascading cream ruffle is truly enchanting. Happy knitting!