Ember & Ash Couples Mittens Free Pattern – A Knitted Two-Tone Flame Set

Ember & Ash Couples Mittens: A Free Knitting Pattern for Two-Tone Flame Set
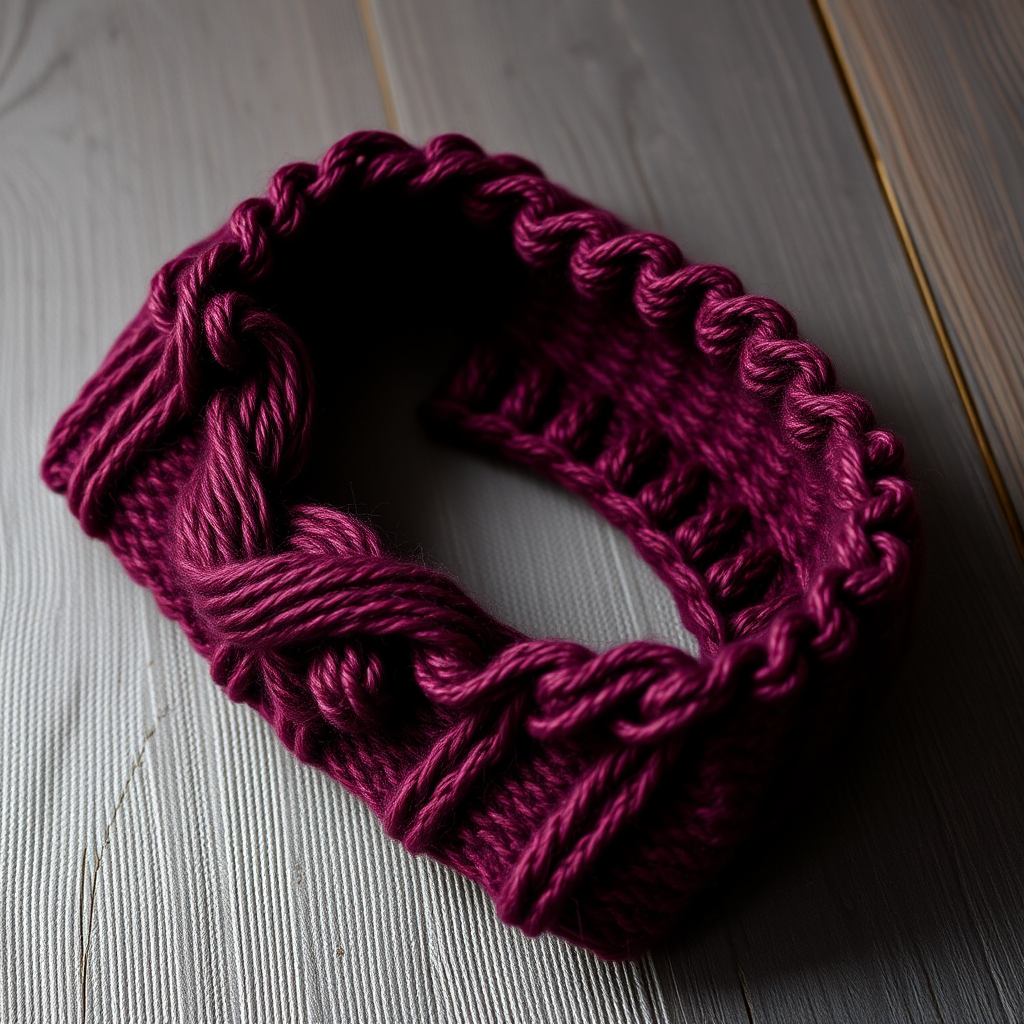
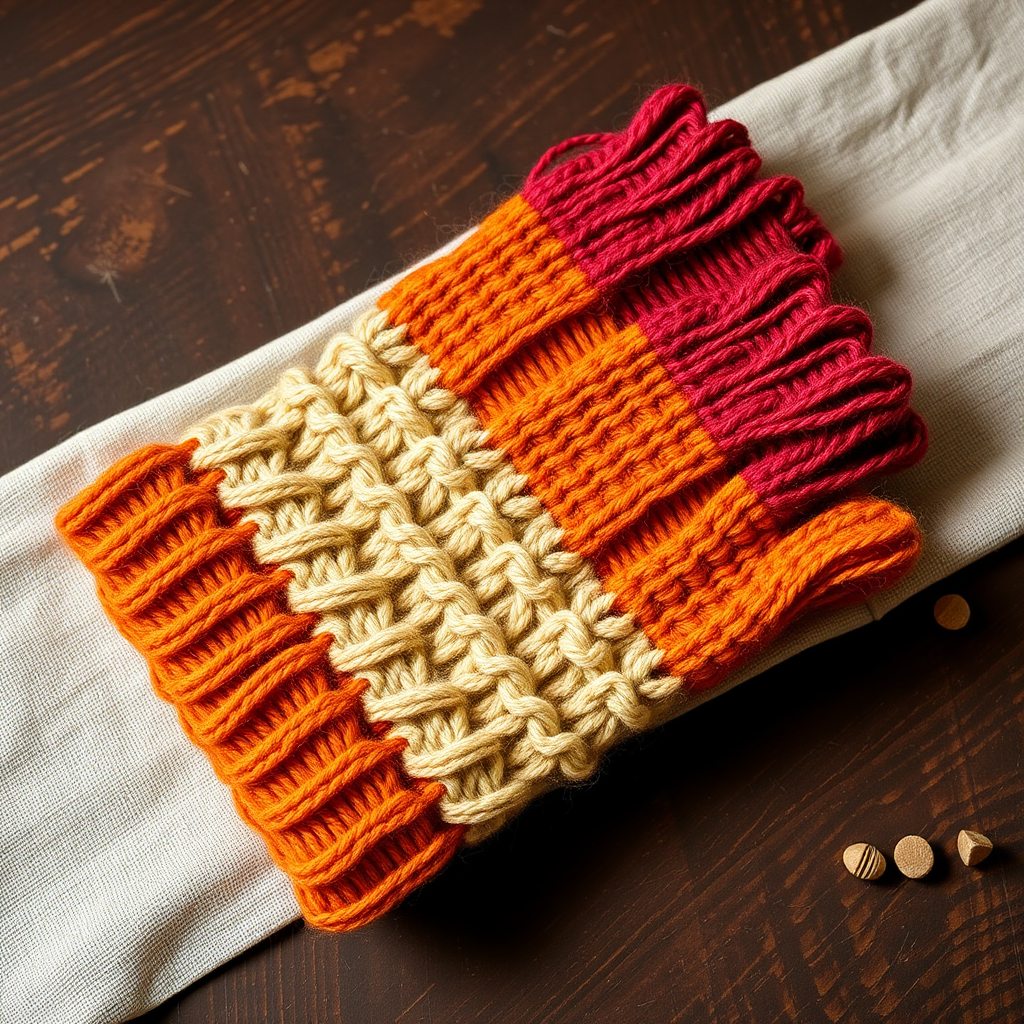
There's something deeply romantic about a pair of mittens designed for two hands that belong together. The Ember & Ash Couples Mittens capture this sentiment beautifully—one mitten in a deep, warm ember red and the other in a soft, cool ash gray, each featuring a mirrored cable twist that aligns when hands are held. This free knitting pattern is perfect for intermediate knitters looking to create a meaningful, handmade gift for a partner, friend, or loved one. The textured braided cables and contrasting cuffs make this set as visually striking as it is cozy, and the worsted weight yarn ensures quick, satisfying knitting.
Whether you're knitting for a winter anniversary, a holiday gift, or simply to celebrate togetherness, this pattern delivers both style and warmth. Let's dive into everything you need to create this stunning two-tone mitten set.
Materials Needed
Before you begin, gather the following supplies. All items are readily available at your local yarn shop or online.
Yarn
- Worsted weight yarn in two colors:
- Color A (Ember Red): Approximately 200 yards
- Color B (Ash Gray): Approximately 200 yards
- Note: The visual details call for contrasting cuffs—the ember red mitten has an ash gray cuff, and the ash gray mitten has an ember red cuff. This means you'll use both colors for each mitten, so plan your yardage accordingly. A total of 200 yards per color is sufficient for both mittens including cuffs.
Needles & Notions
- US 6 (4.0 mm) double-pointed needles (set of 4 or 5) OR a circular needle for magic loop method
- Stitch markers (at least 2)
- Cable needle
- Stitch holder or waste yarn for thumb stitches
- Tapestry needle for weaving in ends
- Scissors
Gauge
20 stitches and 28 rows = 4 inches (10 cm) in stockinette stitch (knit every round). Always knit a gauge swatch before starting to ensure your mittens fit properly. Adjust needle size if necessary to achieve gauge.
Step-by-Step Instructions
This pattern creates two structurally identical mittens with different colors and mirrored cables. We'll walk through Mitten 1 (Ember Red) in complete detail, then note the modifications for Mitten 2 (Ash Gray).
Abbreviations
- CO: cast on
- K: knit
- P: purl
- K2tog: knit two together (right-leaning decrease)
- SSK: slip, slip, knit (left-leaning decrease)
- M1L: make one left (increase)
- M1R: make one right (increase)
- C4F: slip 2 stitches to cable needle, hold in front, knit next 2 stitches, then knit the 2 from cable needle
- C4B: slip 2 stitches to cable needle, hold in back, knit next 2 stitches, then knit the 2 from cable needle
- St st: stockinette stitch (knit every round when working in the round)
Mitten 1 (Ember Red with Ash Gray Cuff)
Cuff
- Cast on: Using Color B (Ash Gray) for the contrasting cuff, CO 40 stitches. Distribute evenly on 4 double-pointed needles (10 stitches per needle). Join in the round, being extremely careful not to twist your stitches. Place a stitch marker to mark the beginning of the round.
- Ribbing: Work K2, P2 ribbing for 3 inches (approximately 20 rounds). This creates a snug, stretchy cuff that will keep warmth in and snow out.
- Switch to Color A: At the end of the ribbing, cut the Ash Gray yarn, leaving a 6-inch tail, and join Ember Red. You'll now work the hand of the mitten in the main color.
Hand (Cable Pattern)
The cable pattern runs along the back of the hand (the side opposite your palm). The first 16 stitches and last 16 stitches of each round are plain stockinette (the palm side), while the center 8 stitches form the cable.
- Round 1: Knit all stitches.
- Round 2: Knit all stitches.
- Round 3 (Cable round): K16, C4F, K4, C4B, K16. (This sets up the cable pattern—the C4F and C4B create a braided twist in the center 8 stitches.)
- Rounds 4-6: Knit all stitches.
- Round 7 (Cable round): K16, C4B, K4, C4F, K16. (This alternates the cable direction to create the braided effect.)
- Rounds 8-10: Knit all stitches.
- Repeat: Continue repeating Rounds 3-10 until the hand measures 2 inches from the cuff (about 8 pattern repeats). End after completing a full repeat (Round 10).
Thumb Gusset
The thumb gusset adds stitches gradually to create room for your thumb. The increases are placed on the palm side of the mitten, between stitch 18 and stitch 19 of the round.
- Round 1 (Increase round): K18, M1L, K1, M1R, K21. (You now have 42 stitches total.)
- Round 2: Knit all stitches.
- Round 3 (Increase round): K18, M1L, K3, M1R, K21. (44 stitches total. Notice the gusset grows by 2 stitches each increase round—the K1 becomes K3, then K5, etc.)
- Round 4: Knit all stitches.
- Continue increasing: Keep working increase rounds every other round, adding 2 stitches to the gusset between the M1L and M1R markers. The gusset stitches will be: K1, then K3, then K5, then K7, and so on.
- Stop when: You have 13 stitches between the increases (total 52 stitches on needles). This means you've worked 6 increase rounds total.
- Separate thumb: On the next round: K18, place the next 13 stitches onto a stitch holder or waste yarn for the thumb, CO 1 stitch (this bridges the gap), K21. (You now have 40 stitches back on your needles for the hand.)
Hand (Continued)
- Continue in pattern: Resume the cable pattern as established (Rounds 3-10) on the back of the hand. Work until the hand measures 4 inches from the thumb opening. End after completing a full cable repeat.
Top Decreases (Crown)
Now we'll shape the top of the mitten by decreasing stitches evenly. The decreases are placed at the sides of the mitten (between the palm and back of hand sections).
- Round 1 (Decrease round): K2tog, K16, SSK, K2tog, K16, SSK. (36 stitches remain. The first K2tog/SSK pair is at the side of the hand, the second pair is at the other side.)
- Round 2: Knit all stitches.
- Round 3 (Decrease round): K2tog, K14, SSK, K2tog, K14, SSK. (32 stitches remain. Notice you knit 2 fewer stitches between decreases each time.)
- Round 4: Knit all stitches.
- Continue decreasing: Keep working decrease rounds every other round, knitting 2 fewer stitches between the decreases each time. The sequence is: K2tog, K12, SSK, K2tog, K12, SSK (28 sts), then K2tog, K10, SSK, K2tog, K10, SSK (24 sts), and so on.
- Final decrease: Continue until 8 stitches remain on your needles.
- Finish: Cut the yarn, leaving a 10-inch tail. Thread the tail through a tapestry needle, slide it through all 8 remaining stitches, and pull tight to close the top. Weave in the end securely on the inside of the mitten.
Thumb
- Pick up stitches: Transfer the 13 held stitches from the stitch holder/waste yarn back onto your double-pointed needles. Pick up and knit 1 stitch from the CO edge at the base of the thumb. (You now have 14 stitches total.) Distribute evenly on 3 needles.
- Knit the thumb: Work in stockinette stitch (knit every round) for 2 inches.
- Decrease: Next round: K2tog around. (7 stitches remain.)
- Finish: Cut yarn, thread through remaining 7 stitches, pull tight, and weave in the end.
Mitten 2 (Ash Gray with Ember Red Cuff)
Mitten 2 is worked exactly like Mitten 1, with two key differences:
- Color swap: Use Ash Gray (Color B) as the main color for the hand and Ember Red (Color A) for the contrasting cuff. Cast on with Ember Red, work the ribbing, then switch to Ash Gray for the hand.
- Mirrored cable: To create the mirrored effect when hands are held together, swap C4F and C4B in the cable pattern. This means:
- Round 3 becomes: K16, C4B, K4, C4F, K16
- Round 7 becomes: K16, C4F, K4, C4B, K16
- Complete all other steps identically to Mitten 1.
Finishing
- Weave in all loose ends using your tapestry needle. Be sure to weave ends on the inside of the mittens so they're invisible from the outside.
- Block gently: Wet block or steam block your mittens to even out the stitches and enhance the cable definition. Lay flat to dry, shaping gently.
- Pair together: Once dry, pair the mittens as a set. The contrasting cuffs and mirrored cables will create a beautiful, harmonious look.
Tips for Success
- Gauge matters: Always check your gauge before starting. If your mittens are too tight or too loose, adjust your needle size accordingly.
- Use stitch markers: Place markers at the beginning of the round and at the gusset increases to keep track of your place.
- Keep cable needle handy: A cable needle with a U-shape or a bend in the middle helps prevent stitches from slipping off.
- Try as you go: If possible, try on the mitten as you knit to ensure the thumb placement and length are comfortable for the recipient.
- Make it personal: Consider adding a small embroidered initial or a heart motif on the palm side for an extra-special touch.
Why You'll Love This Pattern
The Ember & Ash Couples Mittens are more than just a knitting project—they're a statement of connection. The deep ember red evokes warmth and passion, while the soft ash gray brings calm and balance. The mirrored cables are a subtle nod to how two people complement each other, twisting in opposite directions yet forming a perfect whole when hands come together.
Knitted in worsted weight yarn, these mittens work up quickly and make an impressive gift. The textured cable pattern adds visual interest without being overly complicated, making this an excellent project for knitters ready to move beyond basic scarves and hats.
So grab your needles, choose your colors, and knit a little warmth and togetherness into the world. Happy knitting!