Whirling Fern Dishcloth Free Pattern – Knit a Textured Kitchen Essential

Whirling Fern Dishcloth Free Pattern – Knit a Textured Kitchen Essential
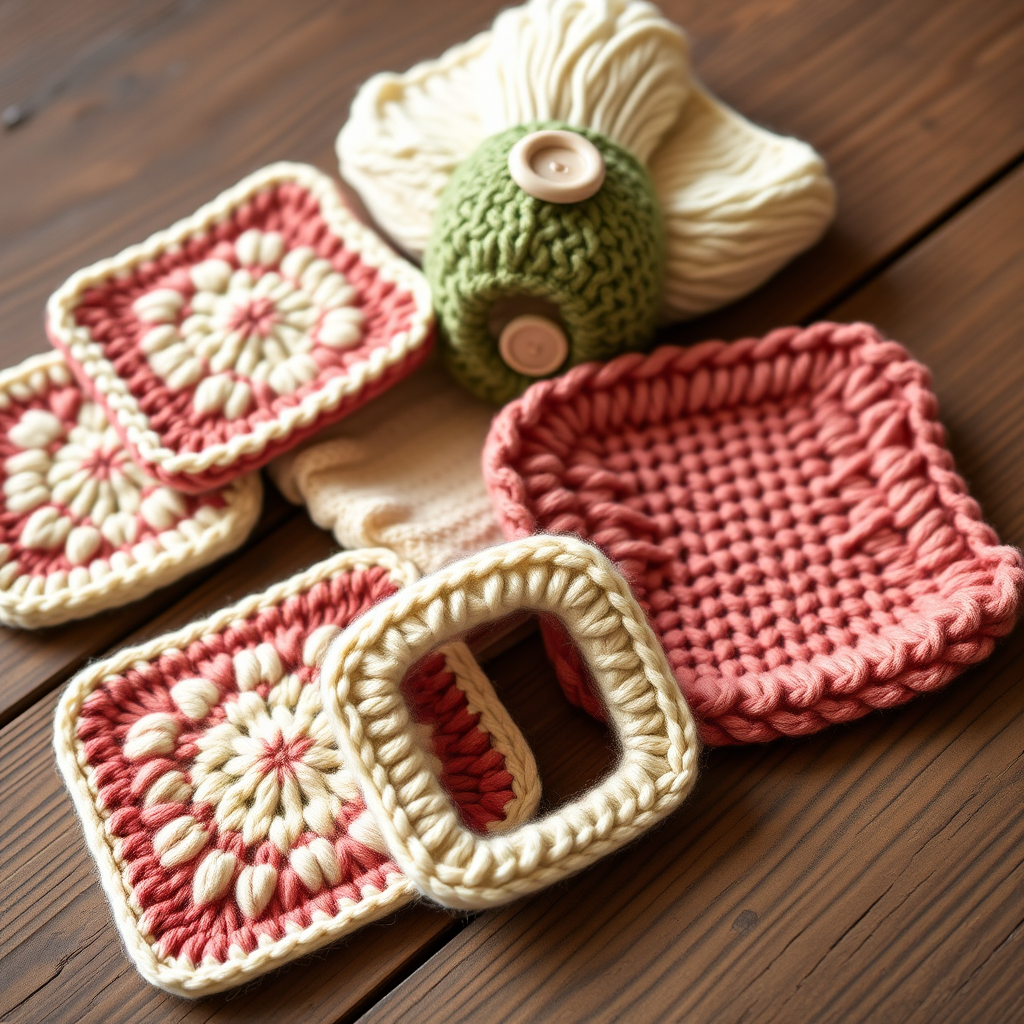
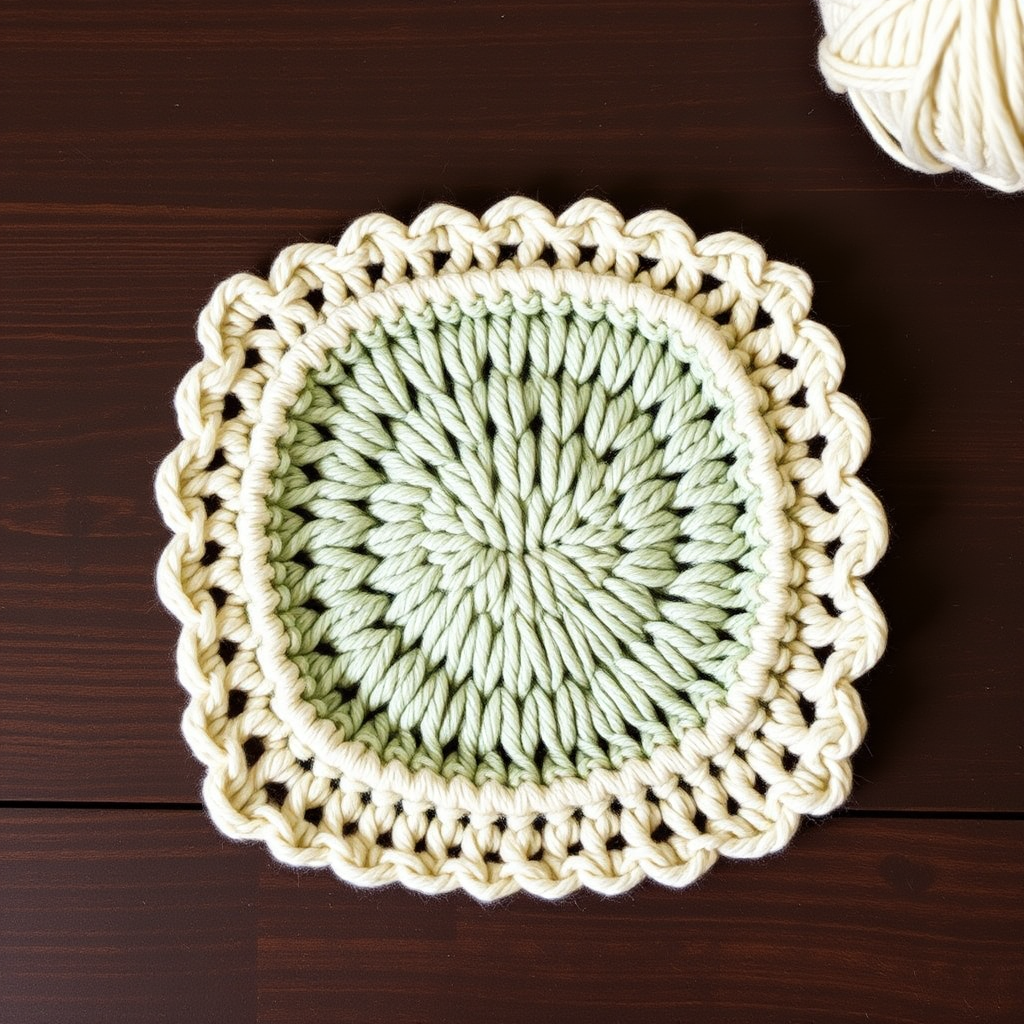
Transform your daily dishwashing routine into a moment of botanical beauty with this stunning Whirling Fern Dishcloth pattern. Featuring a mesmerizing twisted stitch pattern that mimics unfurling fern fronds, this kitchen essential combines practicality with elegance. Knit in soft, absorbent cotton yarn, this dishcloth is as functional as it is beautiful—a perfect handmade addition to your home or a thoughtful gift for fellow knitting enthusiasts.
Whether you're a seasoned knitter looking for a quick, satisfying project or a beginner ready to expand your skills with twisted stitches and yarn overs, this pattern offers the perfect balance of challenge and reward. The result? A dense, textured, highly tactile cloth that catches the light beautifully and adds a touch of organic elegance to any kitchen.
Materials Needed
Before you begin, gather the following materials to ensure a smooth and enjoyable knitting experience:
- Yarn: Worsted weight cotton yarn (e.g., Lily Sugar'n Cream) in sage green or natural cream, approximately 100 yards. The cotton fiber ensures high absorbency and durability, making it ideal for kitchen use.
- Knitting Needles: US 7 (4.5 mm) knitting needles. These provide the perfect tension for a dense yet flexible fabric.
- Gauge: 20 stitches and 28 rows = 4 inches in stockinette stitch. While gauge is not critical for this project, maintaining consistency throughout will result in a neat, professional-looking fabric.
- Extras: Tapestry needle for weaving in ends, scissors, and blocking pins (optional but recommended for a polished finish).
Step-by-Step Instructions
Follow these detailed instructions to create your own Whirling Fern Dishcloth. The pattern is broken down into manageable sections, making it easy to follow even for beginners. Take your time, enjoy the process, and watch the beautiful fern pattern emerge row by row.
Finished Size
Approximately 9 inches square
Abbreviations
- CO: Cast on
- K: Knit
- P: Purl
- K2tog: Knit two stitches together (decrease)
- SSK: Slip, slip, knit (decrease)
- YO: Yarn over (increase)
- Sl: Slip stitch purlwise
- Rep: Repeat
Getting Started
CO 40 stitches. This will create the foundation for your dishcloth. Ensure your cast-on is neither too tight nor too loose—a comfortable, even tension will make the subsequent rows much easier to work.
Border Rows (Rows 1-4)
Knit every row (garter stitch). This creates a sturdy, non-curling border that frames the beautiful fern pattern. The garter stitch border also provides a nice contrast to the textured main body.
Main Pattern (Work Rows 5-44)
Row 5 (RS): K4, *K2tog, YO, K2, YO, SSK, K1; rep from * to last 4 stitches, K4.
Tip: The K4 at the beginning and end of each row maintains the garter stitch border. The pattern repeat between the asterisks creates the fern motif.
Row 6 (WS): K4, *Purl to last 4 stitches*, K4. (Purl all stitches between the garter borders)
Note: This purl row provides the smooth background that makes the twisted stitches pop.
Row 7 (RS): K4, *K1, K2tog, YO, K2, YO, SSK; rep from * to last 4 stitches, K4.
Row 8 (WS): K4, *Purl to last 4 stitches*, K4.
Row 9 (RS): K4, *K2, K2tog, YO, K2, YO, SSK, K1; rep from * to last 4 stitches, K4.
Note: This row shifts the pattern by one stitch, beginning the diagonal movement of the fern fronds.
Row 10 (WS): K4, *Purl to last 4 stitches*, K4.
Row 11 (RS): K4, *K1, K2tog, YO, K4, YO, SSK; rep from * to last 4 stitches, K4.
Row 12 (WS): K4, *Purl to last 4 stitches*, K4.
Row 13 (RS): K4, *K2, K2tog, YO, K4, YO, SSK, K1; rep from * to last 4 stitches, K4.
Row 14 (WS): K4, *Purl to last 4 stitches*, K4.
Row 15 (RS): K4, *K1, K2tog, YO, K6, YO, SSK; rep from * to last 4 stitches, K4.
Row 16 (WS): K4, *Purl to last 4 stitches*, K4.
Row 17 (RS): K4, *K2, K2tog, YO, K6, YO, SSK, K1; rep from * to last 4 stitches, K4.
Row 18 (WS): K4, *Purl to last 4 stitches*, K4.
Row 19 (RS): K4, *K1, K2tog, YO, K8, YO, SSK; rep from * to last 4 stitches, K4.
Row 20 (WS): K4, *Purl to last 4 stitches*, K4.
Row 21 (RS): K4, *K2, K2tog, YO, K8, YO, SSK, K1; rep from * to last 4 stitches, K4.
Row 22 (WS): K4, *Purl to last 4 stitches*, K4.
Row 23 (RS): K4, *K1, K2tog, YO, K10, YO, SSK; rep from * to last 4 stitches, K4.
Row 24 (WS): K4, *Purl to last 4 stitches*, K4.
Row 25 (RS): K4, *K2, K2tog, YO, K10, YO, SSK, K1; rep from * to last 4 stitches, K4.
Row 26 (WS): K4, *Purl to last 4 stitches*, K4.
Row 27 (RS): K4, *K1, K2tog, YO, K12, YO, SSK; rep from * to last 4 stitches, K4.
Row 28 (WS): K4, *Purl to last 4 stitches*, K4.
Row 29 (RS): K4, *K2, K2tog, YO, K12, YO, SSK, K1; rep from * to last 4 stitches, K4.
Row 30 (WS): K4, *Purl to last 4 stitches*, K4.
Row 31 (RS): K4, *K1, K2tog, YO, K14, YO, SSK; rep from * to last 4 stitches, K4.
Row 32 (WS): K4, *Purl to last 4 stitches*, K4.
Row 33 (RS): K4, *K2, K2tog, YO, K14, YO, SSK, K1; rep from * to last 4 stitches, K4.
Row 34 (WS): K4, *Purl to last 4 stitches*, K4.
Row 35 (RS): K4, *K1, K2tog, YO, K16, YO, SSK; rep from * to last 4 stitches, K4.
Row 36 (WS): K4, *Purl to last 4 stitches*, K4.
Row 37 (RS): K4, *K2, K2tog, YO, K16, YO, SSK, K1; rep from * to last 4 stitches, K4.
Row 38 (WS): K4, *Purl to last 4 stitches*, K4.
Row 39 (RS): K4, *K1, K2tog, YO, K18, YO, SSK; rep from * to last 4 stitches, K4.
Row 40 (WS): K4, *Purl to last 4 stitches*, K4.
Row 41 (RS): K4, *K2, K2tog, YO, K18, YO, SSK, K1; rep from * to last 4 stitches, K4.
Row 42 (WS): K4, *Purl to last 4 stitches*, K4.
Row 43 (RS): K4, *K1, K2tog, YO, K20, YO, SSK; rep from * to last 4 stitches, K4.
Row 44 (WS): K4, *Purl to last 4 stitches*, K4.
Finishing Border (Rows 45-48)
Knit every row (garter stitch). This mirrors the beginning border and creates a symmetrical, polished frame around your completed fern pattern.
Binding Off and Finishing
Bind off all stitches knitwise. This creates a flexible edge that won't pucker. Cut your yarn, leaving a 6-inch tail, and weave in all ends using your tapestry needle. Take care to weave in ends securely so they don't work loose during washing.
Blocking for Perfection
Gently wet block the dishcloth to even out the stitches and enhance the twisted texture. To do this, soak the cloth in lukewarm water for about 15 minutes, gently squeeze out excess water (never wring), and lay flat on a towel. Shape it to a perfect square and pin the edges if needed. Allow to dry completely. This step transforms your work, making the fern pattern crisp and defined.
Tips for Success
- Count your stitches regularly: The pattern relies on maintaining a consistent stitch count. If you find yourself off by a stitch, it's easier to catch and fix early.
- Use stitch markers: Place markers between the border stitches and the pattern repeat to help you keep track of where you are.
- Practice the twisted stitches: If you're new to K2tog and SSK, practice on a swatch first. These decreases, combined with yarn overs, create the beautiful fern-like twists.
- Keep tension even: Consistent tension is key to a beautiful finished product. Try not to pull your yarn overs too tight, as this can distort the pattern.
Once you've completed your first Whirling Fern Dishcloth, you'll likely find yourself wanting to make more—they make wonderful gifts and are perfect for using up cotton yarn scraps. Experiment with different colors to match your kitchen decor or the seasons. Happy knitting!