Tunisian Cross Stitch Afghan Block 100266 Free Pattern

Introducing the Tunisian Cross Stitch Afghan Block: A Modern Heirloom
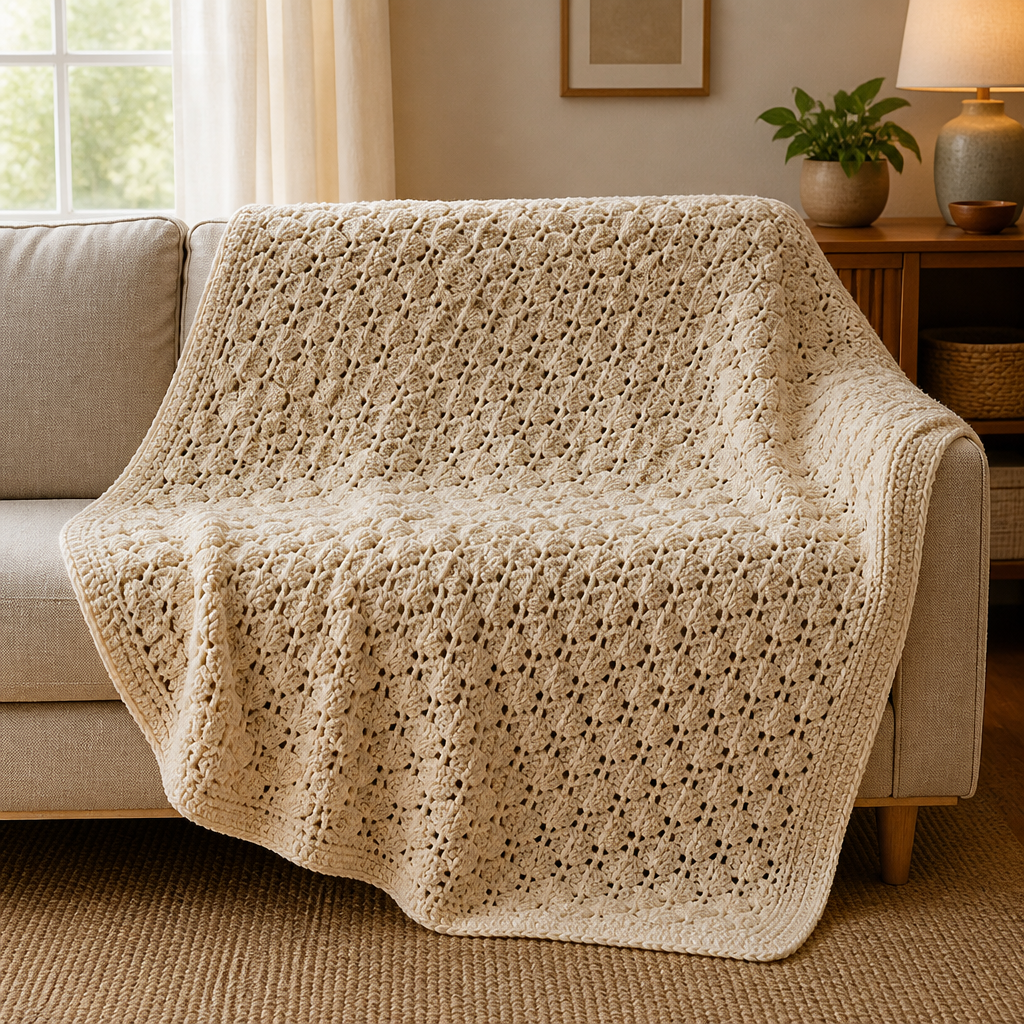
There are some projects that feel like more than just a craft—they feel like a legacy. The Tunisian Cross Stitch Afghan Block is exactly that kind of project. This exquisite pattern combines the structural, woven beauty of Tunisian crochet with a delicate cross-stitch overlay, resulting in a textured, heirloom-quality piece that will be treasured for generations. Each 12-inch block is a meditative, rewarding project on its own, and when you create several, they join together into a stunning, cozy blanket that brings warmth and modern geometric elegance to any home. Whether you're a seasoned crocheter looking for a new technique or a confident beginner ready for a beautiful challenge, this pattern offers a perfect blend of simplicity and artistry.
Materials Needed: Your Toolkit for Texture
Before you begin, gather these essential supplies. The quality of your tools will directly impact the ease of your work and the beauty of your finished block.
- Yarn: Worsted weight yarn in two contrasting colors. You will need approximately 180 yards of Color A (main) and 120 yards of Color B (contrast). For a look that mirrors the original, try Lion Brand Wool-Ease in 'Denim' (Color A) and 'Mustard' (Color B). The wool-blend gives excellent stitch definition and a soft, cozy feel.
- Tunisian Crochet Hook: A size 6.5 mm (K-10.5) hook with a 12-inch cable. The cable is crucial for holding the loops during the forward pass.
- Standard Crochet Hook: A size 5.5 mm (I-9) hook for working the cross-stitch overlay details.
- Other Notions: A yarn needle for weaving in ends, a pair of scissors, and blocking pins (for the finishing stage).
Gauge
To ensure your block measures the correct 12x12 inches, it's vital to check your gauge. Using the 6.5 mm Tunisian hook, work a swatch in Tunisian Simple Stitch. You should achieve 14 stitches and 12 rows over a 4-inch (10 cm) square. Adjust your hook size if necessary to meet this gauge.
Step-by-Step Instructions: Crafting Your Block
This pattern creates a perfect 12-inch by 12-inch square. We will work in Tunisian crochet using the Forward Pass (FP) and Return Pass (RP) technique. The cross-stitch is added after the block is complete, using the standard crochet hook and Color B. Take your time, maintain even tension, and enjoy the rhythmic flow of the stitches.
Foundation Row
With Color A and your 6.5 mm Tunisian hook, begin by making a slip knot and chaining 31 stitches.
Forward Pass (FP): Insert your hook into the second chain from your hook (skipping the chain closest to the hook). Yarn over and pull up a loop. Leave this loop on your hook. Repeat this process in each chain across. You should now have 31 loops on your hook.
Return Pass (RP): Yarn over and pull through the first loop on your hook (this is the edge stitch). Now, *yarn over and pull through two loops on your hook*. Repeat from the * across until only one loop remains on your hook. This single loop counts as the first stitch of the next row.
Row 1 (Tunisian Simple Stitch)
Forward Pass: You will now work into the vertical bars created by the previous row. Skip the vertical bar directly under the loop on your hook (this is the edge stitch). Insert your hook under the next vertical bar from right to left. Yarn over and pull up a loop, leaving it on your hook. Continue this process, inserting your hook under each subsequent vertical bar across the row. You will have 31 loops on your hook.
Return Pass: Work the return pass exactly as you did for the foundation row: Yarn over, pull through one loop, then *yarn over, pull through two loops* across until one loop remains.
Rows 2-30
Repeat Row 1 for a total of 30 rows. It is crucial to maintain an even tension throughout. The fabric should be dense and uniform, without any loose or tight stitches. At the end of Row 30, you will have just completed a return pass and have one loop on your hook. Do not work another forward pass.
Binding Off
To create a clean, finished edge, you will bind off. Insert your hook under the vertical bar of the first stitch (the edge stitch). Yarn over and pull through both loops on your hook. *Insert your hook under the next vertical bar, yarn over, and pull through both loops on your hook.* Repeat from the * across the entire row. When you reach the last loop, cut your yarn, leaving a 6-inch tail, and pull it through the final loop to fasten off. Weave in all loose ends with your yarn needle.
Cross-Stitch Overlay (Using Color B and 5.5 mm Hook)
Now for the magical part—adding the geometric cross-stitch pattern to the surface of your block. This is worked on the right side of the fabric. Each cross-stitch will cover a 2-stitch by 2-row area of the Tunisian fabric.
Step 1: Starting at the top left corner of your block, count 2 stitches in and 2 rows down. Attach Color B with a slip stitch at this point.
Step 2: To make the first diagonal of the "X", insert your hook from front to back at the bottom-left of your 2x2 area, and bring it up at the top-right of that area. Yarn over and pull through to create a diagonal stitch.
Step 3: Now, make the second diagonal to complete the "X". Insert your hook from front to back at the bottom-right of the same 2x2 area, and bring it up at the top-left. Yarn over and pull through. You have created your first cross-stitch.
Step 4: Continue across the row, working each "X" one stitch apart from the previous one. This means you will skip one vertical bar between each cross-stitch.
Step 5: For the next row of "X's", you will offset the pattern by one stitch. This means your new "X" will start in the space between the two "X's" of the row above, creating a beautiful diamond pattern. Work a total of 5 rows of cross-stitches, leaving a clean 2-stitch border on all sides of the block.
Step 6: After completing the final cross-stitch, fasten off Color B and weave in the ends securely on the wrong side of the block.
Finishing and Blocking
Blocking is an essential step to achieve that perfect, professional, square shape. Pin your finished block to a blocking mat, gently stretching it to exactly 12x12 inches. Use a steam iron or steamer, holding it a few inches above the fabric to apply steam. Allow the block to cool and dry completely before removing the pins. This will set the stitches and ensure your block lies perfectly flat.
Repeat this entire process to create as many blocks as you desire. Once you have your collection, join them together using a whip stitch or a single crochet seam on the wrong side for a beautiful, durable blanket. This pattern is a true joy to create—a perfect blend of structure and artistry that results in a piece you'll be proud to display.