The Wild Floret Scarf: A Free Knitting Pattern for a Textured, Botanical-Inspired Winter Accessory

Wrap Yourself in Winter Blooms: The Wild Floret Scarf
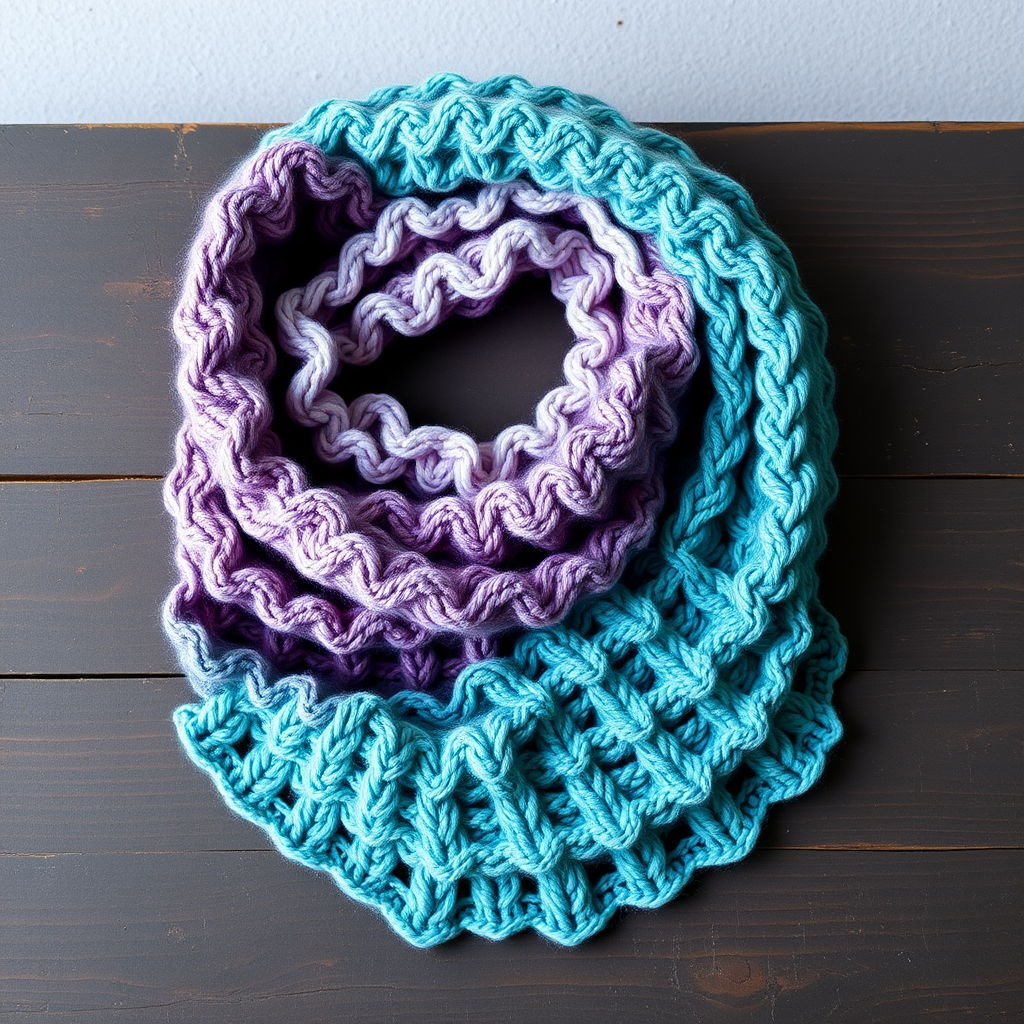
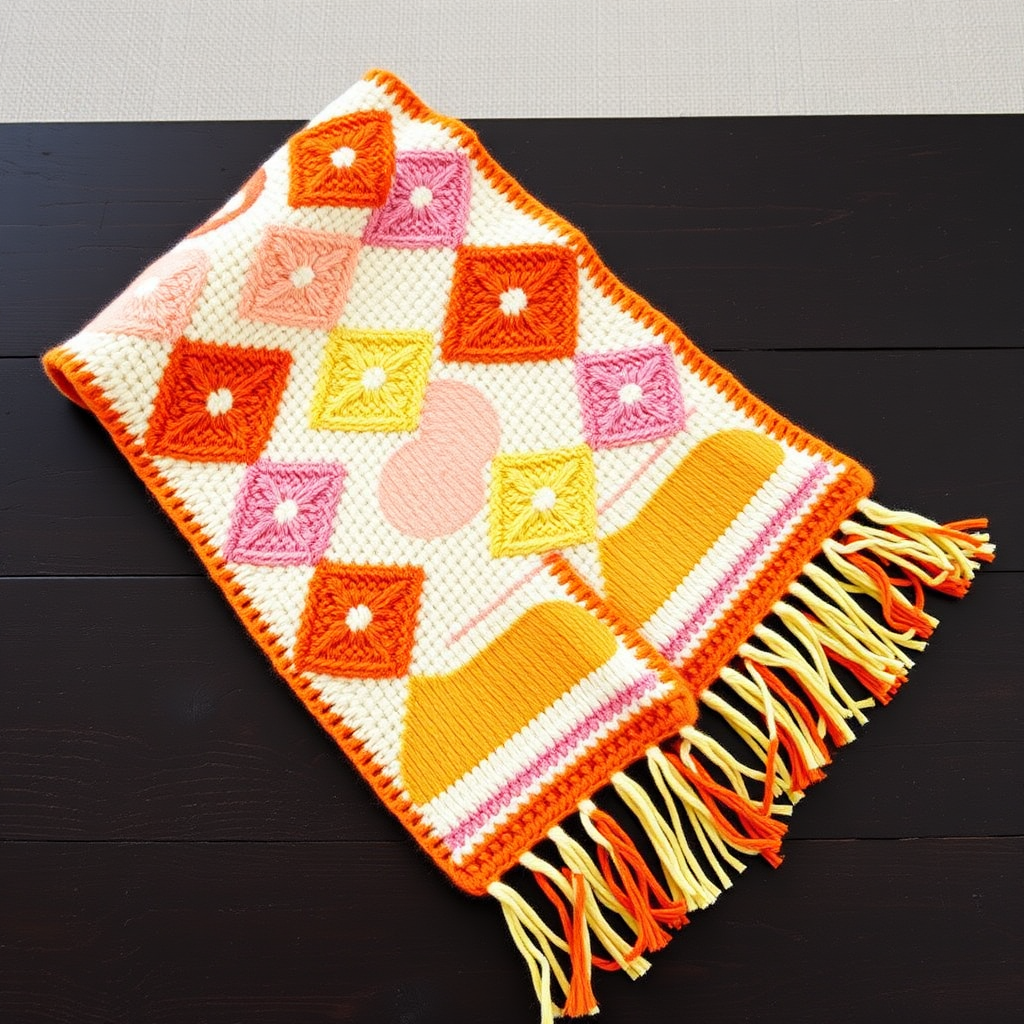
Imagine a scarf that captures the quiet beauty of a frost-kissed garden—delicate petals unfurling in soft cream and deep forest green. The Wild Floret Scarf is exactly that: a modern, textured accessory that transforms simple stitches into a botanical masterpiece. Using a unique floret stitch pattern, this scarf mimics overlapping petals and leaves, creating a dense, cozy fabric that’s both elegant and warm. Whether you’re a seasoned knitter or a confident beginner ready for a new challenge, this free pattern will guide you through every step. The result? A stunning, one-of-a-kind winter accessory that turns heads and sparks conversations.
Materials Needed
To create your own Wild Floret Scarf, gather the following supplies:
- Yarn: Aran weight yarn (e.g., Lion Brand Wool-Ease in ‘Fisherman’ and ‘Forest Green Heather’), approximately 400–450 yards total. For a solid color, use 400–450 yards of any aran weight yarn.
- Needles: US 8 (5 mm) knitting needles.
- Notions: Tapestry needle for weaving in ends, scissors, and a tape measure.
- Gauge: 18 stitches and 24 rows = 4 inches in stockinette stitch. Achieving this gauge ensures your scarf matches the intended dimensions.
Step-by-Step Instructions
Pattern Notes
- The floret stitch pattern is worked over a multiple of 6 stitches + 2. Our cast-on of 38 stitches (6 × 6 + 2) creates a scarf approximately 8 inches wide.
- The scarf is worked flat, back and forth.
- Slip the first stitch of every row purlwise with yarn in front for a neat, stable edge.
- Blocking is recommended to open up the stitch pattern and even out the fabric.
Abbreviations
- k = knit
- p = purl
- yo = yarn over
- k2tog = knit two together (right-leaning decrease)
- ssk = slip, slip, knit (left-leaning decrease)
- sl1 = slip one stitch purlwise with yarn in front
- p2tog = purl two together
Getting Started
Cast on 38 stitches using your preferred method. We recommend a long-tail cast-on for a stretchy, neat edge.
Setup Row (Wrong Side)
Setup Row (WS): Sl1, purl across all stitches. This row establishes the edge stitch and prepares the fabric for the pattern.
The Floret Stitch Pattern
Repeat Rows 1–8 until the scarf measures approximately 60 inches from the cast-on edge, or your desired length. End after completing a Row 8 (Wrong Side row).
Row 1 (Right Side): Sl1, k1, *k2, yo, k2tog, k2; repeat from * to last 2 stitches, k2.
Tip: The yarn over creates an eyelet, and the k2tog decreases one stitch, keeping the stitch count constant.
Row 2 (Wrong Side): Sl1, p1, *p2, p2tog, yo, p2; repeat from * to last 2 stitches, p2.
Note: On wrong side rows, purl the yarn overs as regular stitches unless otherwise specified.
Row 3 (Right Side): Sl1, k1, *k1, yo, k2tog, k1, ssk, yo; repeat from * to last 2 stitches, k2.
Tip: The combination of k2tog and ssk creates a balanced, mirrored decrease that shapes the floret.
Row 4 (Wrong Side): Sl1, p1, *p1, p2tog, yo, p1, yo, p2tog; repeat from * to last 2 stitches, p2.
Note: Two yarn overs in this row create the open spaces that form the petal shapes.
Row 5 (Right Side): Sl1, k1, *k2tog, yo, k1, yo, ssk, k1; repeat from * to last 2 stitches, k2.
Tip: The decreases now frame a central knit stitch, building the petal’s center.
Row 6 (Wrong Side): Sl1, p1, *p2, yo, p2tog, p1; repeat from * to last 2 stitches, p2.
Note: This row simplifies the pattern, preparing for the next petal repeat.
Row 7 (Right Side): Sl1, k1, *k1, ssk, yo, k1, yo, k2tog; repeat from * to last 2 stitches, k2.
Tip: The mirrored decreases (ssk then k2tog) create a symmetrical petal shape.
Row 8 (Wrong Side): Sl1, p1, *p1, yo, p2tog, p1, p2tog, yo; repeat from * to last 2 stitches, p2.
Note: This completes one full repeat of the floret pattern. The fabric will now show a clear, overlapping petal motif.
Finishing
After you’ve reached your desired length (approximately 60 inches) and ended on a Row 8, work the final row:
Final Row (Wrong Side): Sl1, purl across all stitches.
Bind off loosely in knit on the next row. To bind off loosely, use a needle one size larger or work the bind-off stitches with a relaxed tension. Cut yarn, leaving a 6-inch tail, and pull through the last loop.
Weaving in Ends & Blocking
Weave in all ends using a tapestry needle, securing them on the wrong side of the fabric. Block the scarf gently: soak in cool water with a mild wool wash, gently squeeze out excess water (do not wring), and lay flat on a towel. Gently stretch to open up the floret pattern and even out the stitches. Allow to dry completely. Blocking is essential to reveal the full beauty of the textured stitch pattern.
Your Wild Floret Scarf is now ready to wear or gift. The combination of soft cream and deep forest green—or your chosen colors—will bring a touch of winter’s garden to every outfit. Enjoy the compliments!