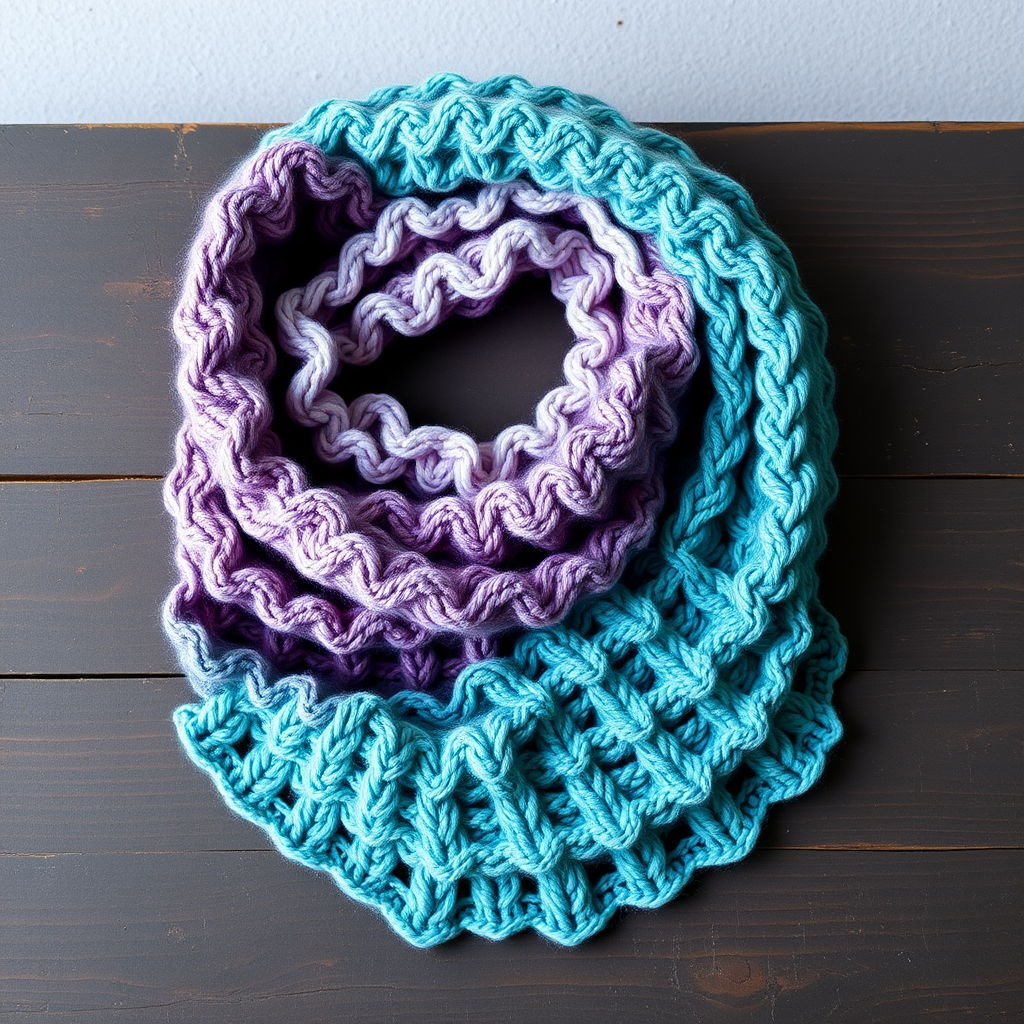
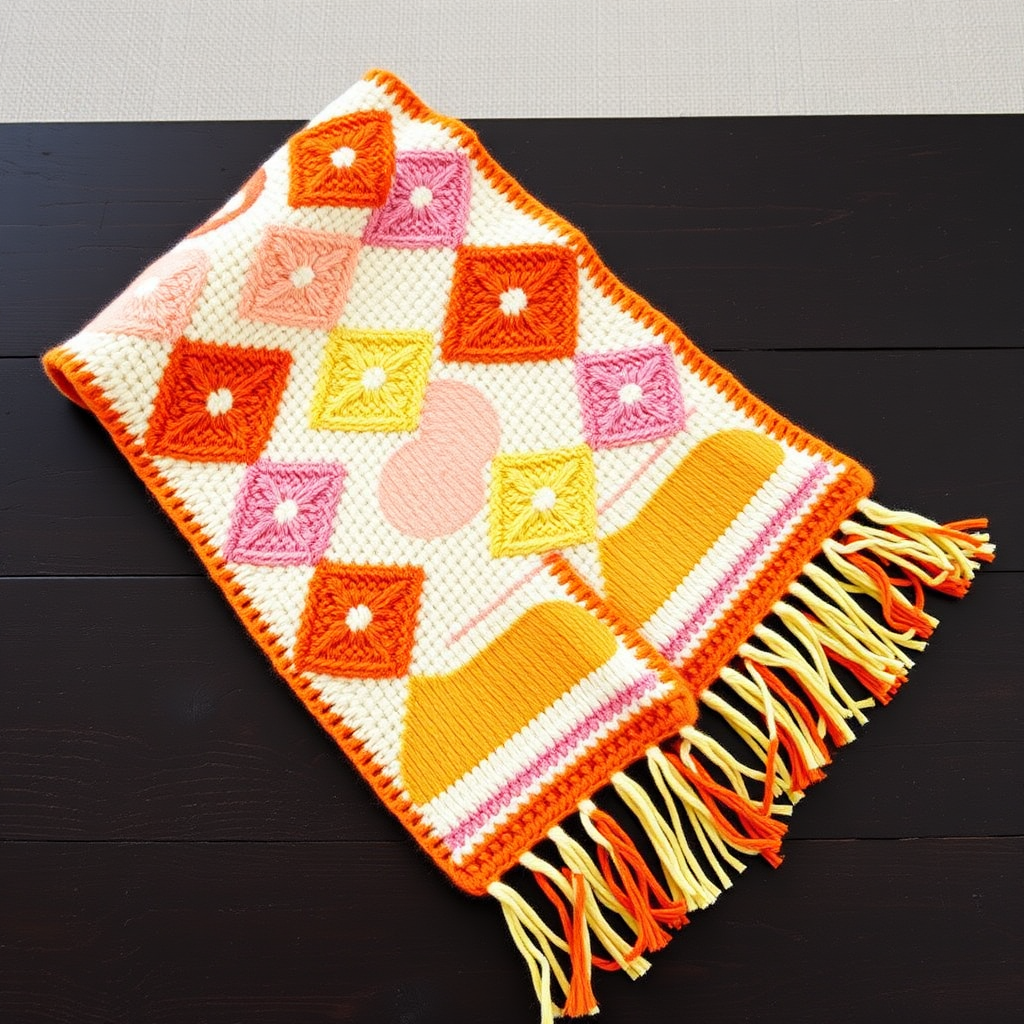
London Phone Booth Scarf Free Pattern – Cozy Cable Knit Neck Warmer

Wrap Yourself in London's Charm: The Cable Knit Phone Booth Scarf
Imagine strolling down a misty London street, the iconic red telephone booths standing sentinel. Now, imagine wrapping that very same vintage elegance around your neck. This isn't just a scarf; it's a statement piece. Our London Phone Booth Scarf is a richly textured cable knit pattern that captures the deep crimson hue and intricate, braided details of its namesake. Whether you're a seasoned knitter looking for a satisfying project or a confident beginner ready for a challenge, this free pattern will guide you through creating a cozy, heirloom-quality accessory that's perfect for any season.
This isn't just about keeping warm; it's about crafting a piece of wearable art. The deep red worsted weight yarn and bold, dimensional cables create a fabric that is both plush and structured, promising to be a standout in your wardrobe. Let's get those needles clicking and bring a touch of British heritage into your home.
Materials Needed: Your Knitting Toolkit
Before we dive into the stitches, let's gather everything you'll need. Having all your materials ready ensures a smooth, uninterrupted knitting session.
- Yarn: Worsted weight yarn in a deep crimson red (approx. 400-450 yards). Look for a yarn with good stitch definition to make those cables pop.
- Knitting Needles: US Size 8 (5.0 mm) knitting needles. Straight needles are perfect for this flat-knit project.
- Cable Needle: A small, double-pointed or U-shaped cable needle to hold stitches while you create the twists.
- Tapestry Needle: A blunt-ended needle for weaving in those loose ends for a professional finish.
- Stitch Markers (Optional): Helpful for keeping track of pattern repeats, though not strictly necessary.
Understanding Your Gauge & Abbreviations
To ensure your scarf turns out the perfect size, it's crucial to check your gauge. This pattern calls for a specific tension to achieve the correct dimensions.
Gauge: 18 stitches and 24 rows = 4 inches in stockinette stitch. Always knit a swatch first to confirm you're on track.
Here are the abbreviations we'll be using. Don't worry; they're easier than they look!
- CO: Cast on
- K: Knit
- P: Purl
- C4F: Cable 4 Front (Slip 2 stitches to cable needle, hold in front, knit next 2 stitches, then knit 2 from cable needle)
- C4B: Cable 4 Back (Slip 2 stitches to cable needle, hold in back, knit next 2 stitches, then knit 2 from cable needle)
- BO: Bind off
Step-by-Step Instructions: Crafting Your Masterpiece
This pattern is worked flat, creating a long, rectangular scarf. The cable pattern is a repeating sequence that creates those beautiful, braided panels. Let's break it down step-by-step.
Getting Started: The Foundation
Step 1: Cast On
CO 40 stitches onto your US 8 needles. Take your time to ensure your cast-on edge is neat and even, as this will be the bottom edge of your scarf.
The Cable Pattern: Rows 1-8
This is the heart of the pattern. You will repeat these 8 rows until your scarf reaches your desired length. The pattern is symmetrical, creating a balanced, professional look.
Row 1 (Right Side): K2, P2, K4, P2, K4, P2, K4, P2, K4, P2, K4, P2, K2.
This row sets up the ribbed borders and the stockinette sections where the cables will form.
Row 2 (Wrong Side): P2, K2, P4, K2, P4, K2, P4, K2, P4, K2, P4, K2, P2.
This is the reverse of Row 1, creating the classic ribbed texture on the edges and purl bumps that frame the cables.
Row 3: K2, P2, C4F, P2, C4B, P2, C4F, P2, C4B, P2, C4F, P2, K2.
Here's where the magic happens! You'll perform your first set of cables. The C4F and C4B twists create the braided effect. Take a deep breath and follow the cable instructions carefully.
Row 4: Repeat Row 2.
Row 5: Repeat Row 1.
Row 6: Repeat Row 2.
Row 7: K2, P2, C4B, P2, C4F, P2, C4B, P2, C4F, P2, C4B, P2, K2.
This row is the opposite of Row 3. By alternating the direction of the cables, you create that beautiful, intertwined braid.
Row 8: Repeat Row 2.
Step 2: Repeat the Pattern
Continue repeating Rows 1-8 until your scarf measures approximately 60 inches from the cast-on edge, or until you've used most of your yarn. Always end the pattern on a Row 8 (a wrong-side row) to ensure your next step starts on the right side.
Adding the Finishing Touches: Edging & Bind Off
While the cables are stunning, a neat edge elevates the entire piece.
Step 3: Garter Stitch Edging
Once your scarf reaches 60 inches, work 4 rows of garter stitch (knit every stitch across all 40 stitches). This creates a tidy, non-curling border that beautifully frames the cable pattern.
Step 4: Bind Off
BO all stitches loosely. A loose bind-off is crucial to prevent the edge from becoming too tight and pulling the scarf out of shape. You can use a larger needle to bind off if you tend to knit tightly.
Finishing & Blocking
Step 5: Weave in Ends
Thread your tapestry needle and carefully weave in all loose ends along the side edges of the scarf. This secures your work and gives it a clean, professional finish.
Step 6: Blocking
This is a game-changer for cable projects. Gently wet-block your scarf by soaking it in lukewarm water, gently squeezing out the excess (never wring!), and laying it flat on a towel. Pin it to the desired dimensions and allow it to dry completely. Blocking will relax the yarn and dramatically enhance the definition of your cables, making them look crisp and polished.
Optional Embellishment: The Phone Booth Motif
For a truly unique touch, you can add a subtle nod to the phone booth's heritage. Using a contrasting yarn and a tapestry needle, embroider a small telephone symbol or a tiny crown motif at one end of the scarf. This is purely decorative, so feel free to skip it for a cleaner, more classic look.
Congratulations! You've just created a stunning, handcrafted London Phone Booth Scarf. This piece is more than just an accessory; it's a testament to your skill and a cozy piece of British charm you can wear and share. Enjoy the compliments!