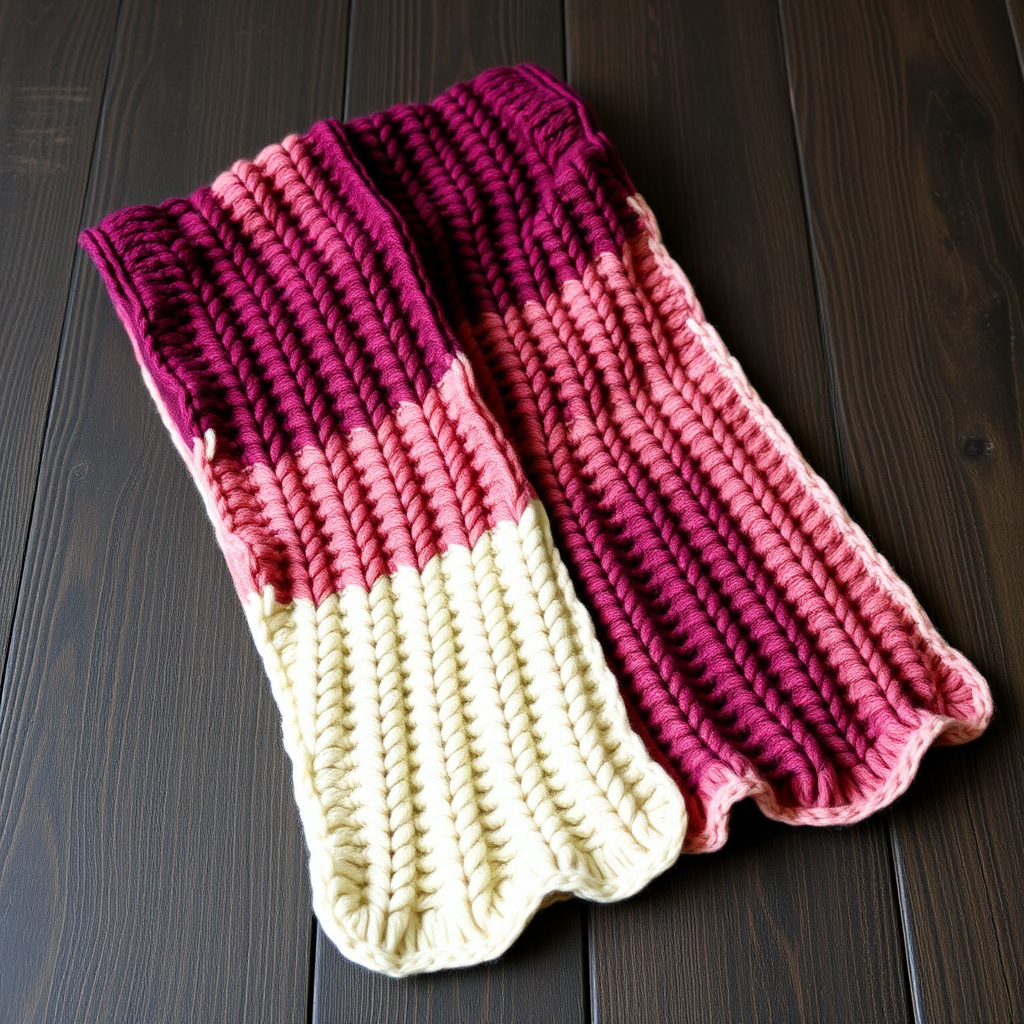
The Whispering Pines Crochet Scarf Free Pattern – A Forest Floor Textured Wrap

The Whispering Pines Crochet Scarf Free Pattern – A Forest Floor Textured Wrap
Wrap yourself in the quiet hush of a pine forest with this deeply textured crochet scarf. The Whispering Pines Scarf features alternating puff stitches and ribbed bands that mimic the layered forest floor—soft moss, sturdy bark, and smooth stone. This beginner-friendly pattern uses just three basic stitches and creates a dense, squishy, grounding accessory that feels like a woodland walk every time you wear it. Whether you're a seasoned crocheter or picking up a hook for the first time, this pattern is designed to be approachable, forgiving, and absolutely beautiful.
Materials Needed
Before you begin, gather the following supplies. The earthy palette is key to the forest-floor aesthetic, but feel free to adapt the colors to your own woodland vision.
- Yarn: Worsted weight yarn in 3 colors:
- Color A: Moss Green (approx. 120g)
- Color B: Bark Brown (approx. 115g)
- Color C: Stone Gray (approx. 115g)
- Hook: 5.5mm (I-9) crochet hook
- Gauge: 14 sts x 10 rows = 4 inches in puff stitch pattern (after blocking)
- Other: Yarn needle for weaving in ends, scissors, blocking mats (optional but recommended)
Step-by-Step Instructions
Finished Size & Key Information
- Finished Size: Approx. 8 inches wide x 70 inches long (adjustable by repeating rows)
- Stitches Used:
- ch (chain)
- sc (single crochet)
- dc (double crochet) – used within the puff stitch
- Puff Stitch (puff): Yarn over, insert hook into stitch, pull up a loop (3 loops on hook). Repeat this 3 times total (7 loops on hook). Yarn over and pull through all 7 loops, then ch 1 to close the puff.
- sl st (slip stitch) – for finishing
- Pattern Notes:
- Worked in rows, alternating colors every 2 rows to create horizontal bands.
- The puff stitch creates a dense, squishy texture; the ribbed bands are made with sc in the back loop only.
- When working Row 4 (and all subsequent "even" rows after a puff row), you will work a sc into each sc stitch AND into the ch-1 space of each puff. This keeps the stitch count consistent.
Foundation & First Color Block (Color A – Moss Green)
Foundation: With Color A, ch 30 (or any even number for desired width).
Row 1: Sc in 2nd ch from hook and in each ch across. Turn. (29 sts)
Row 2: Ch 1, sc in each st across. Turn. (29 sts)
Row 3 (Puff Row): Ch 1, sc in first st, *puff in next st, sc in next st* repeat from * to * across. Turn. (14 puffs, 15 sc)
Row 4: Ch 1, sc in each st across (working sc into the sc sts and into the ch-1 spaces of the puffs). Turn. (29 sts)
Second Color Block (Color B – Bark Brown)
Row 5: Switch to Color B. Ch 1, sc in each st across. Turn. (29 sts)
Row 6: Ch 1, sc in each st across. Turn. (29 sts)
Row 7: Ch 1, sc in first st, *puff in next st, sc in next st* repeat from * to * across. Turn. (14 puffs, 15 sc)
Row 8: Ch 1, sc in each st across (working sc into the sc sts and into the ch-1 spaces of the puffs). Turn. (29 sts)
Third Color Block (Color C – Stone Gray)
Row 9: Switch to Color C. Ch 1, sc in each st across. Turn. (29 sts)
Row 10: Ch 1, sc in each st across. Turn. (29 sts)
Row 11: Ch 1, sc in first st, *puff in next st, sc in next st* repeat from * to * across. Turn. (14 puffs, 15 sc)
Row 12: Ch 1, sc in each st across (working sc into the sc sts and into the ch-1 spaces of the puffs). Turn. (29 sts)
Repeat & Finish
Repeat: Repeat Rows 5-12 (the Color B and Color C blocks) until the scarf reaches your desired length. For the classic 70-inch scarf, you'll repeat this sequence approximately 14-15 times. Important: End with a 2-row band of any color, preferably Color A (Moss Green) to match the beginning and create a balanced, symmetrical look.
Finishing: Fasten off and weave in all ends using a yarn needle. Block lightly to even out the puff stitches—this helps the texture relax and lay flat.
Optional Fringe
For a truly forest-floor finish, add a fringe to both short ends:
- Cut 12-inch strands of all three colors. You'll need about 15-20 strands per end, depending on how full you want the fringe.
- Fold each strand in half. Insert your crochet hook from the back to the front through the edge stitch of the scarf.
- Pull the folded loop through, then pull the loose ends through the loop and tighten.
- Alternate colors across each end for a natural, organic look.
- Trim the fringe evenly with scissors.
Your Whispering Pines Scarf is complete! Drape it over your shoulders, wrap it around your neck, or gift it to a fellow nature lover. The dense puff stitches make it wonderfully warm, and the earthy color bands ensure it pairs beautifully with everything from denim to wool coats. Happy crocheting!