Celestial Drift Crochet Scarf Free Pattern

Celestial Drift Crochet Scarf: A Free Pattern for a Starry Night Wrap
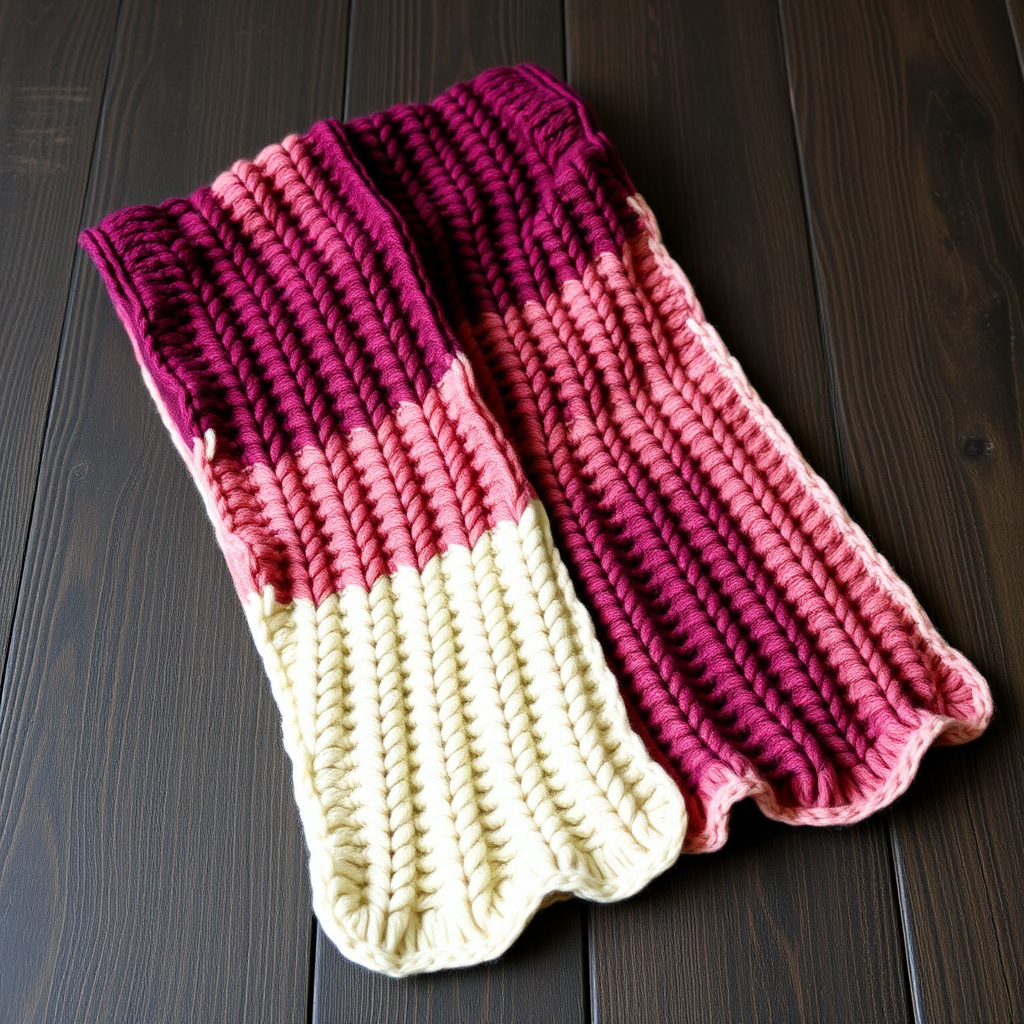
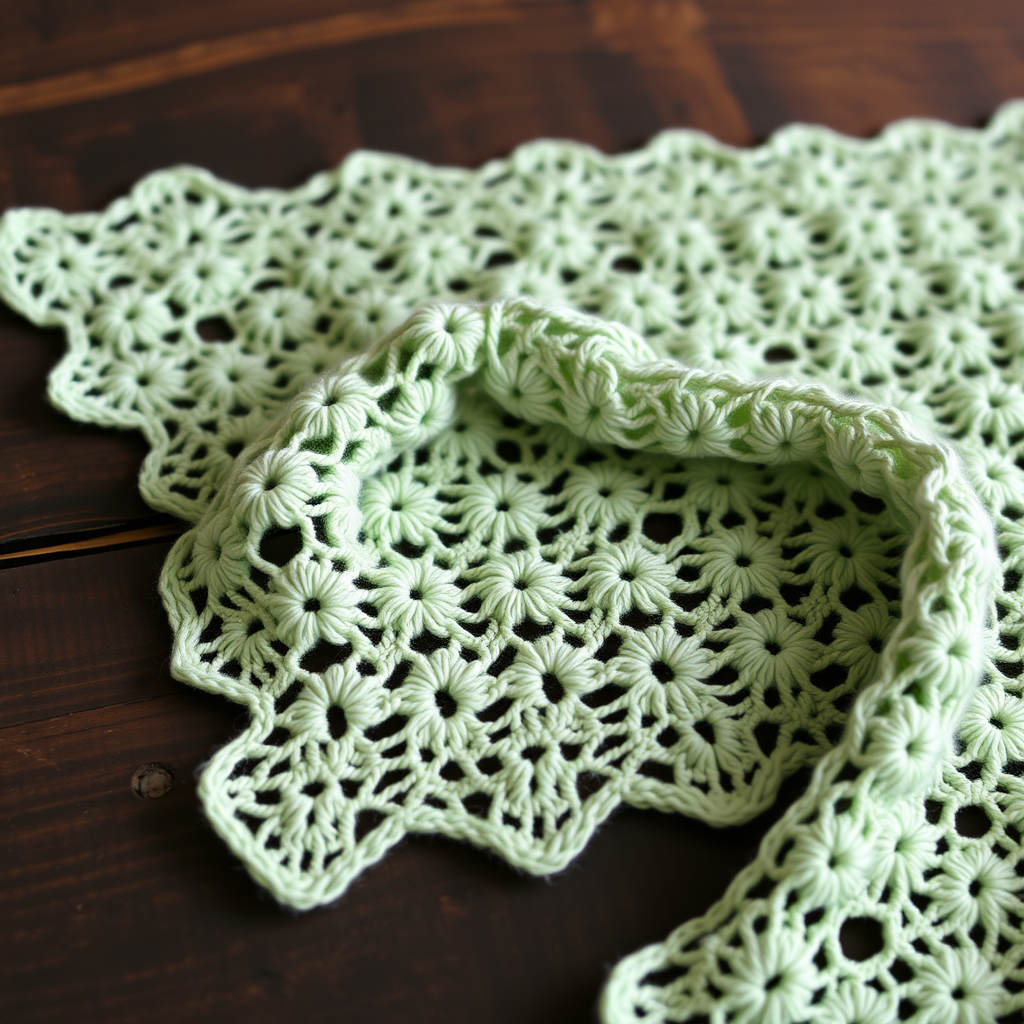
Imagine wrapping yourself in a piece of the night sky—a cloud-soft scarf that shifts from deep navy through midnight blue to a shimmering silver-grey. That's the magic of the Celestial Drift Crochet Scarf. This ethereal accessory is more than just a winter warmer; it's a meditative project that produces a stunning, drapey textile with a delicate, starry stitch pattern. Whether you're a confident beginner or an intermediate crocheter looking for a quick, rewarding make, this free pattern will guide you through creating a truly celestial accessory. The open, diamond-like eyelets catch the light beautifully, making it perfect for both cozy evenings and elegant outings.
Materials Needed
Before you begin your celestial journey, gather these simple materials. The project uses worsted-weight yarn, which is widely available and a joy to work with. The three-shade gradient is what gives the scarf its magical, twilight effect.
- Yarn: Worsted weight (#4) in 3 shades:
- Color A: Deep Navy (approx. 100g / 220 yards)
- Color B: Midnight Blue (approx. 100g / 220 yards)
- Color C: Silver/Light Grey (approx. 100g / 220 yards)
- Crochet Hook: US Size I/9 (5.5 mm) hook. This size creates the perfect drape for a scarf.
- Other Tools: Yarn needle for weaving in ends, scissors, and optionally blocking mats and pins.
Gauge & Pattern Notes
Getting the gauge right ensures your scarf has the perfect drape and dimensions. While this is a forgiving pattern, it's always a good idea to check.
- Gauge: 14 double crochet (dc) x 8 rows = 4 inches (10 cm) in the pattern stitch. If your gauge is off, adjust your hook size accordingly.
- Special Stitches:
- V-stitch (V-st): (dc, ch 1, dc) all worked in the same stitch or space. This creates the open, starry eyelets.
- Picot (for optional edging): ch 3, slip stitch in 3rd ch from hook. (Note: The main pattern uses a simple sc edging, but you can add picots for extra flair.)
- Key Pattern Notes:
- The scarf is worked flat, back and forth in rows.
- The chain 1 at the beginning of a row does not count as a stitch.
- You will change colors at the end of specific rows. You can either carry the unused color loosely up the side (if you don't mind a slightly thicker edge) or, for a cleaner finish, cut and weave in the ends. The pattern below suggests cutting for a polished look.
Step-by-Step Instructions: Crocheting Your Celestial Scarf
Follow these detailed instructions carefully, and you'll have a beautiful scarf in no time. The pattern is repetitive and rhythmic once you get the hang of the V-stitch rows.
Getting Started: The Foundation
With Color A (Deep Navy): Chain (ch) 32 loosely.
- Row 1: Double crochet (dc) in the 4th ch from your hook. (The first 3 chains count as your first dc.) Dc in each chain across. You should have 30 dc total.
The V-Stitch Pattern Body
Now we begin the main pattern that creates the beautiful, airy texture.
- Row 2: Ch 1, turn. Single crochet (sc) in the first dc. *Skip the next dc, work a V-st in the next dc, skip the next dc, sc in the next dc.* Repeat from * to * across the row. You will have 7 V-sts and 8 sc.
- Row 3: Ch 3 (this counts as your first dc), turn. *Work a V-st in the ch-1 space of the next V-st.* Repeat from * to * across. Dc in the last sc. You will have 7 V-sts and 1 dc at each end.
- Row 4: Ch 1, turn. Sc in the first dc. *Work a V-st in the ch-1 space of the next V-st.* Repeat from * to * across. Sc in the top of the turning chain (the 3rd ch from the previous row). You will have 7 V-sts and 8 sc.
- Rows 5-6: Repeat Rows 3 and 4. This establishes your pattern rhythm.
Introducing the Color Gradient
This is where the celestial magic happens. You'll be changing colors to create the beautiful gradient effect.
- Row 7: Ch 3, turn. *Work a V-st in the ch-1 space of the next V-st.* Repeat from * to * across. Dc in the last sc. At the end of this row, change to Color B (Midnight Blue). Cut Color A, leaving a tail to weave in later.
- Rows 8-12: Continue the pattern with Color B. To be precise: Repeat Rows 3 and 4 twice more (that's Rows 8-11), then work Row 3 once more (that's Row 12). You are essentially working 5 rows of the V-stitch pattern.
- Row 13: Ch 1, turn. Sc in first dc, *V-st in ch-1 space of next V-st; repeat from * across, sc in top of turning ch. At the end of this row, change to Color C (Silver/Light Grey). Cut Color B.
- Rows 14-18: Continue the pattern with Color C. (Repeat Rows 3 and 4 twice more, then Row 3 once more.)
- Row 19: Ch 1, turn. Sc in first dc, *V-st in ch-1 space of next V-st; repeat from * across, sc in top of turning ch. At the end of this row, change back to Color B. Cut Color C.
- Rows 20-24: Continue the pattern with Color B. (Repeat Rows 3 and 4 twice more, then Row 3 once more.)
- Row 25: Ch 1, turn. Sc in first dc, *V-st in ch-1 space of next V-st; repeat from * across, sc in top of turning ch. At the end of this row, change back to Color A. Cut Color B.
- Rows 26-30: Continue the pattern with Color A. (Repeat Rows 3 and 4 twice more, then Row 3 once more.)
- Row 31: Ch 1, turn. Sc in first dc, *V-st in ch-1 space of next V-st; repeat from * across, sc in top of turning ch. Do not fasten off. We will use this yarn for the edging.
Adding the Finishing Border
A clean border gives your scarf a professional, polished look and helps it lay flat.
- Round 1 (Edging): Ch 1, turn. Work single crochet (sc) evenly down the long side of the scarf. A good rule of thumb is to work 2 sc in each row end. When you reach the bottom corner, work 3 sc in the corner stitch to turn it smoothly. Work sc evenly across the bottom edge, placing 1 sc in each dc and 1 sc in each ch-1 space from the foundation row. At the next corner, work 3 sc. Work sc evenly up the other long side. At the final corner, work 3 sc, then join with a slip stitch to the first sc of the round. Fasten off.
Final Finishing Touches
- Weave in Ends: Using your yarn needle, carefully weave in all loose ends from your color changes and the edging. Make sure to weave them in securely so they don't come undone with wear.
- Blocking (Optional but Recommended): To really open up the starry eyelets and give your scarf a beautiful, even drape, wet block it. Soak the scarf in lukewarm water with a drop of mild soap, gently squeeze out excess water (don't wring!), and lay it flat on a blocking mat. Pin it out to your desired dimensions and allow it to dry completely. This step truly transforms the fabric.
And there you have it—your very own Celestial Drift Scarf. This piece is a wonderful way to practice the V-stitch and explore color gradients. The result is a stunning, versatile accessory that adds a touch of starry elegance to any outfit. Enjoy the process, and happy crocheting!