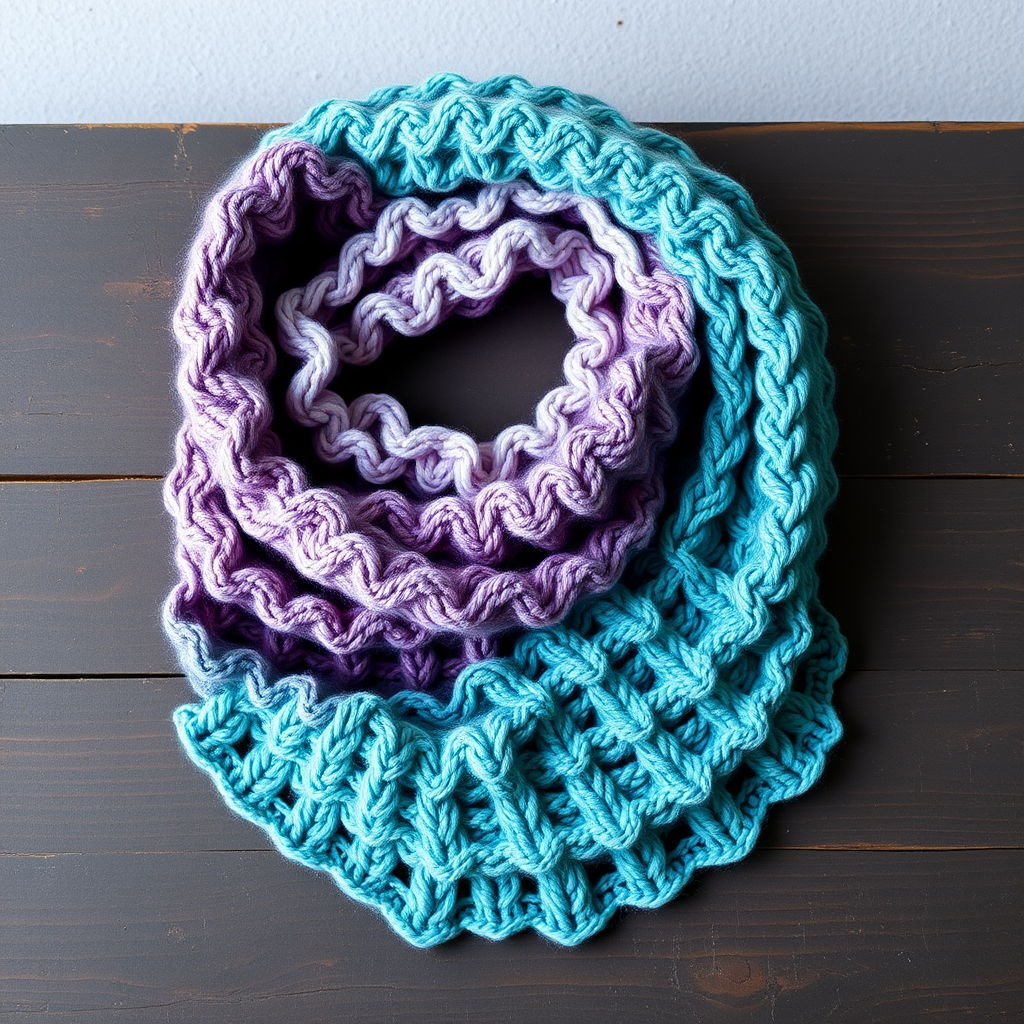
The Whispering Pines Bias Scarf Free Pattern – A Knitted Forest of Diagonal Stripes

The Whispering Pines Bias Scarf Free Pattern – A Knitted Forest of Diagonal Stripes
Wrap yourself in the quiet beauty of a pine forest with this bias-knit scarf, featuring a mesmerizing diagonal grid of textured stripes. The clever bias construction creates a fluid, drapey fabric that feels luxurious against the skin. Whether you're a seasoned knitter looking for a meditative project or a beginner eager to try something new, this pattern is designed to guide you through every step with clarity and confidence. Let's embark on this knitting journey together and create a scarf that's as cozy as a forest walk on a crisp autumn day.
Materials Needed
Before you begin, gather the following materials to ensure a smooth and enjoyable knitting experience:
- Yarn: Worsted weight yarn in 3 colors:
- Color A (Deep Forest Green) – 150g
- Color B (Mossy Olive) – 120g
- Color C (Creamy Birch) – 80g
- Needles: US 8 (5.0 mm) knitting needles (straight or circular for comfort)
- Gauge: 18 stitches and 24 rows = 4 inches in stockinette stitch (after blocking)
- Other: Tapestry needle for weaving in ends, scissors, and a measuring tape.
Step-by-Step Instructions
This scarf is worked diagonally (bias knitting) by increasing on one edge and decreasing on the other, creating a parallelogram shape. The pattern uses a simple 4-row repeat with slipped stitches to form a subtle woven texture. Follow along carefully, and you'll be amazed at how easily this beautiful design comes together.
Abbreviations
- k = knit
- p = purl
- k2tog = knit two together
- yo = yarn over
- sl1 = slip one stitch purlwise
- st(s) = stitch(es)
Pattern Notes
- The scarf is worked from one corner, increasing at the beginning of each row until the width is achieved, then working straight (with increases and decreases balanced) until the desired length, then decreasing to the opposite corner.
- The slipped stitch pattern creates a beautiful, subtle ribbed texture that mimics tree bark.
Foundation
Cast on 3 stitches with Color A.
Increase Section (Rows 1-30)
This section builds the width of your scarf. Follow the row instructions below, and don't forget to switch colors as indicated.
Row 1 (RS): k1, yo, k to end. (4 sts)
Row 2 (WS): k1, sl1 purlwise, p to last 2 sts, k2. (4 sts)
Row 3 (RS): k1, yo, k1, sl1 purlwise, k to end. (5 sts)
Row 4 (WS): k1, sl1 purlwise, p to last 2 sts, k2. (5 sts)
Row 5 (RS): k1, yo, k to end. (6 sts)
Row 6 (WS): k1, sl1 purlwise, p to last 2 sts, k2. (6 sts)
Repeat Rows 3-6, working the slipped stitch pattern, until you have 60 sts on the needle. End with a WS row.
Color Sequence for Increase Section
- Work Rows 1-10 in Color A.
- Work Rows 11-20 in Color B.
- Work Rows 21-30 in Color C.
Straight Section (Work even in pattern)
Now you will maintain 60 sts by decreasing one stitch at the end of each RS row to balance the increase at the beginning.
Row 1 (RS): k1, yo, work in pattern (k1, sl1 purlwise) across to last 3 sts, k2tog, k1. (60 sts)
Row 2 (WS): k1, sl1 purlwise, p to last 2 sts, k2. (60 sts)
Repeat these 2 rows, following the color sequence below, until the scarf measures approximately 60 inches from the starting corner, or desired length, ending with a WS row.
Color Sequence for Straight Section (repeat this sequence)
- Work 10 rows in Color A.
- Work 10 rows in Color B.
- Work 10 rows in Color C.
Repeat this 30-row sequence until desired length.
Decrease Section
Now you will decrease at the beginning of each RS row to taper to the opposite corner.
Row 1 (RS): k1, k2tog, work in pattern across to last 3 sts, k2tog, k1. (58 sts)
Row 2 (WS): k1, sl1 purlwise, p to last 2 sts, k2. (58 sts)
Repeat these 2 rows, continuing the color sequence (10 rows each of A, B, C), until you have 4 sts remaining. End with a WS row.
Final Row
Finish off your scarf with these final shaping rows:
Next row (RS): k1, k2tog, k1. (3 sts)
Next row (WS): k1, sl1 purlwise, k1. (3 sts)
Next row (RS): k2tog, k1. (2 sts)
Next row (WS): k2tog. (1 st)
Cut yarn and pull through last loop. Weave in all ends.
Blocking
To give your scarf that polished, professional finish, blocking is essential. Soak the scarf in lukewarm water with a drop of mild soap for 20 minutes. Gently squeeze out excess water (do not wring). Lay flat on a towel, gently stretch to shape, and allow to dry completely. This will even out the stitches and enhance the drape, revealing the beautiful diagonal texture you've created.
Congratulations! You've just completed the Whispering Pines Bias Scarf. This stunning accessory is perfect for gifting or keeping for yourself—a true testament to the beauty of handcrafted knitting. Enjoy the cozy, forest-inspired elegance it brings to your wardrobe!