Accessory Knitting Patterns
The Whimsical Waves Scarf Free Pattern
Knitting Charm: Elegant Handcrafted Knits & Crochet
•
July 03, 2026
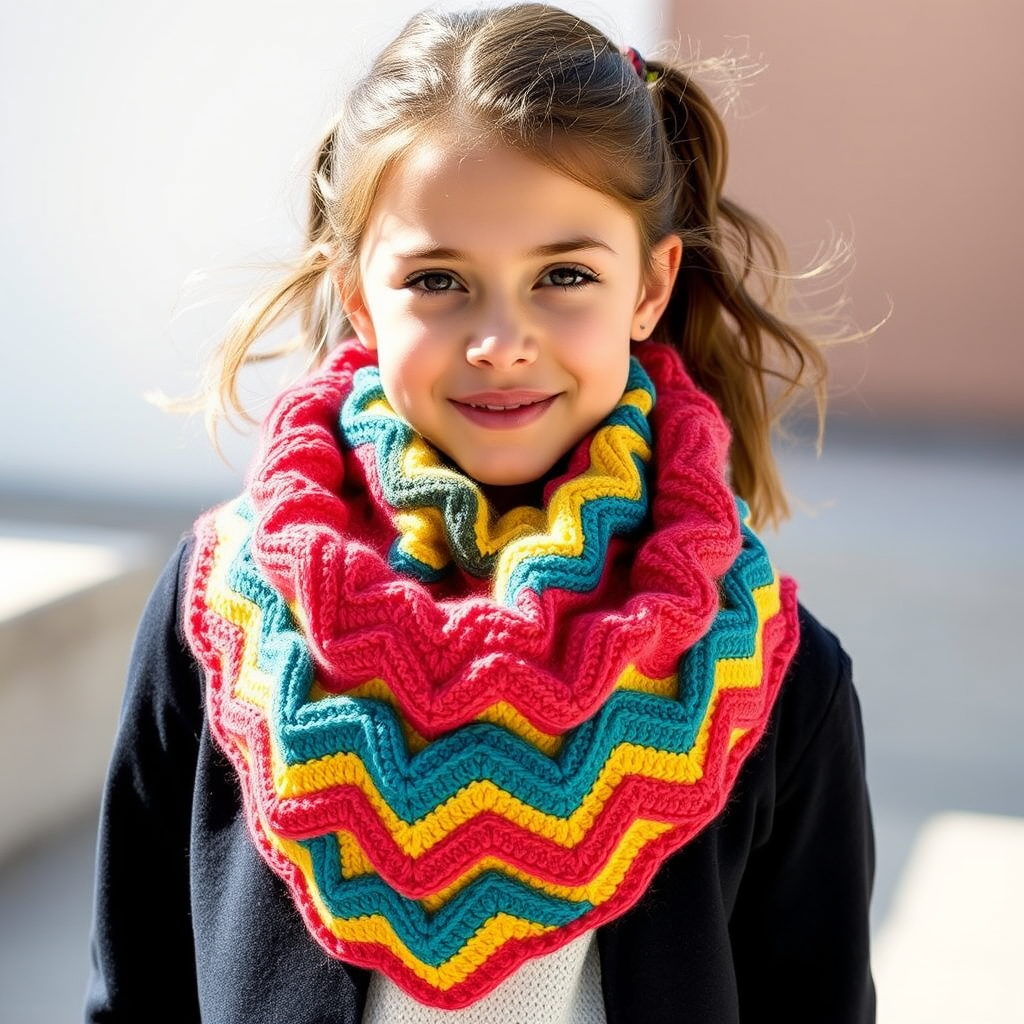
The Whimsical Waves Scarf Free Pattern
Introduction
Dive into the world of texture with the Whimsical Waves Scarf, a delightful project that combines playful stitch patterns and vibrant colors. This scarf is perfect for adding a splash of creativity to any outfit and is a must-knit for those who love a touch of whimsy. Whether you're a beginner or an experienced knitter, this pattern will guide you through creating a beautiful accessory that showcases your knitting skills.
Materials Needed
- Yarn: Worsted weight yarn in three contrasting colors (e.g., bright coral, deep teal, sunny yellow)
- Needles: US 8 (5.0 mm) knitting needles
- Gauge: 18 stitches and 24 rows = 4 inches in stockinette stitch
- Scissors: For cutting yarn
- Tapestry needle: For weaving in ends
Step-by-Step Instructions
- Cast On: Using Color A, cast on 40 stitches onto your US 8 (5.0 mm) knitting needles.
- Establish the Base:
- Rows 1-4: Knit all stitches. This creates a solid base for your scarf.
- Start the Wave Pattern:
- Row 5: Begin the wave pattern. *Knit 2 stitches, yarn over (yo), knit 2 together (k2tog); repeat from * to the end of the row.
- Row 6: Purl all stitches. This will create a nice contrast to the knit stitches.
- Rows 7-10: Repeat Rows 5 and 6 two more times. This will enhance the wave texture.
- Switch Colors: Change to Color B.
- Continue the Pattern:
- Rows 11-14: Knit all stitches.
- Row 15: *Knit 2 together (k2tog), yarn over (yo), knit 2 (k2); repeat from * to the end of the row.
- Row 16: Purl all stitches.
- Rows 17-20: Repeat Rows 15 and 16 two more times.
- Switch Colors Again: Change to Color C.
- Repeat the Pattern: Continue repeating the pattern from Row 1 to Row 20 until the scarf measures approximately 60 inches or your desired length. Feel free to mix and match colors as you go for a unique look!
- Bind Off: Once your scarf reaches the desired length, bind off all stitches loosely to ensure the edge is not too tight.
- Finish Up: Weave in all ends using a tapestry needle to give your scarf a neat finish.
Congratulations! You have now completed your Whimsical Waves Scarf. Enjoy wearing your new accessory or gifting it to someone special!