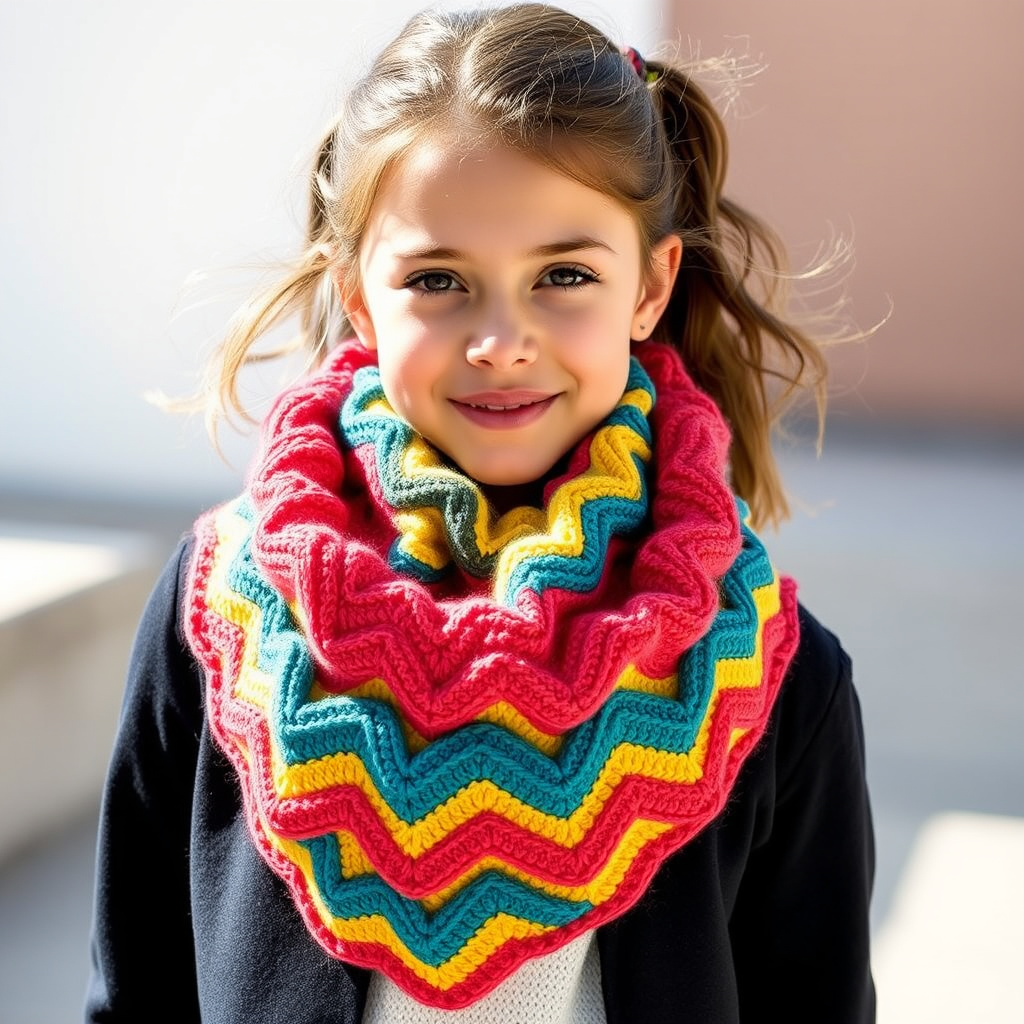
The Twisted Vine Headband Free Pattern

The Twisted Vine Headband Free Pattern
Embrace the elegance of nature with the Twisted Vine Headband, a chic accessory that adds a touch of sophistication to any outfit. This pattern combines intricate cable work with a soft, cozy texture, making it perfect for both beginners and advanced knitters. With just a few materials and some simple techniques, you can create a beautiful headband that showcases your knitting skills.
Materials Needed
- Yarn: Worsted weight yarn, 100% merino wool (100g/200m)
- Needles: US 8 (5mm) knitting needles
- Gauge: 18 stitches and 24 rows = 4 inches in stockinette stitch
- Other: Scissors, tapestry needle for weaving in ends
Step-by-Step Instructions
1. Casting On
Begin by casting on 24 stitches using your US 8 (5mm) knitting needles. Make sure your stitches are not too tight, as this will affect the elasticity of the headband.
2. Ribbing Section
Work the following rows to create the ribbing:
- Row 1 (Right Side): *K2, P2; repeat from * to end.
- Row 2 (Wrong Side): *P2, K2; repeat from * to end.
Continue to repeat Rows 1 and 2 until the ribbing measures 4 inches in length.
3. Begin Cable Pattern
Now, we will start the cable pattern. Follow these rows carefully:
- Row 1 (Right Side): K2, P2, C4F (cable 4 front), P2, C4B (cable 4 back), P2, K2.
- Row 2 (Wrong Side): P2, K2, P4, K2, P4, K2, P2.
- Row 3 (Right Side): K2, P2, K4, P2, K4, P2, K2.
- Row 4 (Wrong Side): Repeat Row 2.
Repeat these 4 rows until the piece measures 18 inches from the cast-on edge, ending with Row 4.
4. Finishing
Once your headband reaches the desired length, it's time to finish:
- Bind Off: Bind off all stitches in pattern (continue the ribbing pattern as you bind off).
- Sewing Edges: Use the mattress stitch to sew the cast-on and bind-off edges together. This will create a seamless finish.
- Weaving in Ends: Use a tapestry needle to weave in any loose ends from your yarn. Make sure to secure them well to prevent unraveling.
Your Twisted Vine Headband is now complete! Enjoy wearing this beautiful accessory or gift it to someone special. Happy knitting!