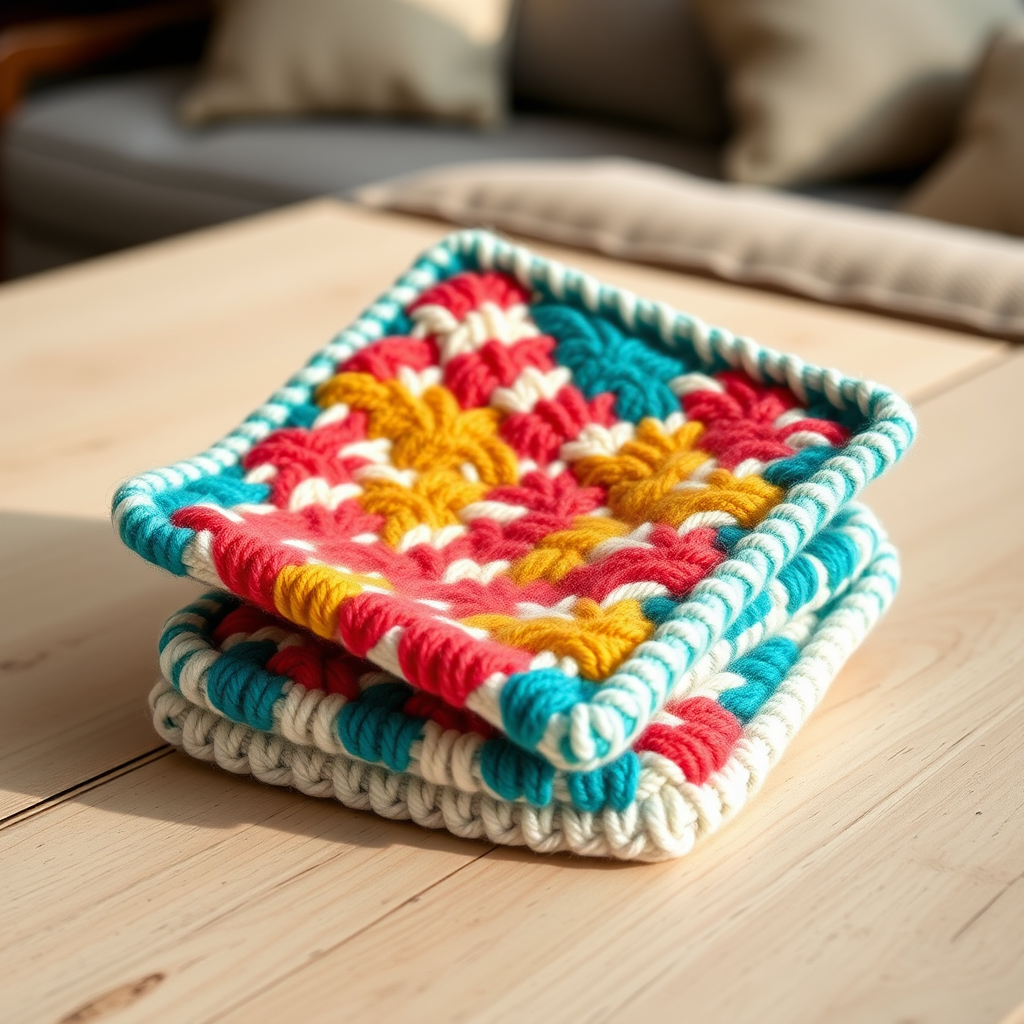
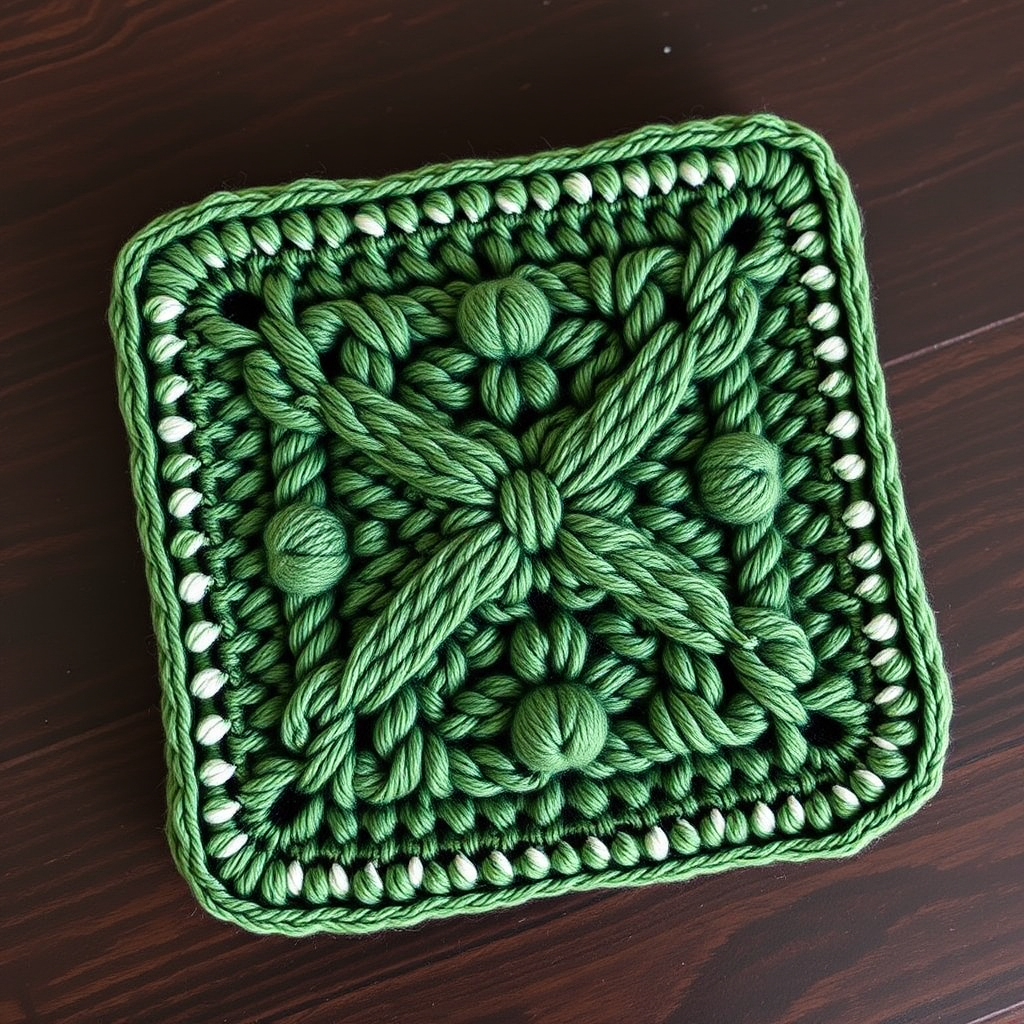
The Velvet Dusk Tissue Box Cover Free Pattern – A Knitted Cable and Linen Stitch Cozy

The Velvet Dusk Tissue Box Cover: A Free Knitted Cable & Linen Stitch Pattern
Wrap your tissue box in the understated luxury of the Velvet Dusk cover—a knitted piece that blends plush cables with a crisp linen stitch for a modern, textured look. This pattern is a delightful weekend project that transforms a daily essential into a soft, sculptural accent for your home. Whether you're a seasoned knitter or a confident beginner looking for a rewarding challenge, this cover adds a touch of handcrafted elegance to any room.
The finished item features a soft heather gray main body with a dusty rose top panel, creating a muted, sophisticated palette. The side panels showcase two vertical cables flanked by 2x2 ribbing, while the end panels are smooth stockinette for a clean contrast. The top panel includes a neat slit for tissue dispensing, edged with ribbing for a polished finish.
Materials Needed
Before you begin, gather the following supplies:
- Yarn: Worsted weight yarn in two colors:
- Color A (Main): 120 yards of a soft heather gray (e.g., Cascade 220 Heathers in "Silver")
- Color B (Contrast): 60 yards of a muted dusty rose (e.g., Malabrigo Rios in "Dusty Rose")
- Needles: US Size 7 (4.5 mm) knitting needles (straight or circular for flat knitting)
- Notions: Cable needle, tapestry needle, stitch markers
Gauge: 20 stitches and 28 rows = 4 inches in Stockinette stitch (knit on RS, purl on WS) after blocking. Always check your gauge to ensure a proper fit!
Pattern Overview & Abbreviations
This cover is knitted flat in two identical side panels and two identical end panels, then seamed together. It fits a standard rectangular tissue box (approx. 9.5 x 4.5 x 4.5 inches). The top opening is created by leaving a slit in the center of the top panel.
Abbreviations
- CO: Cast on
- K: Knit
- P: Purl
- K2tog: Knit two stitches together (decrease)
- SSK: Slip, slip, knit (decrease)
- C4F: Slip 2 stitches to cable needle, hold to front, knit next 2 stitches, then knit 2 from cable needle
- C4B: Slip 2 stitches to cable needle, hold to back, knit next 2 stitches, then knit 2 from cable needle
- St st: Stockinette stitch (knit on RS, purl on WS)
- RS: Right side
- WS: Wrong side
Step-by-Step Instructions
Side Panels (Make 2)
With Color A, CO 38 stitches.
Ribbing:
Row 1 (RS): K2, P2, K2, P2, K2, P2, K2, P2, K2, P2, K2, P2, K2, P2, K2, P2, K2, P2, K2 (2x2 ribbing across all stitches).
Row 2 (WS): Repeat Row 1 (knit the knits and purl the purls).
Repeat Rows 1-2 for a total of 6 rows of ribbing.
Main Pattern:
Row 7 (RS): K2, P2, K2, P2, K6, P2, K2, P2, K6, P2, K2, P2, K2, P2, K2. (Total 38 sts: 2+2+2+2+6+2+2+2+6+2+2+2+2+2+2 = 38)
Row 8 (WS): K2, P2, K2, P2, P6, K2, P2, K2, P6, K2, P2, K2, P2, K2, P2 (knit the knit stitches, purl the purl stitches, and purl the stockinette sections).
Row 9 (RS): K2, P2, K2, P2, C4F, K2, P2, K2, P2, C4B, K2, P2, K2, P2, K2, P2 (cables over the 6-stitch sections: C4F then K2, and C4B then K2).
Row 10 (WS): Repeat Row 8.
Row 11 (RS): Repeat Row 7.
Row 12 (WS): Repeat Row 8.
Repeat Rows 7-12 until the panel measures 8 inches from the cast-on edge, ending with a WS row.
Top Ribbing:
Work in 2x2 ribbing (as in Rows 1-2) for 6 rows, but on the first ribbing row, decrease 2 stitches evenly across the row (e.g., K2tog in two of the purl sections) to bring the stitch count to 36. Bind off loosely in pattern.
End Panels (Make 2)
With Color A, CO 26 stitches.
Ribbing:
Work 6 rows of 2x2 ribbing as for the side panels (K2, P2 across).
Main Body:
Then work in St st (knit on RS, purl on WS) for 8 inches, ending with a WS row.
Top Ribbing:
Work 6 rows of 2x2 ribbing, decreasing 2 stitches evenly on the first ribbing row (to 24 stitches). Bind off loosely in pattern.
Top Panel
With Color B, CO 38 stitches.
Ribbing:
Work 6 rows of 2x2 ribbing.
Main Body:
Then work in St st for 4 inches, ending with a WS row.
Create the Slit for Tissue Dispensing:
Row 1 (RS): K18, bind off 2 stitches (using a standard bind off, leaving the remaining stitches on the needle), K18. (You now have 18 stitches on each side of the gap.)
Row 2 (WS): P18, turn, CO 2 stitches (using the backward loop method), turn, P18. (You now have 38 stitches again, but with a slit in the middle.)
Continue in St st for another 4 inches, ending with a WS row.
Top Ribbing:
Work 6 rows of 2x2 ribbing, decreasing 2 stitches evenly on the first ribbing row (to 36 stitches). Bind off loosely in pattern.
Finishing & Assembly
Blocking:
Block all pieces flat to the measurements: side panels 8 x 4.5 inches, end panels 8 x 4.5 inches, top panel 8 x 4.5 inches (with the slit centered). Blocking is essential for even seams and a professional finish.
Seaming:
Seam the panels together using mattress stitch or whip stitch with Color A. Sew the side panels to the end panels, forming a box shape. Then sew the top panel to the top edges of the side and end panels, leaving the slit open. Weave in all ends.
Optional Embellishment:
Add a decorative button or a small crocheted flower to the center of the top panel, but ensure it does not obstruct the slit.
Tips for Success
- Count your stitches after each cable row to ensure accuracy.
- Use stitch markers to mark the cable sections if you find it helpful.
- Block before seaming for the best fit and stitch definition.
- Take your time with the slit—the backward loop cast-on creates a clean edge that will hold up to daily use.
The Velvet Dusk tissue box cover is more than just a practical accessory—it's a statement piece that brings warmth and texture to your living space. The combination of cables and ribbing creates a tactile, sculptural surface that invites touch, while the muted color palette ensures it complements any decor. Happy knitting!