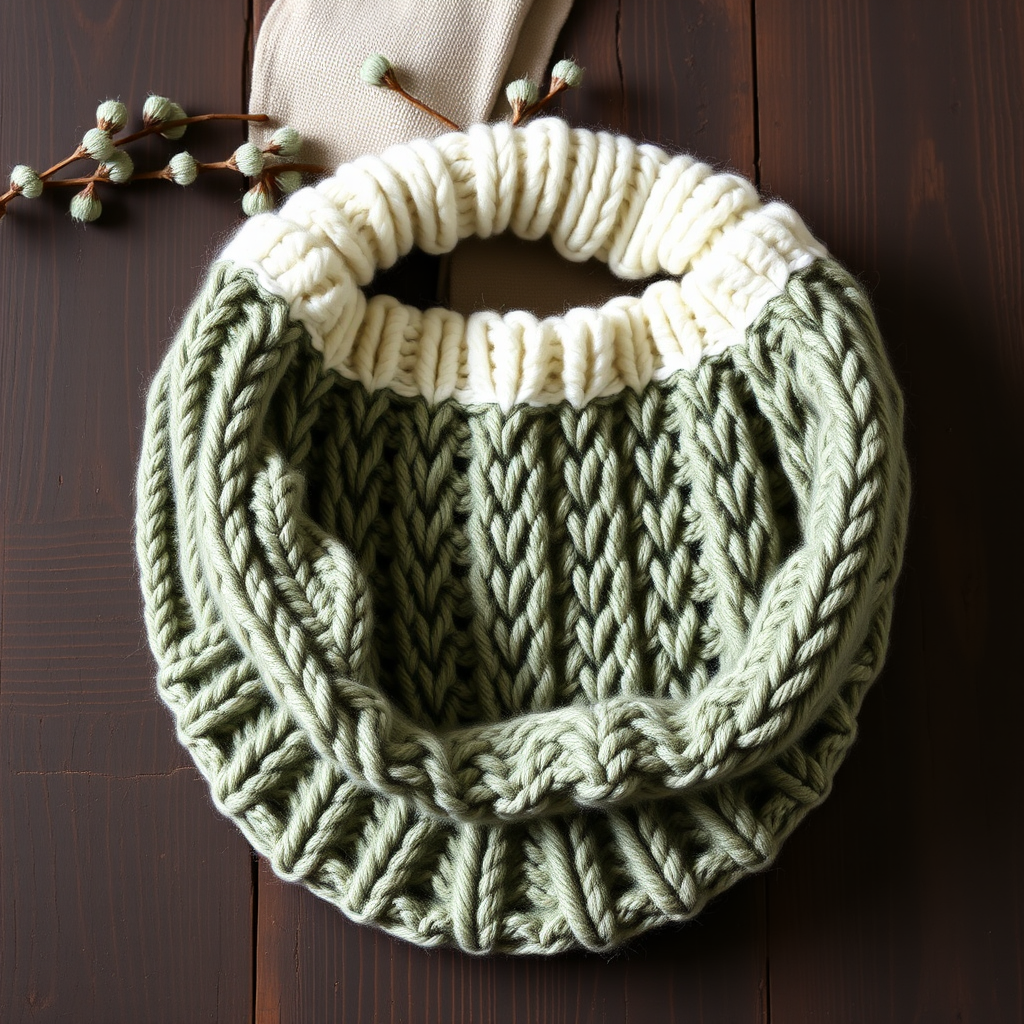
The Slanted Puffs Cowl Free Pattern – A Diagonal Cloud Knit

The Slanted Puffs Cowl Free Pattern – A Diagonal Cloud Knit
Wrap yourself in a cloud of soft, diagonal puffs with this unique cowl that combines brioche and slipped stitches for a squishy, sculptural texture. The slanted design creates a modern, asymmetric drape that feels both cozy and fashion-forward. Whether you're a seasoned knitter looking for a new challenge or a confident beginner ready to expand your skills, this pattern offers a rewarding project with stunning results. The gradient yarn adds an extra layer of visual interest, making this cowl a true statement piece for your winter wardrobe.
Materials Needed
Before you begin, gather the following materials to ensure a smooth knitting experience:
- Yarn: 2 skeins of Lion Brand Wool-Ease Thick & Quick (or any super bulky weight yarn, approx. 200g/140m per skein) in a gradient or tonal colorway like 'Harbor' (teal to navy) or 'Cranberry' (deep red to burgundy). The gradient effect is key to the cowl's stunning appearance, but a solid color will also showcase the beautiful texture beautifully.
- Needle: US 11 (8.0 mm) 24-inch circular knitting needle. The circular needle is essential for working in the round, and the 24-inch length provides ample room for your stitches.
- Notions: Stitch marker, tapestry needle for weaving in ends, and scissors.
- Gauge: 12 stitches and 16 rows = 4 inches in stockinette stitch (after blocking). Achieving the correct gauge is crucial for the cowl to fit properly and drape beautifully. If your gauge is off, adjust your needle size accordingly.
Step-by-Step Instructions
This cowl is worked in the round from the bottom up, with a repeating 8-row pattern that creates slanted puff columns. The puff is made by working into the row below, giving a dense, squishy texture. Follow these detailed instructions carefully, and you'll have a gorgeous, cloud-like cowl in no time.
Abbreviations
- k = knit
- p = purl
- k1b = knit 1 stitch through the back loop
- sl1 = slip 1 stitch purlwise with yarn in back
- yo = yarn over
- k2tog = knit 2 stitches together
- p2tog = purl 2 stitches together
- pm = place marker
- rnd = round
Getting Started
Cast On: Cast on 96 stitches. Place a marker at the beginning of the round and join in the round, being careful not to twist your stitches. This is a critical step—twisted stitches will ruin the cowl's seamless look. Take your time to ensure your cast-on edge is straight before joining.
Ribbing (Rounds 1-6)
Rnds 1-6: *K2, p2; repeat from * to end of round. This ribbing creates a neat, stretchy edge that will frame the puff pattern beautifully. Continue for all 6 rounds, maintaining the rib pattern consistently.
Body of the Cowl
Now we'll begin the main pattern. The body consists of a repeating sequence of rounds that create the slanted puff columns. Pay close attention to the stitch placement, as the pattern builds on itself.
Rnd 7 (setup): *K1b, k1, p2; repeat from * to end of round. This sets up the puff columns. The k1b creates a twisted stitch that will anchor the puff, while the p2 forms the valley between columns.
Rnd 8: *Sl1, k1, p2; repeat from * to end of round. The slipped stitch with yarn in back creates a long, loose strand that will be picked up in the next round to form the puff.
Rnd 9: *Yo, k2tog, p2; repeat from * to end of round. The yo and k2tog create a small eyelet that will be hidden in the puff. This is where the magic happens—the yarn over and decrease work together to form the base of the puff.
Rnd 10: *K1b, k1, p2; repeat from * to end of round. This round solidifies the puff structure, locking in the yarn over and decrease from the previous round.
Rnd 11: *Sl1, k1, p2; repeat from * to end of round. Another slipped stitch round, preparing for the next puff.
Rnd 12: *K1b, k1, p2; repeat from * to end of round.
Rnd 13: *Sl1, k1, p2; repeat from * to end of round.
Rnd 14: *Yo, k2tog, p2; repeat from * to end of round. This is the second puff-forming round, creating the diagonal slant.
Rnd 15: *K1b, k1, p2; repeat from * to end of round.
Rnd 16: *Sl1, k1, p2; repeat from * to end of round.
Repeat Rnds 9-16 until the cowl measures approximately 10 inches from the cast-on edge, ending after Rnd 16. This will create the full, luxurious length of the cowl. As you work, you'll see the puffs forming and slanting diagonally, creating the signature cloud-like texture.
Finishing Ribbing (Rounds 17-22)
Rnds 17-22: *K2, p2; repeat from * to end of round. This mirrors the bottom ribbing, creating a balanced, finished look.
Bind Off: Bind off loosely in pattern (knit the knits and purl the purls). A loose bind-off is essential to maintain the stretchy edge and ensure the cowl fits comfortably over your head. If your bind-off tends to be tight, consider using a larger needle or a stretchy bind-off method.
Finishing Touches
Weave in Ends: Using your tapestry needle, carefully weave in all loose ends on the wrong side of the fabric. Make sure to secure them well so they don't unravel with wear.
Blocking: Block gently to open up the stitch pattern and even out the edges. Wet blocking is recommended for this project—soak the cowl in lukewarm water with a gentle wool wash, then gently squeeze out excess water (never wring). Lay flat on a towel, shaping to the desired dimensions, and allow to dry completely. Blocking will enhance the drape and make the puff texture more defined.
Once dry, your Slanted Puffs Cowl is ready to wear! The gradient yarn will create a beautiful color transition as it wraps around your neck, and the squishy, sculptural texture will keep you cozy all winter long. This pattern is perfect for gifting, and once you've mastered the technique, you'll want to make one in every colorway.