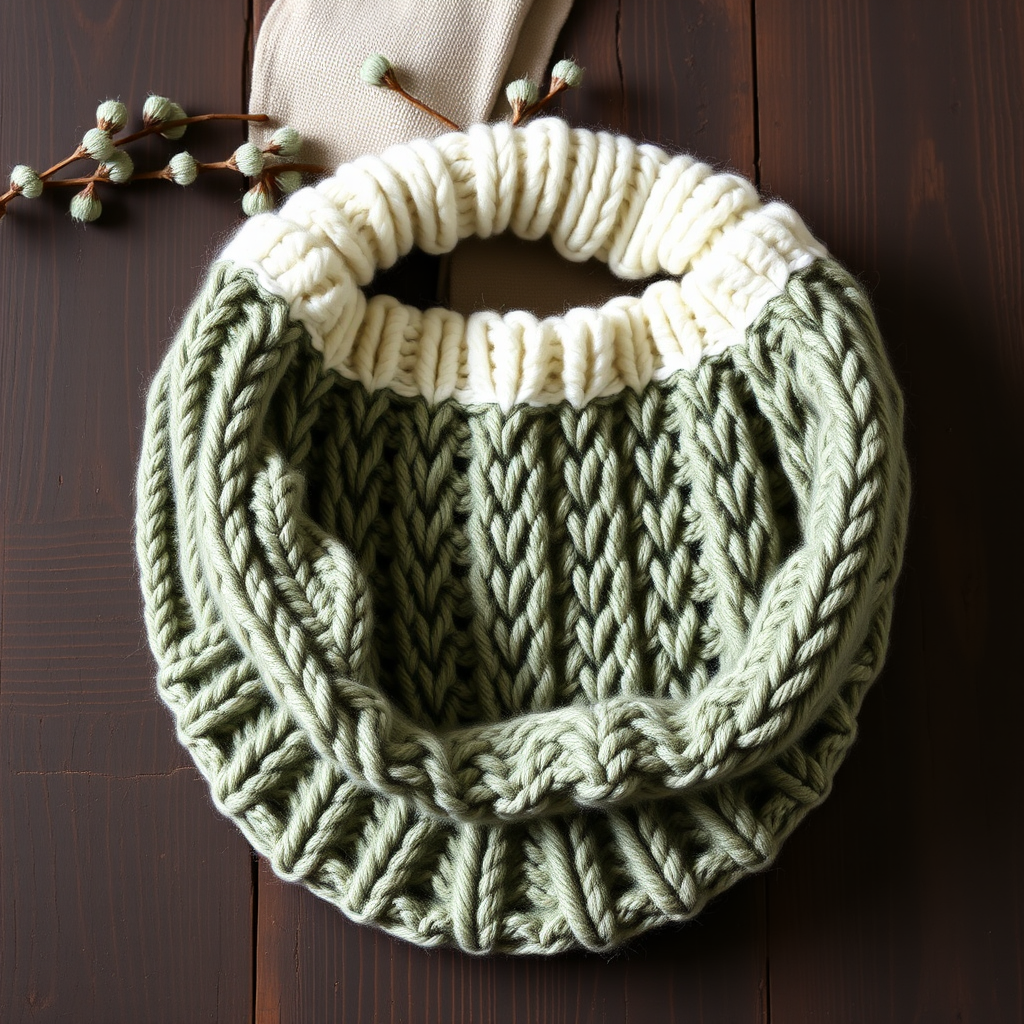
Emberwood Hooded Scarf Free Pattern – Knit a Cozy Forest Wrap

Wrap Yourself in Autumn: The Emberwood Hooded Scarf
There is something deeply comforting about wrapping a hand-knit scarf around your shoulders as the leaves begin to turn. The Emberwood Hooded Scarf captures that crisp, cozy feeling perfectly. This free knitting pattern combines the classic warmth of a chunky cowl with the modern practicality of a hood, creating a versatile piece that shields you from the wind while adding a pop of rich, autumnal color to any outfit.
Designed with the beginner in mind, this project uses simple ribbing and stockinette stitches to create a beautifully textured garment. The deep forest green hood frames your face, while the body transitions through stripes of burnt orange and cream, reminiscent of a sunset filtering through the pines. Whether you are an experienced maker looking for a quick weekend project or a new knitter ready for your first wearable, the Emberwood is an inspiring and rewarding knit.
Materials Needed
Before you cast on, gather your supplies. This pattern requires minimal tools and relies on a simple, repetitive rhythm that makes it perfect for cozy evenings by the fire.
- Yarn: Worsted weight yarn in 3 colors (approx. 400g total).
Color A: Deep Forest Green (approx. 200g)
Color B: Burnt Orange (approx. 100g)
Color C: Cream (approx. 100g) - Needles: US 9 (5.5mm) circular knitting needle with a 24-inch cable.
- Notions: Stitch markers, tapestry needle for weaving in ends, and scissors.
- Gauge: 18 stitches and 24 rows = 4 inches in stockinette stitch. (Always check your gauge to ensure the correct drape and size.)
Step-by-Step Instructions
This pattern is worked in two main parts: first, you will knit the hood in the round, then you will pick up stitches to create the long scarf body. Follow these detailed instructions carefully, and you will have a beautiful new accessory in no time.
Part 1: The Hood
The hood is knit from the bottom up, starting at the neckline and working towards the crown. We will use decreases to shape the top of the hood so it fits snugly over your head.
- Cast On: With Color A (Deep Forest Green), cast on 80 stitches. Join in the round, being very careful not to twist your stitches. Place a stitch marker to indicate the beginning of the round.
- Ribbed Edge: Work in a k2, p2 ribbing pattern (knit 2, purl 2) for 2 inches. This creates a snug, stretchy band that will sit comfortably around your neck.
- Stockinette Body: Switch to stockinette stitch (knit every round) and work even for 6 inches. This creates the main fabric of the hood.
- Begin Shaping: Place a second stitch marker at the center front of your work, between stitch 40 and stitch 41. This marks the middle of the hood.
- Decrease Round: Knit to 2 stitches before the center marker. Knit 2 stitches together (k2tog), slip the marker, slip slip knit (ssk), then knit to the end of the round. You have decreased 2 stitches, leaving 78 stitches.
- Continue Decreasing: Repeat this decrease round every 4 rounds until you have 60 stitches remaining on your needles. This gradual shaping creates a rounded crown.
- Work Even: Once you have 60 stitches, work even in stockinette stitch for 4 inches. This adds length to the back of the hood.
- Bind Off: Bind off all stitches loosely. Cut your yarn, leaving a long tail (about 18 inches).
- Close the Hood: Fold the hood in half so the bind-off edge is at the top. Using your tapestry needle and the long tail, sew the top seam together to close the hood. Weave in this end securely.
Part 2: The Scarf Body
Now we will create the long, draping scarf that extends from the bottom of the hood. We will pick up stitches along the cast-on edge and work downwards.
- Pick Up Stitches: With the right side of the hood facing you, pick up and knit 80 stitches along the cast-on edge of the hood. This is the bottom edge that will become the neckline of the scarf. Place a marker for the beginning of the round.
- Ribbed Neckline: Work in k2, p2 ribbing for 1 inch. This creates a neat transition between the hood and the scarf body.
- Stripe Pattern: Switch to stockinette stitch (knit every round). Begin the stripe sequence:
*Knit 4 rows with Color B (Burnt Orange), 4 rows with Color C (Cream), and 4 rows with Color A (Deep Forest Green).*
Repeat from * to * until the scarf body measures 30 inches from the bottom of the hood. Tip: When changing colors, knit the first stitch of the new color tightly to avoid gaps. - Final Ribbing: End the scarf with 1 inch of k2, p2 ribbing in Color A (Deep Forest Green). This provides a balanced, finished edge that won't curl.
- Bind Off: Bind off all stitches loosely in pattern. Cut your yarn and pull through the last loop.
Finishing Touches
The final steps are what transform your knitting from a project into a polished, heirloom-quality garment.
- Weave in Ends: Thread your tapestry needle with the yarn tails from your color changes and cast-on/bind-off edges. Weave them carefully through the wrong side of the work, ensuring they are secure and invisible from the front.
- Blocking: This step is crucial for a professional finish. Soak your hooded scarf in lukewarm water with a drop of mild wool wash for 15-20 minutes. Gently squeeze out excess water (do not wring). Lay it flat on a clean towel, roll it up to remove more water, then shape it to the correct dimensions. Allow it to dry completely. Blocking relaxes the stitches, evens out the tension, and gives the fabric a beautiful, soft drape.
Once dry, your Emberwood Hooded Scarf is ready to wear. The deep green hood will keep you warm, while the vibrant stripes add a touch of handcrafted charm to your autumn wardrobe. This pattern is a joy to knit and an even greater joy to wear—a true testament to the magic of handmade goods.