The Shifting Dunes Slouchy Beanie: A Free Knitting Pattern for a Textured, Modern Hat
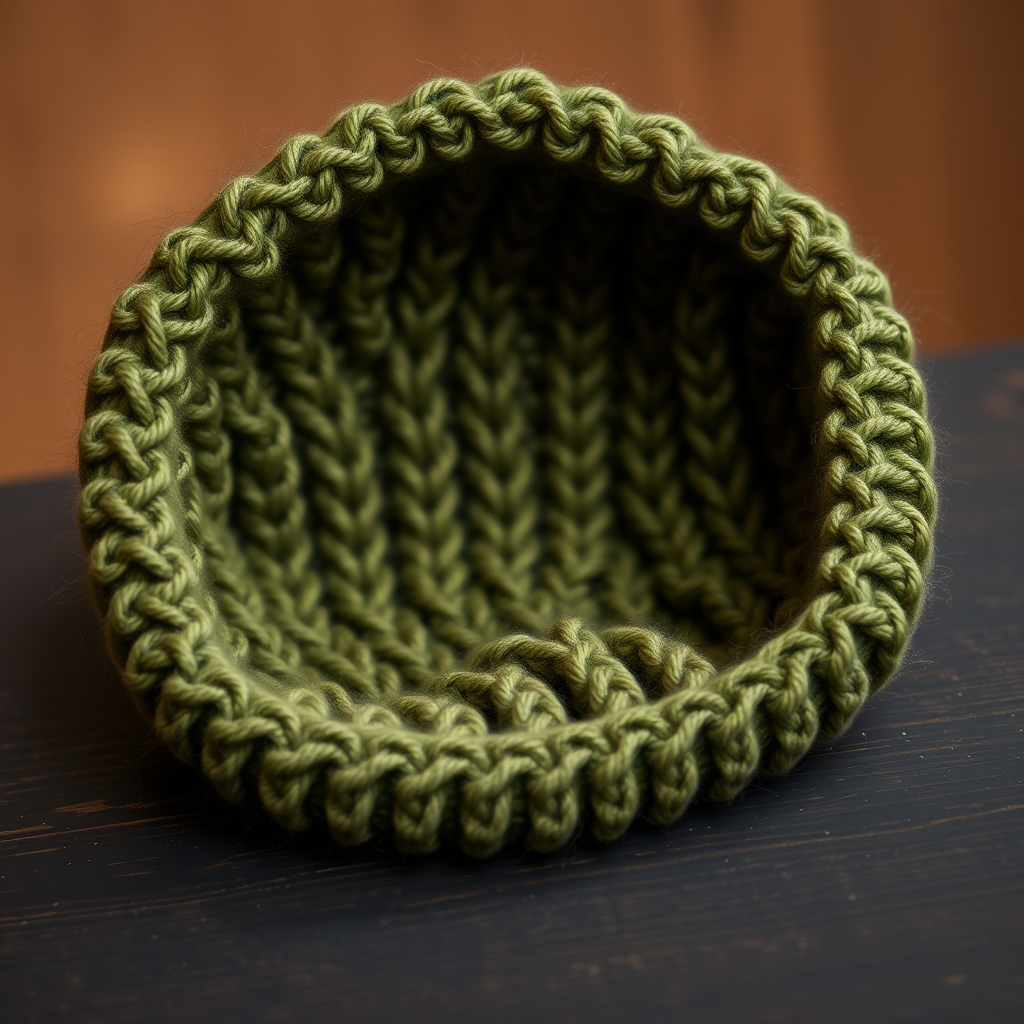
Introduction: The Shifting Dunes Slouchy Beanie
Embrace the art of textured knitting with the Shifting Dunes Slouchy Beanie. This modern, slouchy hat features a captivating herringbone stitch pattern that creates a beautiful, shifting texture reminiscent of sand dunes. Knit in a rich, heathered yarn like Malabrigo Rios, it's a cozy and stylish accessory for any season. Whether you're a seasoned knitter or a confident beginner looking for a new challenge, this free pattern will guide you through creating a stunning, handmade hat that's both fashionable and functional.
Materials Needed
Before you begin, gather the following materials to ensure a smooth knitting experience:
- Yarn: Worsted weight yarn (approx 200-250 yards). Sample uses Malabrigo Rios in 'Dusty Olive'.
- Needles: US 7 (4.5mm) 16-inch circular needle and double-pointed needles (DPNs) for crown shaping.
- Notions: Stitch marker, tapestry needle for weaving in ends, scissors.
- Gauge: 20 stitches x 28 rows = 4 inches in herringbone stitch (blocked).
Step-by-Step Instructions
Size and Abbreviations
Size: Adult (S/M, L/XL) – fits head circumference 20-22 (22-24) inches.
Abbreviations:
- CO: cast on
- k: knit
- p: purl
- k2tog: knit two together
- p2tog: purl two together
- sl1: slip one stitch purlwise
- wyif: with yarn in front
- wyib: with yarn in back
- st(s): stitch(es)
- rnd(s): round(s)
- rep: repeat
Pattern Notes
- The herringbone stitch is worked in the round. It creates a dense, textured fabric.
- The hat is worked from the brim up to the crown.
- For a slouchier fit, work extra rounds in the body section before decreasing.
Brim
CO 96 (108) sts using a long-tail cast on. Join in the round, being careful not to twist. Place a stitch marker to indicate the beginning of the round.
Rnd 1: *k2, p2; rep from * around.
Rep Rnd 1 until brim measures 2 inches from cast-on edge.
Body (Herringbone Stitch)
Rnd 1: *k2tog, but do not drop the first stitch from the left needle; knit the first stitch again, then drop both stitches from the left needle* – this is a herringbone increase. Rep from * around. (Note: This creates a twisted stitch that forms the herringbone pattern. It may feel tight at first.)
Rnd 2: *p2tog, but do not drop the first stitch from the left needle; purl the first stitch again, then drop both stitches from the left needle* – this is a herringbone decrease. Rep from * around.
Rnds 3-4: Rep Rnds 1-2.
Continue repeating Rnds 1-2 until the body measures 7 (8) inches from the cast-on edge, or desired length before crown shaping.
Crown Shaping
Switch to DPNs when stitches become too tight for circular needle.
Rnd 1 (decrease rnd): *k2tog, k10 (12); rep from * around. – 88 (99) sts remain.
Rnd 2 and all even rnds: Knit all sts.
Rnd 3: *k2tog, k9 (11); rep from * around. – 80 (90) sts.
Rnd 5: *k2tog, k8 (10); rep from * around. – 72 (81) sts.
Rnd 7: *k2tog, k7 (9); rep from * around. – 64 (72) sts.
Rnd 9: *k2tog, k6 (8); rep from * around. – 56 (63) sts.
Rnd 11: *k2tog, k5 (7); rep from * around. – 48 (54) sts.
Rnd 13: *k2tog, k4 (6); rep from * around. – 40 (45) sts.
Rnd 15: *k2tog, k3 (5); rep from * around. – 32 (36) sts.
Rnd 17: *k2tog, k2 (4); rep from * around. – 24 (27) sts.
Rnd 19: *k2tog, k1 (3); rep from * around. – 16 (18) sts.
Rnd 21: *k2tog; rep from * around. – 8 (9) sts.
Cut yarn, leaving a 10-inch tail. Thread tail through remaining sts, pull tight, and secure on inside.
Finishing
Weave in all ends using a tapestry needle. Block gently to open up the herringbone pattern and even out stitches. To block, soak the hat in lukewarm water for 15 minutes, gently squeeze out excess water (do not wring), and lay flat to dry on a towel, shaping as desired.


