The Providence Scarf: A Free Knitting Pattern for a Sculptural, Woven-Texture Neckpiece

Introduction: The Art of Slow Fashion
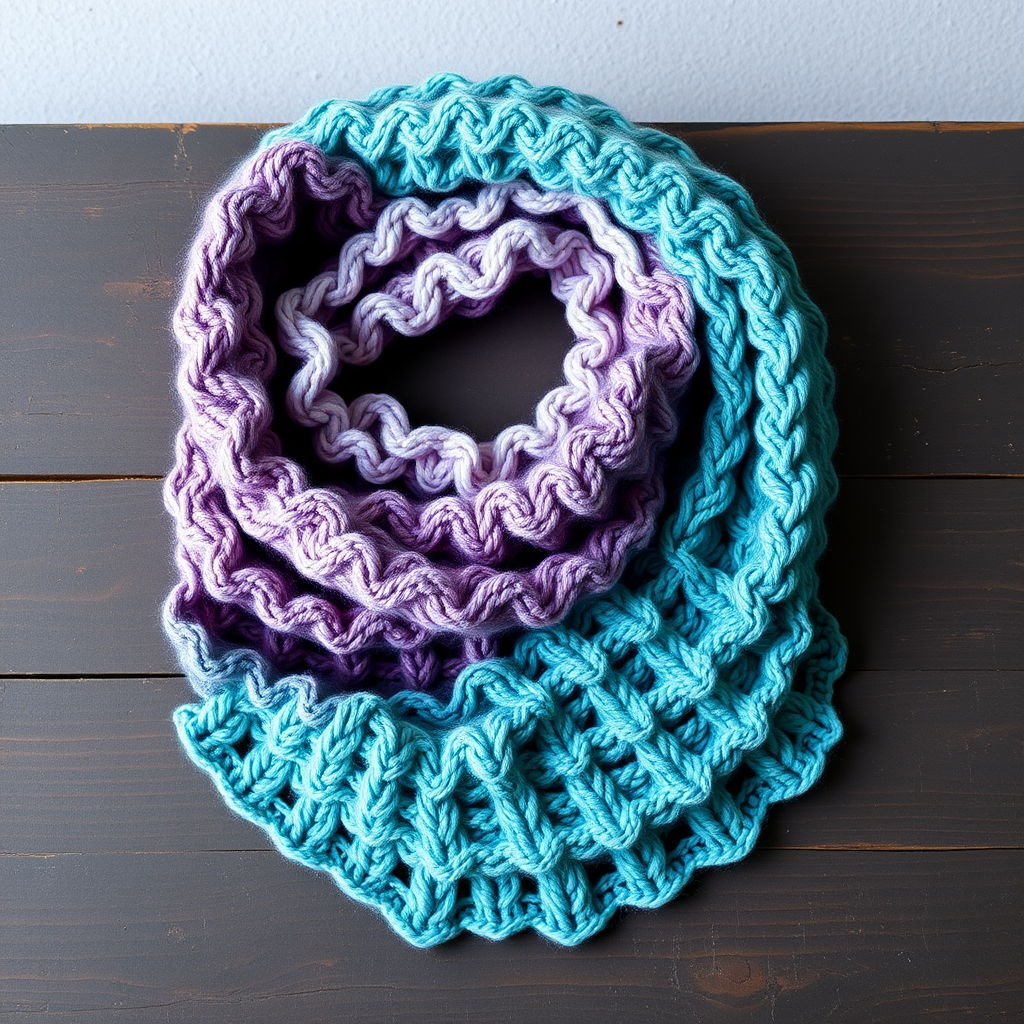
Embrace the art of slow fashion with the Providence Scarf—a richly textured, sculptural neckpiece that elevates any winter ensemble. This free knitting pattern features a unique woven-like stitch pattern that creates a dense, reversible fabric with a stunning basketweave effect. The deep, heathered teal color (shown in Malabrigo Rios 'Diana') adds a touch of handcrafted elegance, while the modern, tactile design makes it a perfect project for knitters looking to create a luxurious, one-of-a-kind accessory. Whether draped over a rustic chair or wrapped around your neck, this scarf is a statement of warmth and artistry.
Materials Needed
To recreate this exact scarf at home, gather the following materials based on the technical specifications:
- Yarn: Worsted weight yarn (Category 4). Approximately 400 yards (366 meters). The sample uses Malabrigo Rios in 'Diana' (a deep, heathered teal), but any worsted weight yarn will work.
- Needles: US 8 (5.0 mm) knitting needles, or size needed to obtain gauge.
- Notions: Tapestry needle for weaving in ends.
- Gauge: 18 stitches and 24 rows = 4 inches (10 cm) in stockinette stitch, after blocking. Adjust needle size if necessary to match gauge.
Step-by-Step Instructions
This scarf is worked flat in one piece. The stitch pattern is a variation of a broken rib and slipped stitch combination, creating a dense, woven texture that is reversible. Follow these detailed instructions carefully to achieve the sculptural, woven look.
Stitch Pattern (Multiple of 4 + 2)
Work the following four rows to create the woven texture. Note the shift in the pattern on Row 3 to create the basketweave effect.
- Row 1 (RS): K2, *sl1 wyif (slip 1 stitch purlwise with yarn in front), k3; repeat from * to last 2 sts, k2.
- Row 2 (WS): Purl all stitches.
- Row 3 (RS): K4, *sl1 wyif, k3; repeat from * to last 2 sts, k2. (Note: The pattern shifts by 2 stitches to create the woven effect.)
- Row 4 (WS): Purl all stitches.
Instructions
- Cast On: Cast on 38 stitches loosely. Use a long-tail cast-on or your preferred method, ensuring the stitches are not too tight to maintain a flexible edge.
- Work the Pattern: Repeat Rows 1-4 of the stitch pattern until the scarf measures approximately 60 inches (152 cm) from the cast-on edge, or your desired length. End after completing a Row 4 (a wrong-side row). For a shorter scarf, aim for 50-55 inches; for a longer wrap, go up to 70 inches.
- Bind Off: Bind off all stitches loosely in pattern. To do this: knit the knit stitches as they appear, purl the purl stitches as they appear, but for the slipped stitches (the ones you slipped wyif), simply knit them. This ensures the bind-off edge matches the fabric's texture. Use a stretchy bind-off method (like Jeny's Surprisingly Stretchy Bind-Off) if you prefer a very elastic edge.
- Weave in Ends: Using a tapestry needle, weave in all yarn ends securely on the wrong side of the fabric. Trim any excess yarn.
- Blocking: Block the scarf gently to open up the stitch pattern and even out the edges. Soak the scarf in lukewarm water for 15-20 minutes, then gently squeeze out excess water (do not wring). Lay flat on a towel, shape to the desired dimensions, and allow to dry completely. Blocking will enhance the woven texture and soften the fabric.
Your Providence Scarf is now complete! Enjoy the rich, sculptural texture and the warmth of your handcrafted creation. This pattern is perfect for beginners and experienced knitters alike, offering a rewarding project that results in a stunning, modern accessory.