The Mosaic Stained Glass Cowl: A Free Knitting Pattern for a Colorful, Textured Bandana
Wrap Yourself in Art: The Mosaic Stained Glass Cowl
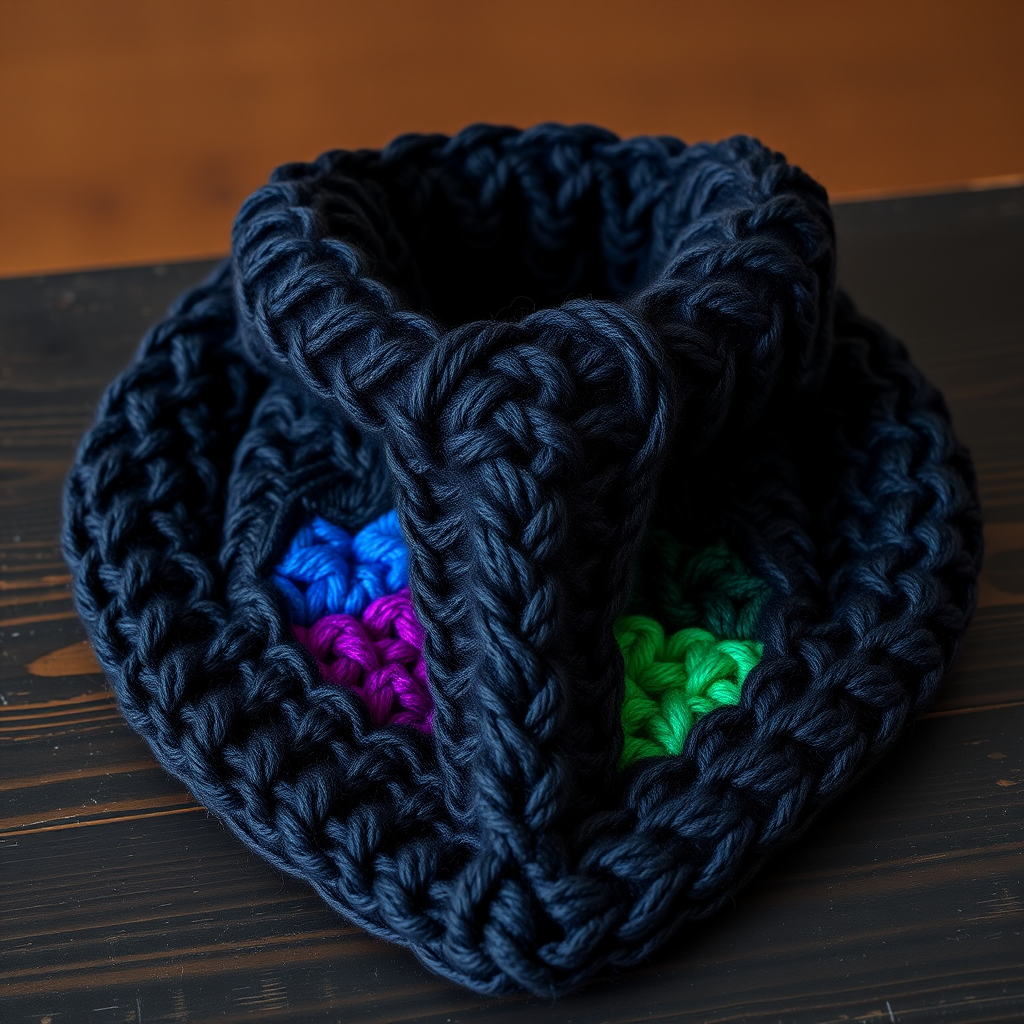
Imagine the luminous beauty of a stained glass window, translated into a cozy, wearable accessory. That's the magic of the Mosaic Stained Glass Cowl. This free knitting pattern uses a clever slipped stitch technique to create sharp, geometric 'glass' panes in rich jewel tones against a deep charcoal background. The result is a modern, artistic, and incredibly cozy bandana-shaped cowl that drapes beautifully around your neck. Whether you're an adventurous beginner or an intermediate knitter looking for a new technique, this pattern is a stunning way to play with color and texture.
Materials Needed
Before you begin, gather the following supplies. Using the exact yarn weight and needle size is crucial for achieving the correct gauge and the perfect drape.
- Yarn: Worsted weight (#4) in 4 colors:
- Color A (Charcoal/Black): 200 yards
- Color B (Sapphire Blue): 100 yards
- Color C (Amethyst Purple): 100 yards
- Color D (Emerald Green): 100 yards
- Needles:
- US 7 (4.5 mm) 16-inch circular needle (for working the body)
- US 7 (4.5 mm) straight needles (or size to obtain gauge)
- Notions:
- Tapestry needle for weaving in ends and seaming
- Stitch markers (optional, for keeping track of pattern repeats)
- Gauge: 20 stitches x 28 rows = 4 inches in Stockinette stitch. Always check your gauge to ensure your finished cowl matches the intended size and drape.
Step-by-Step Instructions
This pattern uses mosaic knitting, a technique where you only work with one color per row, slipping stitches from the previous row to create the pattern. The cowl is worked flat in two mirrored triangular sections, then seamed at the back. Don't be intimidated—the slipped stitches create the pattern effortlessly!
Abbreviations
- CO: Cast on
- K: Knit
- P: Purl
- Sl: Slip stitch purlwise with yarn in back (wyib) on RS rows, with yarn in front (wyif) on WS rows
- K2tog: Knit two together
- Ssk: Slip, slip, knit (decrease)
- St(s): Stitch(es)
- RS: Right side
- WS: Wrong side
Section 1 (Left Triangle)
This section forms the first half of your cowl. We'll start with a simple increase to create the triangle shape, then begin the mosaic pattern.
- With Color A and straight needles, CO 3 sts.
- Row 1 (RS): K1, yo, k1, yo, k1. (5 sts)
- Row 2 (WS): Purl all sts.
- Row 3 (RS): K1, yo, k1, yo, k1, yo, k1, yo, k1. (9 sts)
- Row 4 (WS): Purl all sts.
- Row 5 (RS): K1, yo, k1, yo, k1, yo, k1, yo, k1, yo, k1, yo, k1. (15 sts)
- Row 6 (WS): Purl all sts.
Begin Mosaic Pattern
Now we start the mosaic pattern. Remember, you only work with one color per row. The slipped stitches from the previous row will create the 'stained glass' effect. Repeat rows 7-14 for the pattern.
- Row 7 (RS, Color B): K1, yo, *k1, sl1, repeat from * to last 2 sts, k1, yo, k1. (17 sts)
- Row 8 (WS, Color B): K1, p1, *sl1 wyif, p1, repeat from * to last st, k1.
- Row 9 (RS, Color A): K1, yo, *sl1, k1, repeat from * to last 2 sts, sl1, yo, k1. (19 sts)
- Row 10 (WS, Color A): K1, p1, *k1, sl1 wyif, repeat from * to last 2 sts, p1, k1.
- Row 11 (RS, Color C): K1, yo, *k1, sl1, repeat from * to last 2 sts, k1, yo, k1. (21 sts)
- Row 12 (WS, Color C): K1, p1, *sl1 wyif, p1, repeat from * to last st, k1.
- Row 13 (RS, Color A): K1, yo, *sl1, k1, repeat from * to last 2 sts, sl1, yo, k1. (23 sts)
- Row 14 (WS, Color A): K1, p1, *k1, sl1 wyif, repeat from * to last 2 sts, p1, k1.
Repeat rows 7-14, alternating colors B, C, D in sequence for the 'glass' colors, until you have 75 sts on the needle (or desired width). End after a WS row.
Shape the Point (Decrease Section)
Once you've reached your desired width, we'll shape the point of the triangle by decreasing.
- Row 1 (RS, Color A): K1, ssk, work in established mosaic pattern to last 3 sts, k2tog, k1. (73 sts)
- Row 2 (WS, Color A): Work even in pattern.
- Continue decreasing 2 sts every RS row until 3 sts remain.
- Next RS row: Sl1, k2tog, psso. Fasten off.
Section 2 (Right Triangle)
Work exactly as Section 1, but mirror the decreases (ssk at beginning, k2tog at end) if desired, or simply work the same. The two triangles will be seamed together.
Finishing
Now it's time to bring your two triangles together to form the cowl.
- Block both pieces: Wet block or steam block both triangles to shape. This will help the mosaic pattern lay flat and crisp.
- Seam: With Color A and tapestry needle, sew the two triangles together along the long straight edge (the edge opposite the point). Use a mattress stitch for an invisible seam.
- Weave in ends: Weave in all yarn ends securely on the wrong side of the work.
Your Mosaic Stained Glass Cowl is complete! The cowl will have a bandana shape that drapes around the neck, with the points meeting at the front or back. Enjoy your wearable work of art!