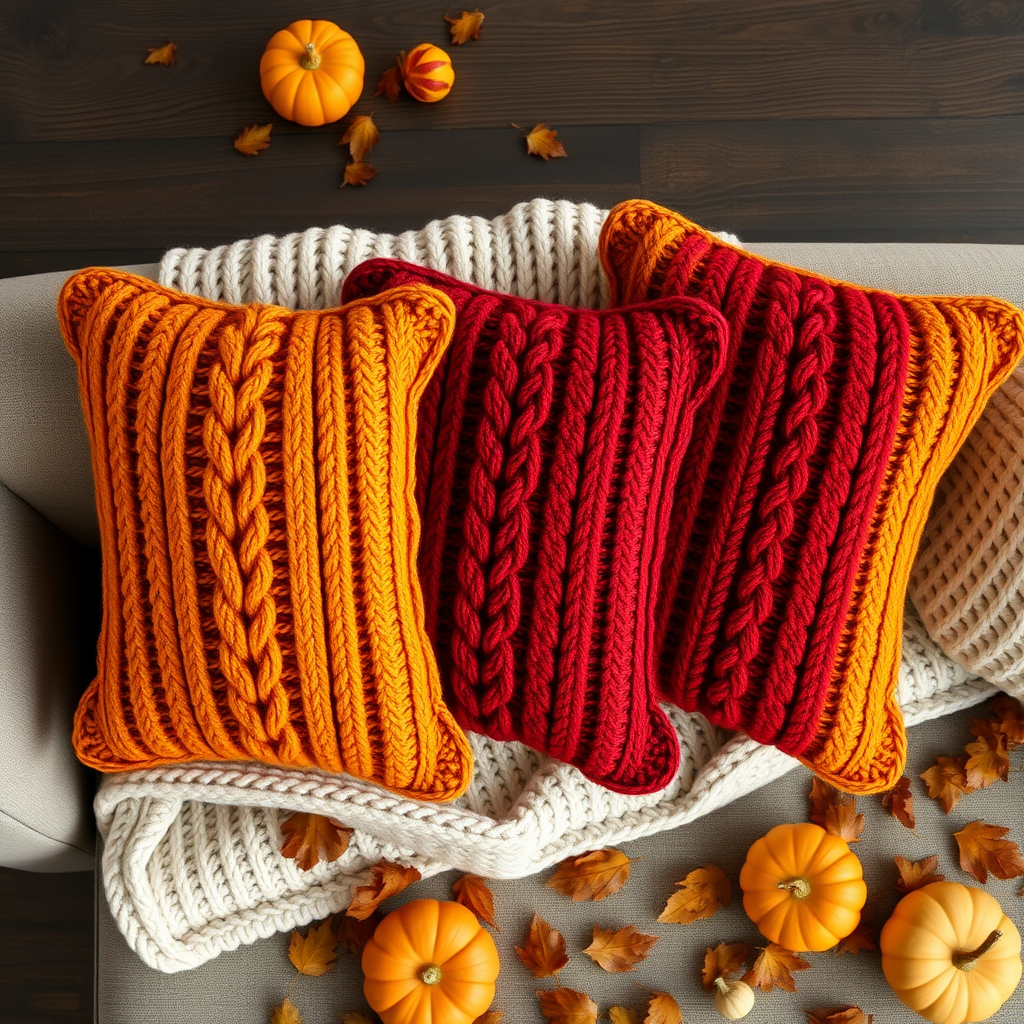
The Midnight Bloom Garden Pillow Free Pattern – A Knitted Cable and Bobble Cushion

The Midnight Bloom Garden Pillow: A Knitted Cable & Bobble Cushion
Imagine a pillow that captures the quiet magic of a moonlit garden—twisting vines, delicate blooms, and deep, jewel-toned shadows. That's the vision behind the Midnight Bloom Garden Pillow, a sculptural knitted cushion that combines intricate cables with plush, dimensional bobbles. This pattern is perfect for intermediate knitters ready to elevate their skills, but it's also broken down so clearly that a confident beginner can tackle it with success. The result is a stunning, handcrafted piece of home decor that adds cozy elegance to any sofa, bed, or reading nook.
Knitted in a rich palette of deep plum, midnight blue, and forest green, this pillow is more than just a place to rest your head—it's a statement piece. The garter stitch border frames the central pattern beautifully, while the textured bobbles mimic flowers scattered across a twilight garden. Let's dive into this rewarding project and create something truly special for your home.
Materials Needed
Before you begin, gather these supplies to ensure a smooth knitting experience:
- Yarn: Worsted weight yarn in three colors:
- Main Color (MC): Deep Plum – approximately 250g
- Contrast Color 1 (CC1): Midnight Blue – approximately 75g (for bobbles and embellishments)
- Contrast Color 2 (CC2): Forest Green – approximately 75g (for bobbles and embellishments)
- Needles: US 8 (5mm) knitting needles (straight or circular, whichever you prefer)
- Cable needle (for the C4F and C4B maneuvers)
- Tapestry needle (for weaving in ends and sewing seams)
- Stitch markers (at least 2)
- 18-inch pillow insert (for the finished cushion)
Gauge: 18 stitches and 24 rows = 4 inches in stockinette stitch. Always check your gauge before starting to ensure your pillow comes out the correct size.
Step-by-Step Instructions
Abbreviations & Special Stitches
Familiarize yourself with these terms before you begin:
- K = knit
- P = purl
- C4F = Slip 2 stitches to cable needle, hold in front, knit 2, knit 2 from cable needle
- C4B = Slip 2 stitches to cable needle, hold in back, knit 2, knit 2 from cable needle
- MB = Make Bobble: Knit into front and back of same stitch 3 times (you'll have 6 stitches on your right needle). Turn work, purl 3, turn, knit 3, turn, purl 3, turn, knit 3. Now, pass the 2nd, 3rd, 4th, 5th, and 6th stitches over the 1st stitch to decrease back to 1 stitch.
- K2tog = Knit 2 together
- P2tog = Purl 2 together
Front Panel (Make 1)
This is where the magic happens—the cable and bobble pattern creates the "midnight garden" effect.
Finished Size: 18 inches square (fits an 18-inch pillow insert)
Step 1: Cast On & Border
With MC, cast on 90 stitches loosely.
Rows 1-6: Work in garter stitch (knit every row). This creates a sturdy, non-curling border.
Step 2: Begin the Pattern
Row 7 (Right Side): K4, place marker, work pattern across 82 stitches as follows: *P2, K6, P2, MB, P2, K6, P2* repeat from * to * 4 times (this uses 82 stitches), place marker, K4. You'll have 4 garter stitches at each edge.
Row 8 (Wrong Side): K4, slip marker, P2, K6, P2, K1 (the bobble stitch is purled on the WS), P2, K6, P2, repeat across, slip marker, K4.
Rows 9-10: Continue in pattern as established. On the RS, work the pattern as written in Row 7. On the WS, work the pattern as written in Row 8 (purl the knits, knit the purls, and purl the bobble stitch).
Step 3: Cable Rows
Cables are worked on every 8th row. On the following RS rows, work the cables as follows:
Rows 11, 19, 27, 35, 43, 51, 59, 67, 75, 83: Work the pattern, but on the first K6 section of each repeat, work C4F. On the second K6 section of each repeat, work C4B. This creates the twisting vine effect.
Step 4: Bobble Rows
Bobbles are worked on every 6th row. On the following RS rows, work the bobbles:
Rows 13, 19, 25, 31, 37, 43, 49, 55, 61, 67, 73, 79: Work the pattern, and when you reach the designated bobble stitch (the MB position in the pattern), work MB as described in the abbreviations.
Note: Rows 19, 43, and 67 will have both cables and bobbles. That's perfectly fine—just work both as you encounter them in the pattern.
Step 5: Continue to Length
Continue working in pattern, maintaining the garter stitch borders, until the piece measures 17 inches from the cast-on edge. End with a Wrong Side row.
Step 6: Final Border & Bind Off
Final 6 rows: Knit all stitches (garter stitch).
Bind off loosely. This ensures the top edge matches the bottom border and doesn't pucker.
Back Panel (Make 1)
The back is simple stockinette, providing a smooth contrast to the textured front.
Step 1: With MC, cast on 90 stitches.
Step 2: Work in stockinette stitch (knit on RS, purl on WS) for 17 inches.
Step 3: Bind off loosely.
Assembly
Now it's time to bring your pillow together.
Step 1: Seaming
Place the front and back panels with right sides together. Using a tapestry needle and MC yarn, sew three sides together using a mattress stitch for an invisible seam. Leave one side open.
Step 2: Insert Pillow Form
Turn the pillow cover right side out. Gently insert the 18-inch pillow form through the open side.
Step 3: Close the Pillow
Whip stitch the fourth side closed, using small, even stitches. Weave in all loose ends securely.
Optional Embellishment: The Midnight Garden Detail
To truly bring the "garden" to life, add a few embroidered flowers around the bobbles:
- Thread a tapestry needle with CC1 (midnight blue) or CC2 (forest green).
- Embroider small French knots or lazy daisy stitches around the bobbles to mimic tiny blossoms and leaves.
- Scatter these sparingly for a delicate, organic look.
Your Midnight Bloom Garden Pillow is now complete! Place it on your favorite chair, sofa, or bed and enjoy the cozy, handcrafted elegance it brings to your space. Happy knitting!