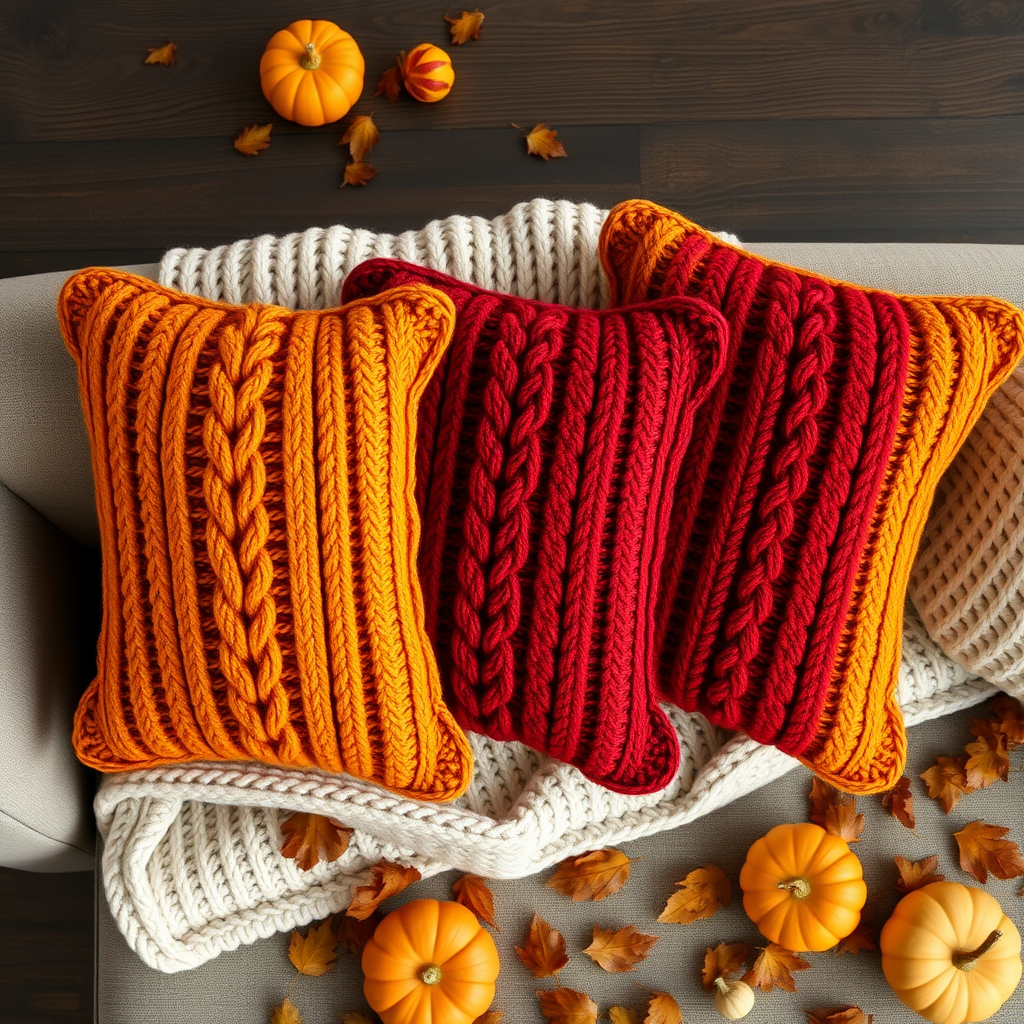
Mosaic Bloom Accent Pillow Free Pattern – Knitted Textured Polka Dot Cushion

Introducing the Mosaic Bloom Accent Pillow: A Cozy Knitted Masterpiece
Are you ready to add a touch of modern whimsy to your living space? The Mosaic Bloom Accent Pillow is the perfect project for knitters looking to create a stunning, tactile piece of home decor. This knitted pillow features raised polka dots that create a beautiful, squishy texture, making it a cozy statement piece for any room. The contrasting dusty rose dots against a soft cream background add depth and charm, giving your space a modern, slightly retro aesthetic that's both inviting and stylish.
Whether you're an experienced knitter or a confident beginner ready for a fun challenge, this pattern is designed to be approachable and rewarding. The bobble technique used to create the polka dots is easier than it looks, and the repetitive nature of the pattern makes it a relaxing, meditative project. By the end, you'll have a beautiful 16-inch square pillow that will be the envy of all your friends—and you'll have learned a fantastic new skill in the process!
Materials Needed for Your Mosaic Bloom Pillow
Before you begin, gather all your materials. Having everything ready will make your knitting experience smooth and enjoyable. Here's what you'll need:
Yarn
- Main Color (MC) – Cream: Approximately 250g of worsted weight yarn. This will form the soft, neutral background of your pillow.
- Contrast Color (CC) – Dusty Rose: Approximately 100g of the same worsted weight yarn. This beautiful, muted pink will create the charming polka dots.
Knitting Tools
- Knitting Needles: US Size 8 (5mm) knitting needles. You can use straight needles or circular needles if you prefer—whatever is most comfortable for you.
- Tapestry Needle: A large-eyed tapestry needle for seaming the panels together and weaving in ends.
- Stitch Markers: These will help you keep track of your place, especially when working the dot rows.
Additional Supplies
- 16-inch Pillow Form: To stuff your beautiful new cover and give it that perfect, plump look.
- Scissors: For cutting your yarn when you're finished.
Gauge
To ensure your pillow turns out the correct size, it's crucial to check your gauge first. The pattern calls for 18 stitches and 24 rows = 4 inches in stockinette stitch. Knit a small swatch to test this before you begin. If your gauge is off, adjust your needle size accordingly—smaller needles for more stitches per inch, larger needles for fewer.
Step-by-Step Instructions for Your Knitted Pillow
Now, let's get to the fun part! This pattern is worked flat in two identical panels, which you'll seam together at the end. Follow these detailed instructions carefully, and you'll be amazed at what you create.
Understanding Your Pattern
Finished Size: 16 inches square (approx. 40 cm)
Abbreviations:
- K = knit
- P = purl
- K2tog = knit two together (a decrease)
- M1 = make one (an increase)
- St(s) = stitch(es)
- RS = right side
- WS = wrong side
Pattern Notes:
- The pillow is knitted flat in two identical panels, then seamed together.
- Polka dots are created using a bobble technique. Don't worry—it's simpler than it sounds! You'll knit into the same stitch multiple times, then decrease back down to one stitch, creating a lovely raised bump.
Knitting Your First Panel (Make 2)
Cast On: With your Main Color (MC) yarn, cast on 72 stitches. Take your time and make sure your cast-on is not too tight, as this will make the edge stiff.
Rows 1-6 (Garter Border): Knit all stitches. This creates a lovely, bumpy garter stitch border that will frame your pillow beautifully.
Row 7 (RS): K6 (this is your border), Purl 60 stitches, K6 (border). This sets up the stockinette stitch body of your pillow with the garter border on each side.
Row 8 (WS): K6, K60, K6. (All knit). This is the wrong side row, and you'll knit all the way across.
Row 9: K6, P60, K6. (Same as Row 7)
Row 10: K6, K60, K6. (Same as Row 8)
Row 11 (Dot Row 1): This is where the magic happens! K6, then *P10, make bobble in next stitch, P10, repeat from * across, ending with K6. Let's break down the bobble: To make a bobble, knit into the next stitch but don't slip it off the left needle. Instead, purl into the same stitch, then knit into it again, then purl into it again, then knit into it one more time. You'll now have 5 stitches on your right needle from that one original stitch. Now, carefully pass the 2nd, 3rd, 4th, and 5th stitches over the 1st stitch, one at a time, and off the needle. You're back to one stitch! That's your bobble. You will have 5 dots evenly spaced across this row.
Rows 12-14: Repeat Rows 8-10. This means Row 12 is all knit, Row 13 is K6, P60, K6, and Row 14 is all knit.
Row 15 (Dot Row 2): K6, *P5, make bobble, P10, make bobble, P5, repeat from * across, ending with K6. This row has 10 dots, and they're offset from the previous row, creating that beautiful staggered polka dot pattern.
Rows 16-18: Repeat Rows 8-10.
Row 19 (Dot Row 3): Same as Row 11. This aligns the dots with the first row.
Rows 20-22: Repeat Rows 8-10.
Row 23 (Dot Row 4): Same as Row 15.
Rows 24-26: Repeat Rows 8-10.
Row 27 (Dot Row 5): Same as Row 11.
Rows 28-30: Repeat Rows 8-10.
Row 31 (Dot Row 6): Same as Row 15.
Rows 32-34: Repeat Rows 8-10.
Row 35 (Dot Row 7): Same as Row 11.
Rows 36-38: Repeat Rows 8-10.
Row 39 (Dot Row 8): Same as Row 15.
Rows 40-42: Repeat Rows 8-10.
Rows 43-48: Repeat Rows 7-10 (no dots). This gives a nice, clean section before your border.
Rows 49-54: Knit all stitches. This completes your garter border on the top edge.
Bind Off: Bind off loosely in knit. Be careful not to bind off too tightly, or your edge will pucker. You can use a larger needle to bind off if needed.
Congratulations! You've completed your first panel. Now, repeat the entire process to make your second panel. They should be identical.
Finishing Your Mosaic Bloom Pillow
Now that you have two beautiful panels, it's time to bring them together to create your pillow.
Step 1: Block Your Panels
Blocking is essential for a professional finish. Wet block both panels by soaking them in lukewarm water with a little wool wash, gently squeeze out excess water (don't wring!), and lay them flat on a towel. Gently stretch them to the correct 16x16 inch measurements and pin them in place. Allow them to dry completely. This will even out your stitches and give your pillow a polished look.
Step 2: Seam Your Panels
Place your two panels together with the right sides facing each other (the sides you want to show on the outside). Using your MC yarn and tapestry needle, whip stitch three sides together. Take small, even stitches through the edge stitches of both panels. Be sure to keep your tension consistent for a neat seam.
Step 3: Insert Your Pillow Form
Turn your pillow cover right side out. Gently insert your 16-inch pillow form through the open side. Make sure the corners are pushed out nicely for a crisp look.
Step 4: Close the Fourth Side
Whip stitch the fourth side closed, using the same technique as before. Take your time to make this seam as invisible as possible.
Step 5: Weave in All Ends
Using your tapestry needle, carefully weave in all loose yarn ends on the inside of the pillow. This will ensure your pillow is durable and looks clean.
Optional: For a removable cover, you can add a decorative button or fabric loop closure on the fourth side instead of seaming it shut. This is a lovely touch that makes washing your pillow cover easier.
And there you have it—your very own Mosaic Bloom Accent Pillow! This beautiful, textured piece will add warmth and charm to any room. The combination of the soft cream background and the raised dusty rose polka dots creates a modern, cozy aesthetic that you'll love for years to come. Enjoy your new handmade treasure, and don't forget to show off your beautiful work!