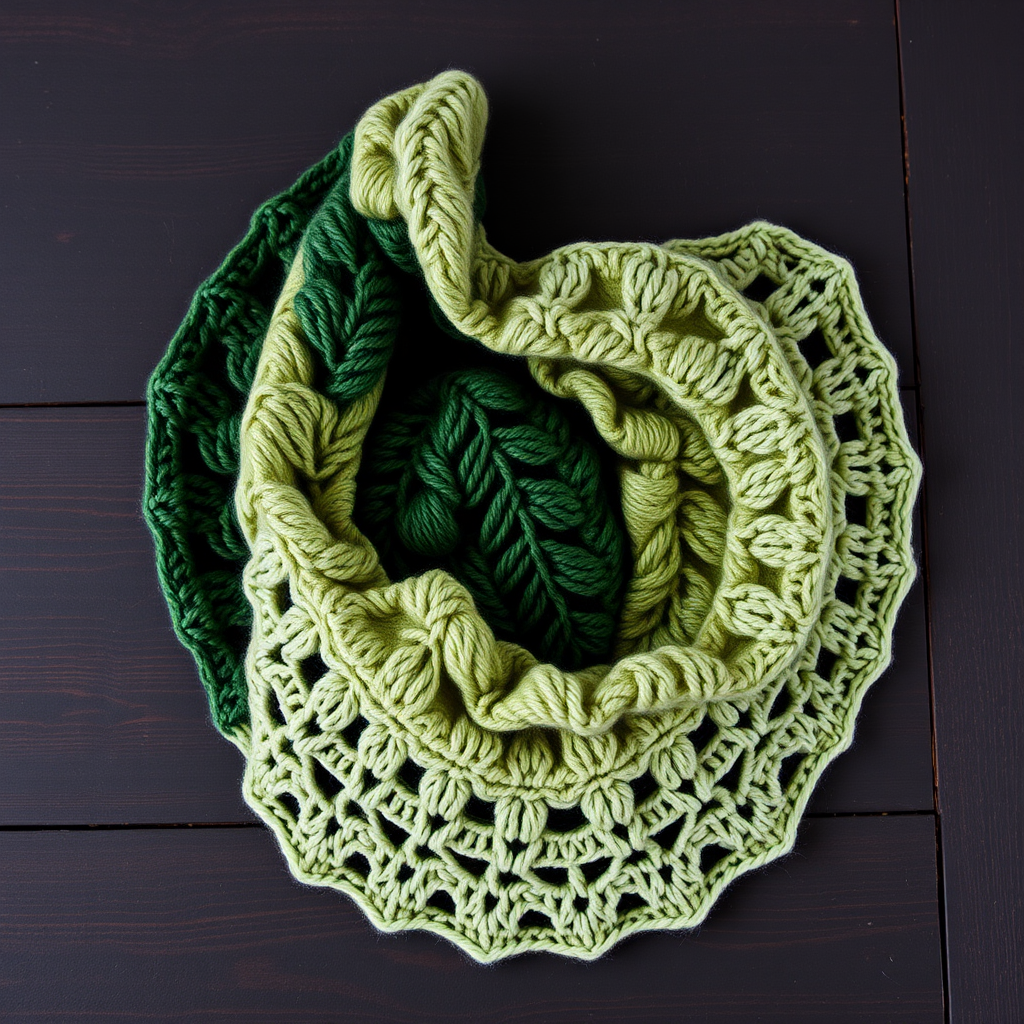
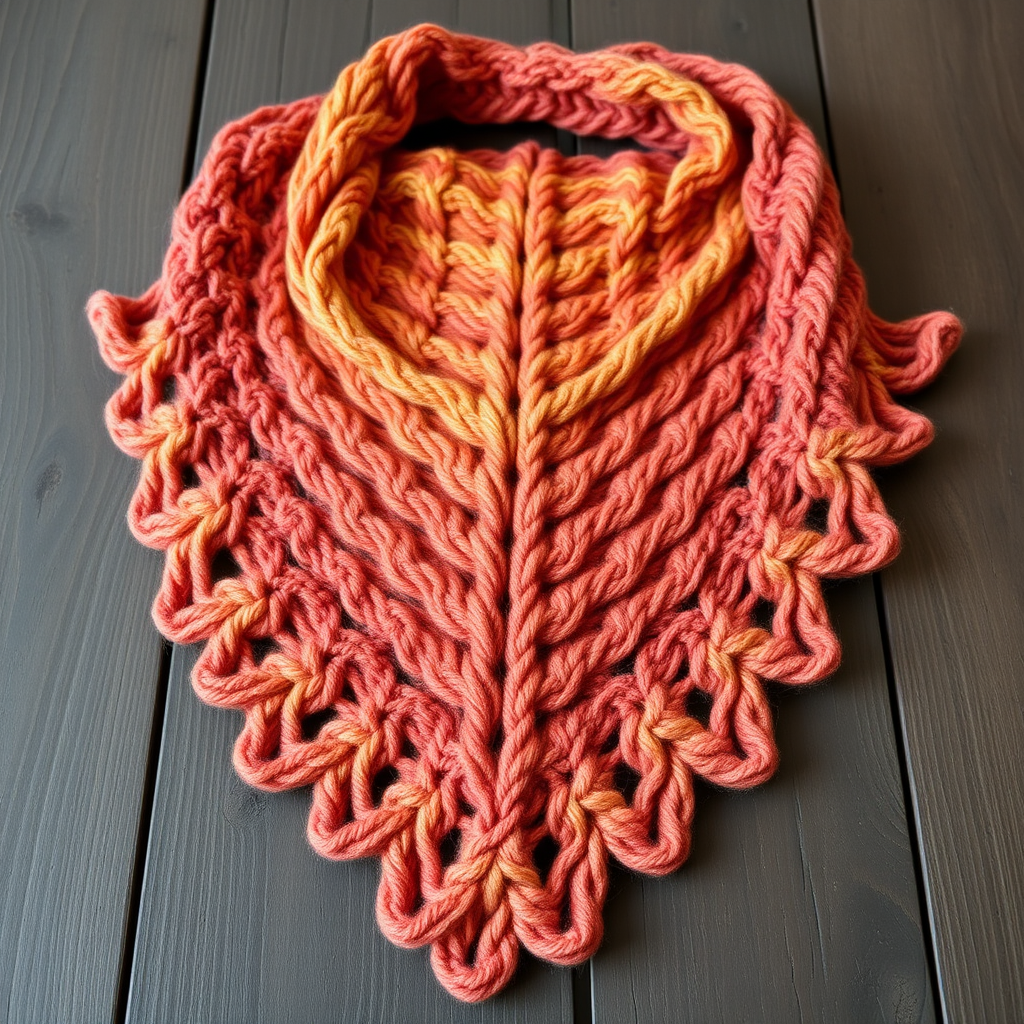
The Gilded Grain Harvest Shawl Free Pattern – A Knitted Pocket Wrap with Wheat Stitch Texture

The Gilded Grain Harvest Shawl: A Free Knitting Pattern for a Textured Pocket Wrap
Wrap yourself in the golden warmth of autumn with this uniquely textured pocket shawl, featuring a dimensional wheat stitch that catches the light like sun-drenched fields. The integrated pockets make it as practical as it is beautiful, perfect for crisp evening strolls or cozying up with a warm drink. This free knitting pattern is designed for intermediate knitters who want to create a stunning, wearable piece that combines rustic charm with refined elegance.
The Gilded Grain Harvest Shawl is more than just a wrap—it's a statement piece that evokes the beauty of harvest season. The repeating Wheat Stitch pattern creates a braided, dimensional texture with delicate eyelet holes that mimic actual wheat stalks swaying in the breeze. The warm golden honey color and the soft drape of worsted-weight yarn make this shawl a joy to knit and a treasure to wear.
Materials Needed
Before you begin your knitting journey, gather these essential materials:
Yarn
- Worsted weight yarn in warm golden tones (e.g., Lion Brand Wool-Ease in Gold, or Cascade 220 in Honey)
- Approximately 800-900 yards (732-823 meters) of yarn
Needles and Notions
- US 8 (5mm) circular knitting needle, 32 inches (80 cm) or longer
- Stitch markers (at least 10)
- Stitch holder or waste yarn
- Spare needle for pocket lining
- Tapestry needle for weaving in ends
- Blocking mats and pins
Gauge
18 stitches and 24 rows = 4 inches (10 cm) in stockinette stitch (after blocking). Gauge is important for achieving the correct finished measurements, so be sure to check your gauge before starting.
Finished Measurements
- Wingspan: 60 inches (152 cm)
- Depth at center: 24 inches (61 cm)
- Pocket depth: 6 inches (15 cm)
Abbreviations
- k = knit
- p = purl
- yo = yarn over
- k2tog = knit two together (right-leaning decrease)
- ssk = slip, slip, knit (left-leaning decrease)
- sl1 = slip one stitch purlwise
- pm = place marker
- sm = slip marker
- WS = wrong side
- RS = right side
Special Stitches
Wheat Stitch (worked over 4 stitches)
This is the signature stitch pattern that gives the shawl its beautiful wheat-like texture:
- Row 1 (RS): k2, yo, k2tog
- Row 2 (WS): p4
- Row 3 (RS): k2tog, yo, k2
- Row 4 (WS): p4
Repeat these 4 rows for the pattern. The yarn overs create small eyelet holes, while the decreases keep the stitch count consistent, forming a braided, dimensional texture.
Step-by-Step Instructions
Foundation
Cast on 3 stitches loosely. This will be the center point of your shawl from which all increases radiate outward.
Increase Section (Worked Flat)
This section establishes the triangular shape of the shawl by creating increases along both edges:
Row 1 (RS): k1, yo, k1, yo, k1 (5 stitches)
Row 2 (WS): k1, p3, k1
Row 3 (RS): k1, yo, k1, yo, k1, yo, k1, yo, k1 (9 stitches)
Row 4 (WS): k1, p7, k1
Continue increasing in this manner: On every RS row, knit the first and last stitch, and place a yarn over after the first stitch and before the last stitch. Work all WS rows as: k1, purl all stitches to last stitch, k1.
Work increases until you have 99 stitches on the needle, ending with a WS row. The shawl should be taking on a triangular shape with a defined center point.
Body Section
Now you'll incorporate the Wheat Stitch pattern while maintaining the edge increases:
Row 1 (RS): k1, yo, k2, pm, *work Wheat Stitch over next 4 stitches, pm, k2, yo, k2tog, yo, k2, pm; repeat from * until 3 stitches remain, k2, yo, k1 (101 stitches)
Row 2 (WS): k1, p1, *p4, p2, yo, p2tog, p2; repeat from * until 3 stitches remain, p1, k1
Row 3 (RS): k1, yo, k2, sm, *work Wheat Stitch Row 3 over next 4 stitches, sm, k2, yo, k2tog, yo, k2, sm; repeat from * until 3 stitches remain, k2, yo, k1
Row 4 (WS): same as Row 2
Repeat Rows 1-4, maintaining the increase at the beginning and end of every RS row (yo after first k1 and before last k1). Continue until the shawl measures approximately 20 inches (51 cm) from the center cast-on edge, ending with a WS row. You should have approximately 181 stitches on your needle.
Pocket Placement
This is where the shawl becomes uniquely practical with integrated pockets:
Row 1 (RS): k1, yo, k2, work in pattern (Wheat Stitch and eyelet sections) across the next 70 stitches, then place the next 30 stitches on a stitch holder for the pocket opening, cast on 30 stitches using the knitted cast-on method, continue in pattern across the remaining stitches to the last 3 stitches, k2, yo, k1.
Row 2 (WS): Work in pattern across all stitches, including the newly cast-on stitches.
Continue working in pattern for another 4 inches (10 cm), ending with a WS row. The pocket opening will be visible as a gap in the knitting, which will later be finished with the pocket lining.
Pocket Lining
Now you'll create the interior pocket lining:
With RS facing, pick up the 30 stitches from the stitch holder onto a spare needle. Work in stockinette stitch (knit RS, purl WS) for 6 inches (15 cm). Bind off loosely.
Sew the sides of the pocket lining to the inside of the shawl, matching the opening. Use a tapestry needle and matching yarn to create invisible seams. The lining should sit flat against the inside of the shawl, creating a functional pocket.
Final Body Section
Continue working in the established pattern for another 4 inches (10 cm), ending with a WS row. This section completes the body of the shawl below the pockets.
Decrease Section
Now you'll shape the bottom point of the shawl by decreasing:
Row 1 (RS): k1, ssk, work in pattern across to last 3 stitches, k2tog, k1 (decrease 2 stitches)
Row 2 (WS): Work in pattern.
Repeat these two rows until you have 3 stitches remaining, ending with a WS row. The shawl will now have a pointed bottom tip that mirrors the top edge.
Edging
Finish the shawl with a clean, structured border:
With RS facing, pick up and knit stitches evenly along the entire outer edge of the shawl (including the top edge). Work 5 rows of garter stitch (knit every row). Bind off loosely.
The garter stitch border adds structure and prevents the edges from curling, giving the shawl a polished, professional finish.
Finishing
Complete your shawl with these final steps:
- Weave in all ends using a tapestry needle. Be sure to weave in ends securely, especially at the pocket openings and cast-on/cast-off edges.
- Block the shawl gently to shape, pinning out the points and edges. Use blocking mats and rust-proof pins to hold the shawl in its final shape.
- Allow to dry completely before unpinning. This may take 24-48 hours depending on humidity.
Once dry, your Gilded Grain Harvest Shawl is ready to wear! The textured Wheat Stitch pattern will catch the light beautifully, and the integrated pockets provide warmth and convenience for your hands or small essentials.
Tips for Success
- Count your stitches regularly, especially during the increase section, to ensure you maintain the correct stitch count.
- Use locking stitch markers to mark the pattern repeats, making it easier to track your progress.
- Blocking is essential for this pattern—it opens up the eyelet holes and smooths out the texture beautifully.
- Choose a yarn with good stitch definition to showcase the Wheat Stitch pattern. Wool or wool-blend yarns work best.
- Take your time with the pocket placement—this is the most intricate part of the pattern, but the result is worth it.
This shawl makes a wonderful gift for a loved one or a special treat for yourself. The combination of practical pockets and beautiful texture creates a piece that will be treasured for years to come. Happy knitting!