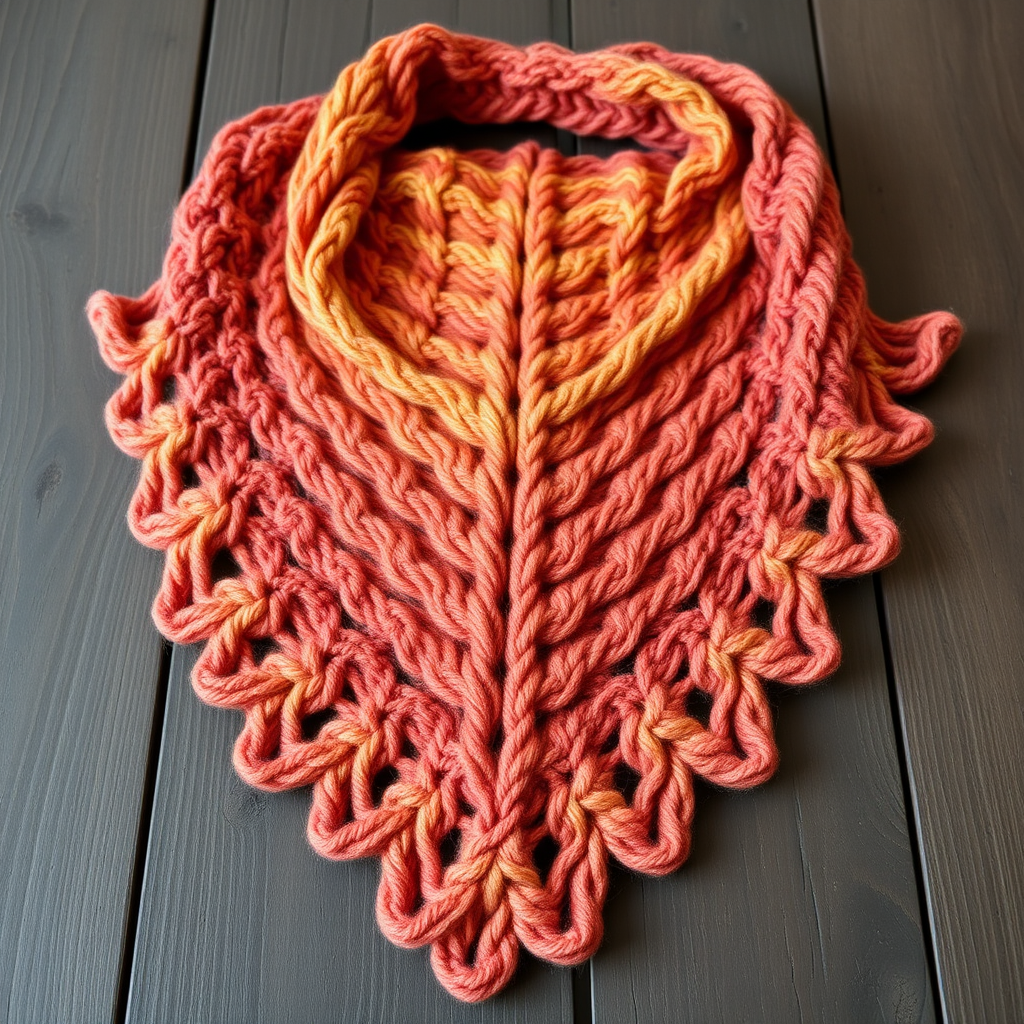
Alix Shawl 97813 Free Pattern – Knit a Lush Fern Frond Wrap
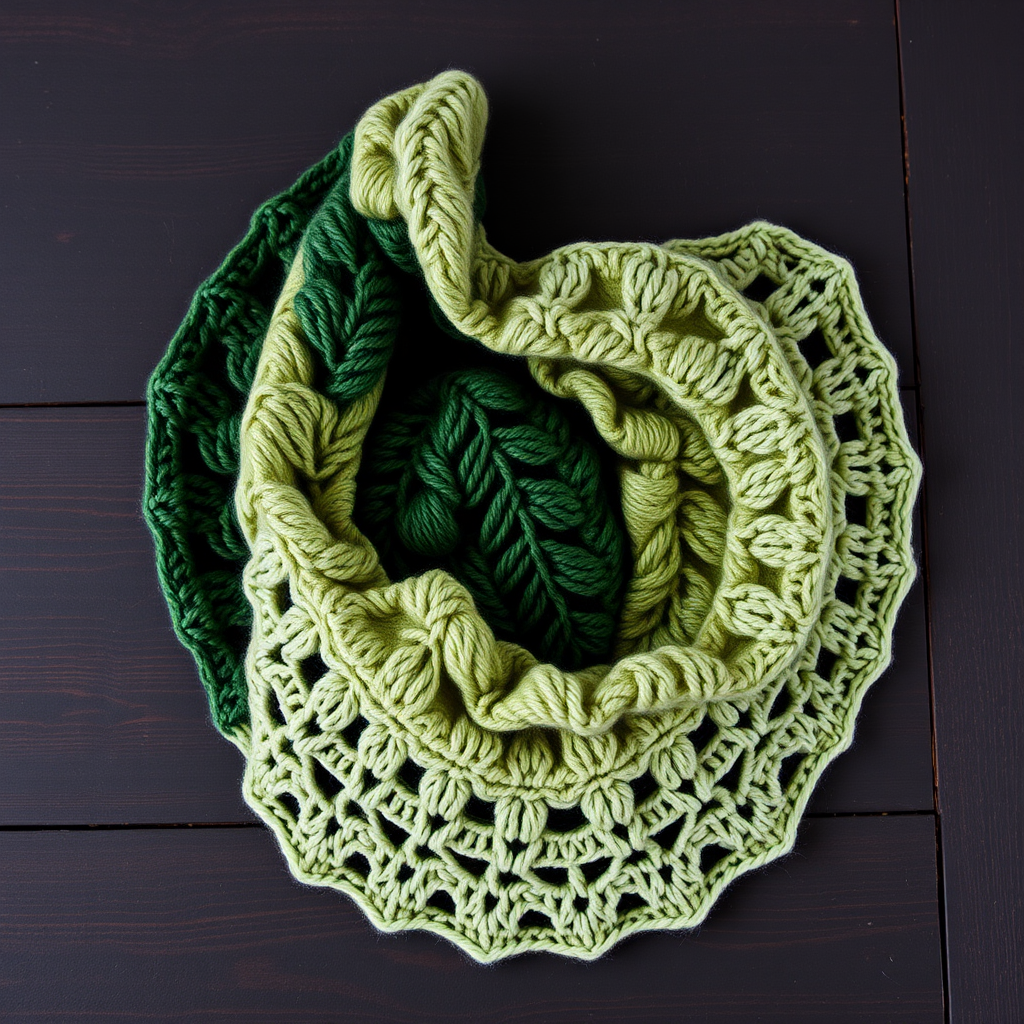
Alix Shawl 97813 Free Pattern – Knit a Lush Fern Frond Wrap
Wrap yourself in the gentle elegance of a fern-frond textured shawl, knitted with a soft gradient of forest greens. This flowing wrap is a modern heirloom piece that drapes beautifully and feels like a woodland whisper. The Alix Shawl is the perfect project for knitters looking to create something truly special—a garment that combines natural organic texture with a sophisticated crescent silhouette. Whether you're curling up with a good book or heading out for a crisp autumn walk, this shawl will become your most-loved accessory.
What makes this pattern so rewarding is its clever construction. Worked from the top center down, the shawl grows organically with increases on both sides, creating a gentle crescent shape that sits beautifully on the shoulders. The stitch pattern mimics overlapping fern fronds with a combination of yarn overs, decreases, and slipped stitches—resulting in delicate leaf-like shapes that seem to dance across the fabric. And with a subtle gradient from deep forest green through moss to sage, the finished piece feels like a piece of the woodland floor itself.
Materials Needed
Before you begin, gather the following materials to ensure a smooth and enjoyable knitting experience:
- Yarn: Worsted weight yarn in 3 shades of green—deep forest, moss, and sage—approximately 600g total (200g of each color). Choose a soft, pliable yarn with good stitch definition to showcase the fern pattern.
- Needles: US 8 (5.0 mm) circular knitting needle, 32-inch or longer. The long circular needle is essential to accommodate the growing number of stitches as the shawl expands.
- Gauge: 18 stitches and 24 rows = 4 inches in stockinette stitch (after blocking). Achieving the correct gauge ensures your shawl drapes properly and measures as intended.
- Notions: Stitch markers (optional but helpful), tapestry needle for weaving in ends, blocking pins and mats for finishing.
Step-by-Step Instructions
This shawl is worked from the top center down, increasing on both sides to create a gentle crescent shape. The stitch pattern mimics overlapping fern fronds with a combination of yarn overs, decreases, and slipped stitches. Follow along carefully, and you'll be amazed at how quickly the pattern emerges.
Abbreviations
- k = knit
- p = purl
- yo = yarn over
- k2tog = knit two together (right-leaning decrease)
- ssk = slip, slip, knit (left-leaning decrease)
- sl1 = slip one stitch purlwise
- kfb = knit front and back (increase)
- psso = pass slipped stitch over
Setup
Cast on 3 stitches. Knit 6 rows (garter stitch). This creates a small tab that will form the center spine of your shawl. Now, pick up and knit 3 stitches along the side edge of the tab, then 3 stitches from the cast-on edge. You should now have 9 stitches on your needle. This forms the center spine from which the shawl will grow.
Foundation Rows
Row 1 (Right Side): k3, yo, k1, yo, k1, yo, k1, yo, k3 (13 stitches)
Row 2 (Wrong Side): k3, p7, k3
Row 3: k3, yo, k1, yo, k3, yo, k1, yo, k3, yo, k1, yo, k3 (19 stitches)
Row 4: k3, p13, k3
Notice how the first and last 3 stitches are always knitted—these form the garter stitch borders that keep the edges neat and prevent curling. The yarn overs on either side of the center stitch create the increases that shape the crescent.
Begin Fern Frond Pattern
Now you'll begin the main pattern. Repeat the following 8-row sequence (Rows 5–12) throughout the body of the shawl:
Row 5: k3, yo, k1, yo, *sl1, k1, psso, k3, k2tog, yo, k1, yo*, repeat from * to * until last 3 stitches, k3
Row 6: k3, purl all stitches until last 3, k3
Row 7: k3, yo, k1, yo, *sl1, k1, psso, k1, k2tog, yo, k1, yo*, repeat from * to * until last 3, k3
Row 8: k3, purl all stitches until last 3, k3
Row 9: k3, yo, k1, yo, *sl1, k2tog, psso, yo, k1, yo*, repeat from * to * until last 3, k3
Row 10: k3, purl all stitches until last 3, k3
Increase Rows (worked every 10th row):
Row 11: k3, yo, k1, yo, knit all stitches until last 3, yo, k1, yo, k3
Row 12: k3, purl all stitches until last 3, k3
Continue repeating Rows 5–12, but on every 10th row (i.e., Rows 21, 31, 41, etc.), work the increase row. This systematic increase ensures the shawl grows evenly while maintaining the beautiful fern pattern.
Color Gradient
As you progress, change yarn colors every 20 rows to create the subtle gradient: deep forest → moss → sage. To make a clean color change, work to the end of a wrong-side row, then begin the next right-side row with the new color. Weave in ends as you go or save them for the finishing stage—whichever you prefer.
Work until the shawl measures approximately 28 inches from the center spine to the bottom edge, ending with a wrong-side row. This measurement ensures a generous wrap that drapes beautifully over the shoulders.
Edging
The eyelet border adds a delicate, airy finish to the shawl:
Row 1 (Right Side): k3, *yo, k2tog*, repeat from * to * until last 3 stitches, k3
Row 2: k3, purl all stitches until last 3, k3
Row 3: k3, *yo, k2tog*, repeat from * to * until last 3, k3
Row 4: Bind off loosely knitwise.
Be sure to bind off loosely—if your bind-off is too tight, the edge will pucker and prevent the shawl from draping properly. If needed, use a larger needle for the bind-off row.
Finishing
Weave in all ends carefully using a tapestry needle. Block the shawl gently by pinning it to a crescent shape, misting with water, and allowing it to dry completely. This crucial step opens up the lace and gives the fern fronds their beautiful definition. The blocking process transforms the fabric, making the leaf-like shapes crisp and the yarn overs airy.
To block, lay the shawl on a blocking mat or towel, pin the top edge in a gentle curve, then pin the bottom edge to create the crescent silhouette. Pull gently to open the lace, but don't stretch too aggressively—you want the natural drape to remain. Mist thoroughly with cool water and let dry completely before removing pins.
Tips for Success
- Use stitch markers to mark the center stitch and the garter borders—this will help you keep track of your place in the pattern.
- Count your stitches after each pattern repeat to catch any mistakes early. The pattern should maintain a consistent rhythm.
- Choose your yarn wisely—a wool or wool-blend yarn will block beautifully and hold the lace pattern well. Superwash wools are also excellent choices.
- Take your time with the color changes—weave in ends as you go to avoid a pile of loose threads at the end.
The Alix Shawl is a joy to knit and an even greater joy to wear. The combination of textured fern fronds, the gentle crescent shape, and the soothing gradient of greens creates a piece that feels both modern and timeless. Whether you keep it for yourself or gift it to someone special, this shawl is sure to be treasured for years to come. Happy knitting!