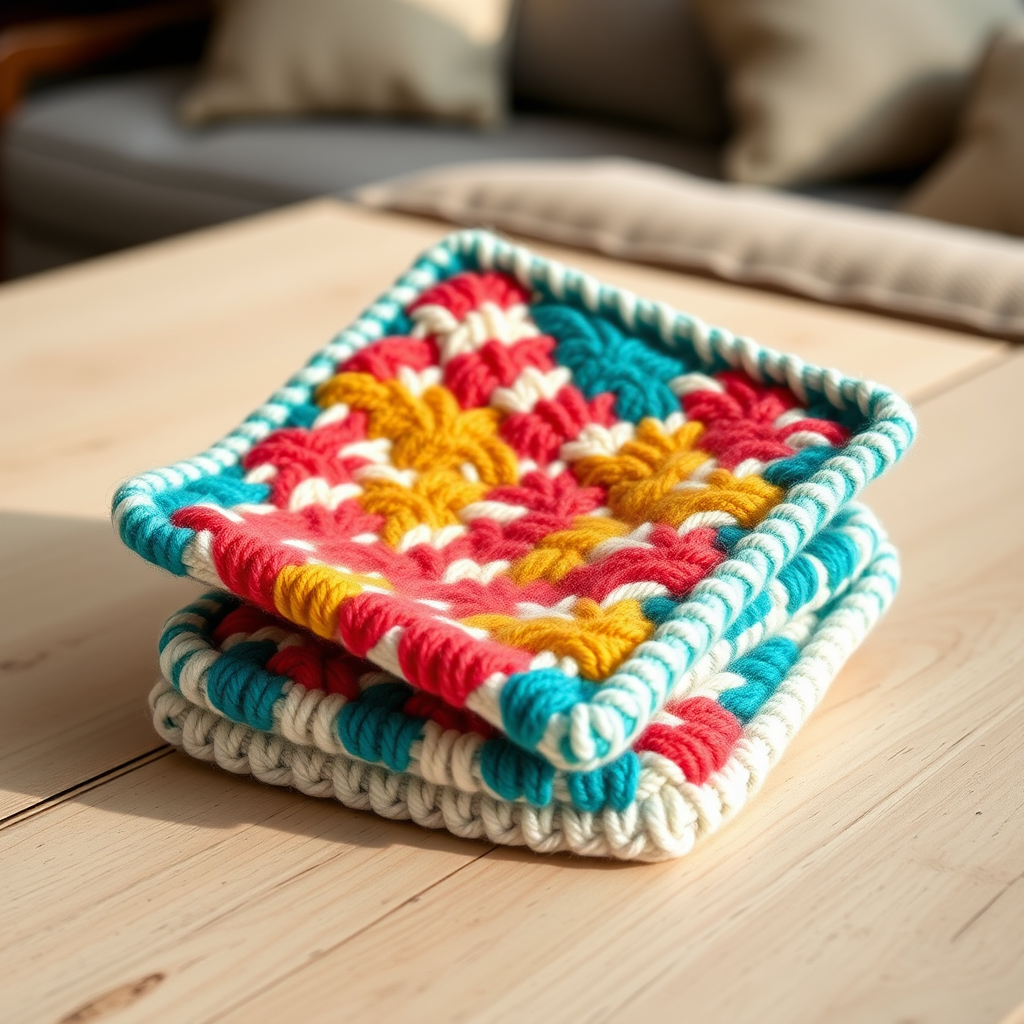
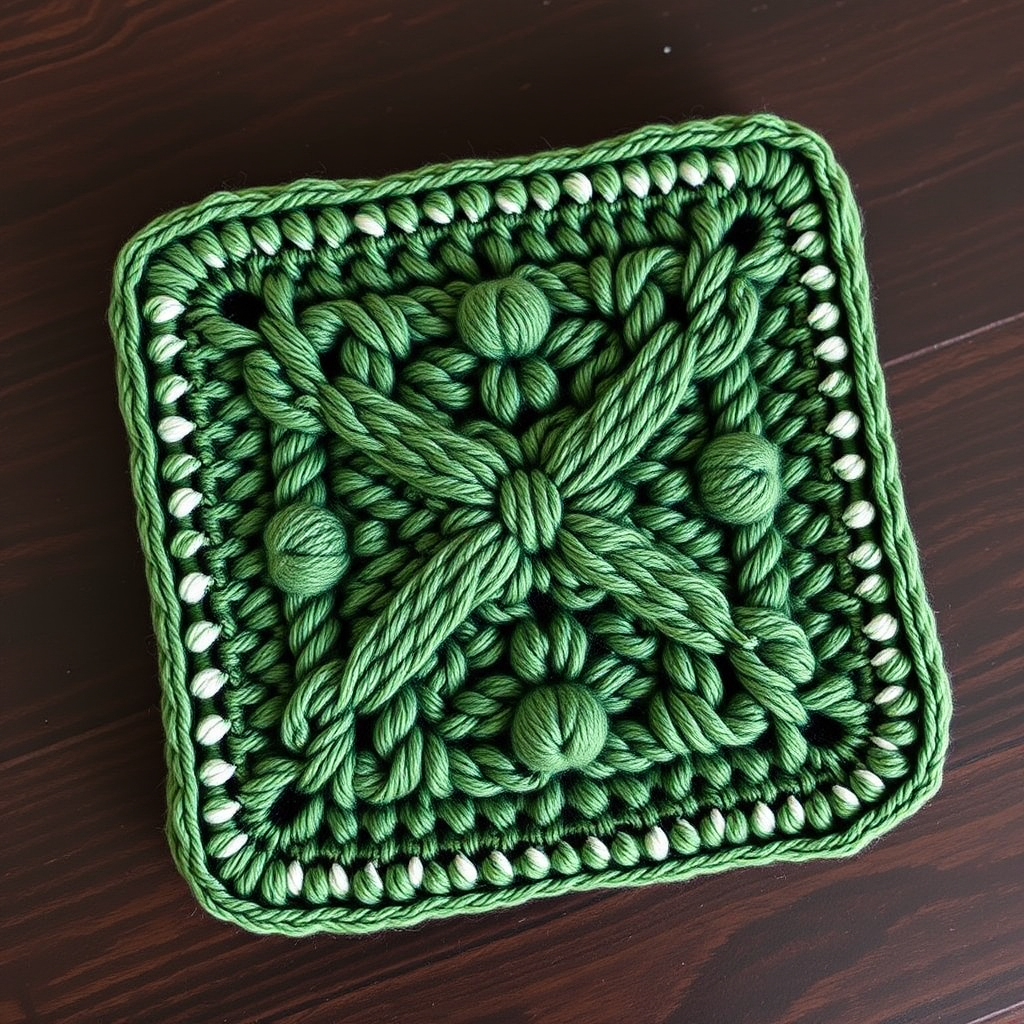
The Evergreen Embrace Mug Cozy Free Pattern – A Knitted Forest Ring

The Evergreen Embrace Mug Cozy: A Knitted Forest Ring for Your Favorite Mug
There's something magical about wrapping your hands around a warm mug on a chilly morning—and when that mug is dressed in a miniature knitted forest, the experience becomes truly enchanting. The Evergreen Embrace Mug Cozy transforms an ordinary ceramic cup into a woodland scene, complete with a cascade of textured evergreen trees topped with soft snow caps. This quick, satisfying project uses simple knit and purl stitches to create a lush, dimensional landscape that keeps your hands warm and your tea hot. Whether you're a beginner looking for your first textured project or an experienced knitter seeking a fast, handmade gift, this pattern delivers rustic charm in under an hour.
The design features four stylized evergreen trees worked in stockinette stitch, rising from a seed stitch background that evokes a snowy forest floor. The palette—deep forest green, warm spruce, and soft birch white—creates a cozy, woodland aesthetic that pairs beautifully with natural wood buttons and ceramic mugs. Best of all, this cozy is knitted flat from side to side, making it portable, beginner-friendly, and easy to customize for different mug sizes.
Materials Needed
Before you begin, gather these simple supplies:
- Yarn: Worsted weight cotton or cotton-blend yarn in three shades:
- MC (Main Color): Deep forest green — approximately 25g
- CC1 (Contrast Color 1): Warm spruce — approximately 20g
- CC2 (Contrast Color 2): Soft birch white — approximately 5g
- Needles: US 6 (4.0 mm) knitting needles (straight or circular for flat knitting)
- Notions: One wooden button (approximately ¾ inch), tapestry needle for weaving ends, scissors
- Gauge: 20 stitches and 28 rows = 4 inches in stockinette stitch (after blocking). Gauge is not critical for this project, but aim for a snug fit around a standard 3.5-inch diameter mug.
Step-by-Step Instructions
This cozy is knitted flat from side to side, creating a wrap that fastens with a button. The tree motif is worked in stockinette with purl bumps for texture, while the background uses a simple seed stitch to evoke a snowy forest floor. Follow along carefully, and you'll have your own forest ring in no time.
Abbreviations
- K = knit
- P = purl
- K2tog = knit two together (decrease)
- YO = yarn over (increase, creates buttonhole)
- MC = main color (deep forest green)
- CC1 = warm spruce
- CC2 = soft birch white
Getting Started: Cast On and Bottom Border
Cast on: With MC, cast on 36 stitches using your preferred method (long-tail cast on works well).
Rows 1–4 (Bottom Border): Work in seed stitch: *K1, P1* across, ending with K1. Repeat this row for 4 rows total. This creates a sturdy, non-curling edge that will form the bottom of your cozy.
Setting Up the Seed Stitch Edges
Throughout the pattern, you'll maintain a 3-stitch seed stitch border on each side. This creates a neat, finished edge and prevents curling. The pattern for each row will be: K1, P1, K1 (seed stitch edge), then the main pattern, then P1, K1, P1 (seed stitch edge).
Row 5 (Right Side): With MC, K1, P1, K1 (seed stitch edge), then K to last 3 stitches, P1, K1, P1 (seed stitch edge).
Row 6 (Wrong Side): With MC, K1, P1, K1, then P to last 3 stitches, P1, K1, P1.
Rows 7–8: Repeat Rows 5–6. You now have a solid MC section with seed stitch edges.
Creating the Tree Trunks
Now we begin the forest! The trees are worked in vertical columns, with color changes creating the trunks and canopies.
Row 9 (Tree Base Row): With MC, K1, P1, K1, then K6, switch to CC1 and K8, switch to MC and K8, switch to CC1 and K8, switch to MC and K6, then P1, K1, P1. You will now have four tree trunks in CC1 (warm spruce).
Row 10: With MC, K1, P1, K1, then P6, switch to CC1 and P8, switch to MC and P8, switch to CC1 and P8, switch to MC and P6, then P1, K1, P1.
Building the Tree Canopies
As you work upward, the CC1 sections will widen, creating the triangular shape of evergreen trees. Don't worry if the color changes feel fiddly at first—just remember to twist your yarns at each color change to avoid holes.
Row 11 (Tree Canopy Start): With MC, K1, P1, K1, then K5, switch to CC1 and K10, switch to MC and K6, switch to CC1 and K10, switch to MC and K5, then P1, K1, P1.
Row 12: With MC, K1, P1, K1, then P5, switch to CC1 and P10, switch to MC and P6, switch to CC1 and P10, switch to MC and P5, then P1, K1, P1.
Row 13: With MC, K1, P1, K1, then K4, switch to CC1 and K12, switch to MC and K4, switch to CC1 and K12, switch to MC and K4, then P1, K1, P1.
Row 14: With MC, K1, P1, K1, then P4, switch to CC1 and P12, switch to MC and P4, switch to CC1 and P12, switch to MC and P4, then P1, K1, P1.
Row 15: With MC, K1, P1, K1, then K3, switch to CC1 and K14, switch to MC and K2, switch to CC1 and K14, switch to MC and K3, then P1, K1, P1.
Row 16: With MC, K1, P1, K1, then P3, switch to CC1 and P14, switch to MC and P2, switch to CC1 and P14, switch to MC and P3, then P1, K1, P1.
Row 17: With MC, K1, P1, K1, then K2, switch to CC1 and K16, switch to MC and K0 (skip—the center MC section disappears), switch to CC1 and K16, switch to MC and K2, then P1, K1, P1. Note: The center MC section is now gone, so just work CC1 across the middle 32 stitches.
Row 18: With MC, K1, P1, K1, then P2, switch to CC1 and P16, switch to CC1 and P16, switch to MC and P2, then P1, K1, P1. Work all 32 center stitches in CC1.
Adding the Snow Caps
Now the trees are at their widest point, and it's time to add the soft birch white snow caps. The CC2 sections will gradually narrow as the trees taper.
Row 19: With MC, K1, P1, K1, then K2, switch to CC2 and K2, switch to CC1 and K12, switch to CC2 and K2, switch to CC1 and K12, switch to CC2 and K2, switch to MC and K2, then P1, K1, P1.
Row 20: With MC, K1, P1, K1, then P2, switch to CC2 and P2, switch to CC1 and P12, switch to CC2 and P2, switch to CC1 and P12, switch to CC2 and P2, switch to MC and P2, then P1, K1, P1.
Row 21: With MC, K1, P1, K1, then K3, switch to CC2 and K2, switch to CC1 and K10, switch to CC2 and K2, switch to CC1 and K10, switch to CC2 and K2, switch to MC and K3, then P1, K1, P1.
Row 22: With MC, K1, P1, K1, then P3, switch to CC2 and P2, switch to CC1 and P10, switch to CC2 and P2, switch to CC1 and P10, switch to CC2 and P2, switch to MC and P3, then P1, K1, P1.
Row 23: With MC, K1, P1, K1, then K4, switch to CC2 and K2, switch to CC1 and K8, switch to CC2 and K2, switch to CC1 and K8, switch to CC2 and K2, switch to MC and K4, then P1, K1, P1.
Row 24: With MC, K1, P1, K1, then P4, switch to CC2 and P2, switch to CC1 and P8, switch to CC2 and P2, switch to CC1 and P8, switch to CC2 and P2, switch to MC and P4, then P1, K1, P1.
Row 25: With MC, K1, P1, K1, then K5, switch to CC2 and K2, switch to CC1 and K6, switch to CC2 and K2, switch to CC1 and K6, switch to CC2 and K2, switch to MC and K5, then P1, K1, P1.
Row 26: With MC, K1, P1, K1, then P5, switch to CC2 and P2, switch to CC1 and P6, switch to CC2 and P2, switch to CC1 and P6, switch to CC2 and P2, switch to MC and P5, then P1, K1, P1.
Row 27: With MC, K1, P1, K1, then K6, switch to CC2 and K2, switch to CC1 and K4, switch to CC2 and K2, switch to CC1 and K4, switch to CC2 and K2, switch to MC and K6, then P1, K1, P1.
Row 28: With MC, K1, P1, K1, then P6, switch to CC2 and P2, switch to CC1 and P4, switch to CC2 and P2, switch to CC1 and P4, switch to CC2 and P2, switch to MC and P6, then P1, K1, P1.
Row 29: With MC, K1, P1, K1, then K7, switch to CC2 and K2, switch to CC1 and K2, switch to CC2 and K2, switch to CC1 and K2, switch to CC2 and K2, switch to MC and K7, then P1, K1, P1.
Row 30: With MC, K1, P1, K1, then P7, switch to CC2 and P2, switch to CC1 and P2, switch to CC2 and P2, switch to CC1 and P2, switch to CC2 and P2, switch to MC and P7, then P1, K1, P1.
Row 31: With MC, K1, P1, K1, then K8, switch to CC2 and K2, switch to CC1 and K0 (skip), switch to CC2 and K2, switch to CC1 and K0 (skip), switch to CC2 and K2, switch to MC and K8, then P1, K1, P1. Now only the snow caps remain, with MC between them.
Row 32: With MC, K1, P1, K1, then P8, switch to CC2 and P2, switch to MC and P2, switch to CC2 and P2, switch to MC and P2, switch to CC2 and P2, switch to MC and P8, then P1, K1, P1.
Finishing the Body
The trees are complete! Now you'll work a few rows of plain stockinette to create a smooth section above the forest.
Rows 33–36: With MC, work in stockinette (K on right side, P on wrong side) with seed stitch edges as established (K1, P1, K1 at start and end of each row).
Creating the Buttonhole
Row 37 (Buttonhole Row): With MC, K1, P1, K1, K to last 5 stitches, K2tog, YO (yarn over), K1, P1, K1. The YO creates a buttonhole—make sure it's loose enough for your button to pass through.
Rows 38–40: Work in stockinette with seed stitch edges (K on right side, P on wrong side, maintaining the 3-stitch seed stitch borders).
Top Border and Bind Off
Rows 41–44 (Top Border): Work in seed stitch across all 36 stitches for 4 rows. This mirrors the bottom border and completes the cozy.
Bind off: Bind off all stitches loosely in pattern—knit the knits and purl the purls. This keeps the edge elastic and prevents it from being too tight around your mug.
Finishing Touches
Weave in all ends using a tapestry needle, being careful to secure the color changes on the wrong side of the work. Block gently if desired (though cotton doesn't require heavy blocking).
Attach the button: Sew a button onto the left edge (the opposite end from the buttonhole) at the same height as the buttonhole. Position it so that when wrapped around your mug, the button aligns perfectly with the buttonhole.
Wrap the cozy around your mug, button it, and enjoy your forest companion. The seed stitch edges will grip the mug snugly, while the textured trees provide both insulation and a delightful tactile experience.
Tips for Success
- Color changes: When switching colors, twist the yarns around each other to prevent holes. Carry the unused yarn loosely along the back of the work.
- Custom sizing: To fit a wider mug, add stitches in multiples of 4 (each tree uses approximately 8 stitches at its base). For a taller cozy, add rows before the tree base or after the snow caps.
- Yarn choice: Cotton or cotton-blend yarn is ideal because it's durable, washable, and provides good grip on ceramic mugs. Avoid superwash wool, which can stretch.
- Button placement: Test the fit before sewing the button—wrap the cozy around your mug and mark where the buttonhole lands.
This pattern is perfect for gift-giving—pair it with a mug, some gourmet tea, and a handwritten note for a thoughtful handmade present. The Evergreen Embrace Mug Cozy is also a wonderful stash-buster, using small amounts of three complementary colors. Whether you're knitting for yourself or someone special, this forest ring will bring warmth and woodland charm to every cup.
Happy knitting, and may your tea always be warm!