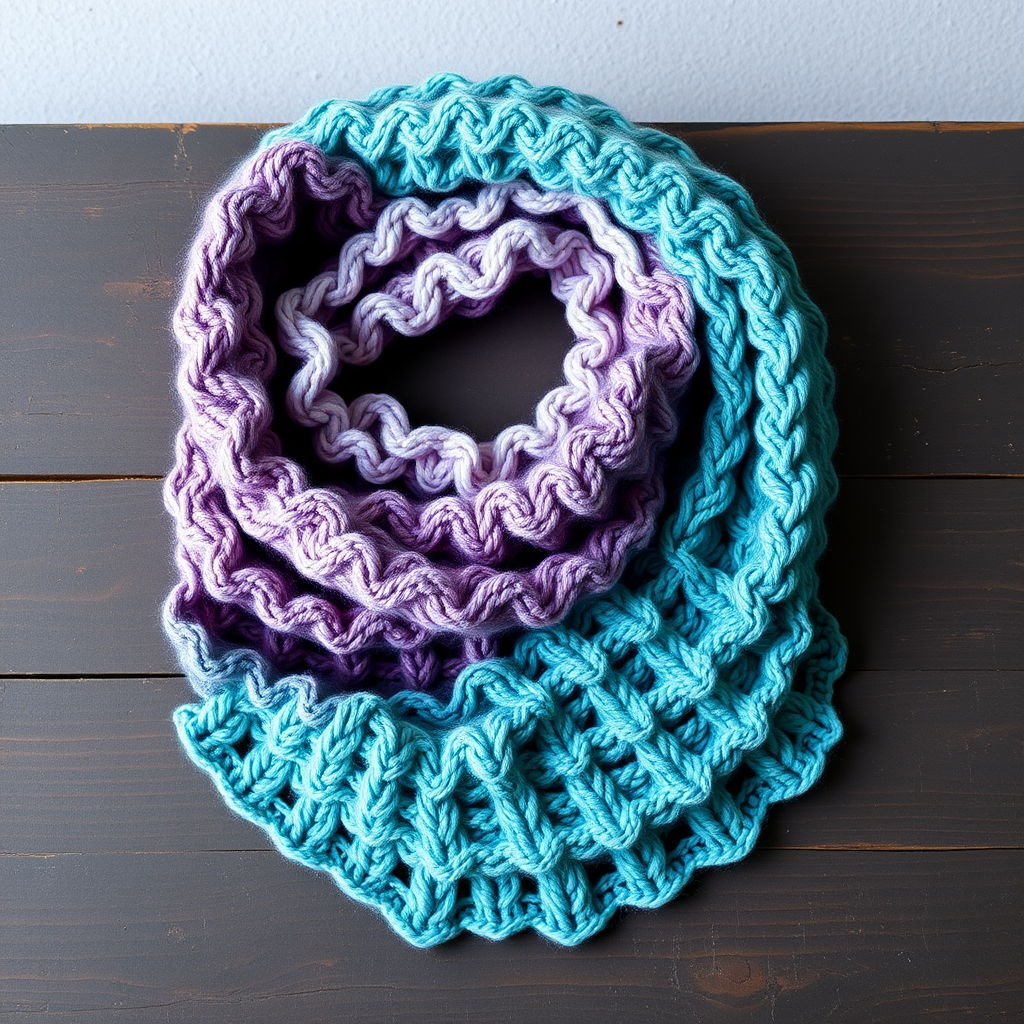
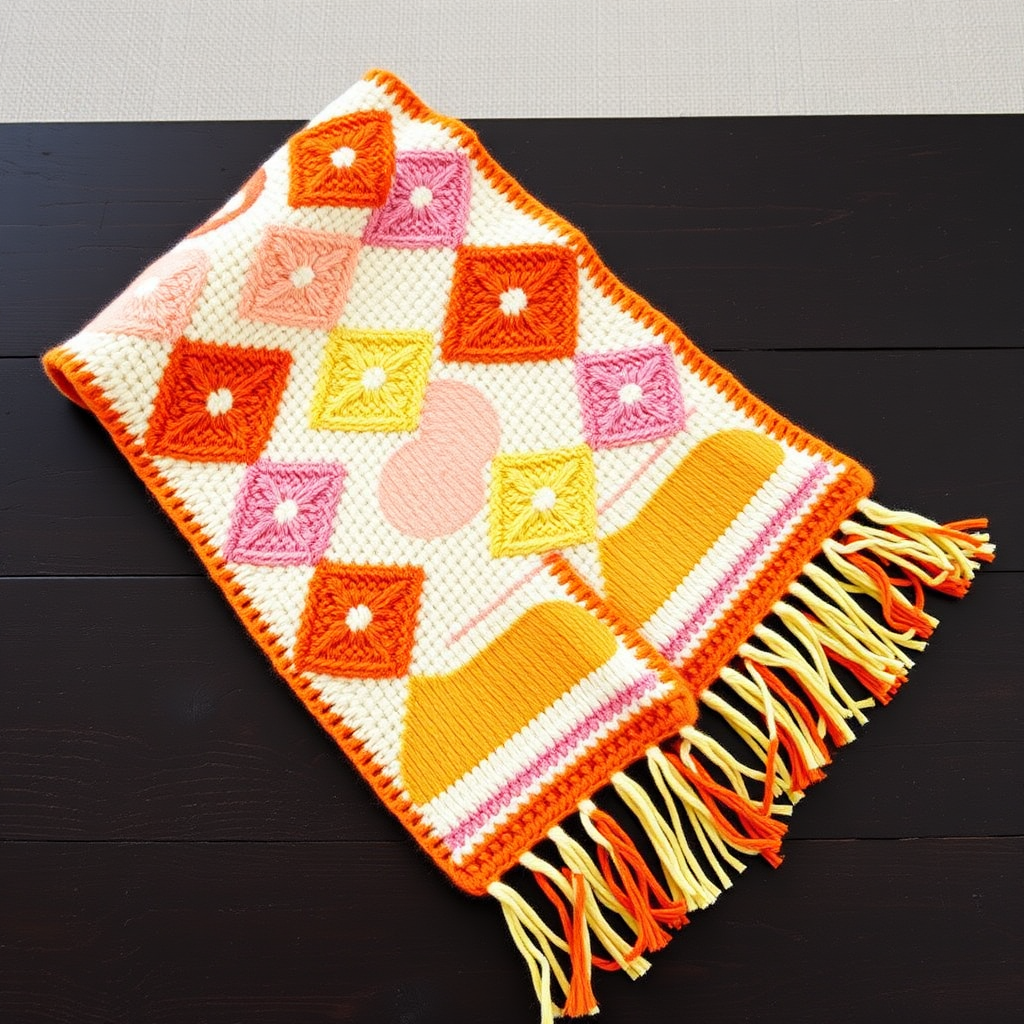
The Enchanted Keyhole Scarf Free Pattern – A Knitted Celtic Twist Wrap with Woven Leaf Accents

The Enchanted Keyhole Scarf: A Free Knitting Pattern with Celtic Cables & Woven Leaf Accents
Wrap yourself in the magic of the forest with this uniquely textured keyhole scarf. Featuring an intricate Celtic cable panel and delicate crocheted leaf accents, this cozy, modern design is perfect for adding a touch of enchantment to any winter outfit. The clever keyhole opening allows you to wear it in a stylish, twisted loop—no buttons or pins required. Whether you're a seasoned knitter looking for a satisfying project or a confident beginner ready for a challenge, this pattern will guide you through every step to create a truly heirloom-quality accessory.
Materials Needed
Before you begin, gather the following supplies. Using the specified yarn weight and needle size is crucial to achieving the correct gauge and finished measurements.
- Yarn A (Main Color): Worsted weight yarn in a deep forest green (approx. 350-400 yards). A wool or wool-blend will give the best cable definition.
- Yarn B (Contrast Color): Worsted weight yarn in a warm autumn gold for the leaf accents (approx. 50 yards).
- Needles: US Size 8 (5.0 mm) knitting needles (straight or circular for flat knitting).
- Extras: Cable needle, tapestry needle for weaving ends, stitch holders (or waste yarn), and a crochet hook size G/4.0 mm for the leaves.
Gauge & Finished Measurements
- Gauge: 18 stitches and 24 rows = 4 inches in stockinette stitch. Always knit a swatch to ensure your tension matches.
- Finished Size: Approximately 60 inches long (excluding fringe) and 8 inches wide.
Step-by-Step Instructions
This pattern is worked flat in one piece. The keyhole is created by splitting the work into two sections, knitting them separately, and then rejoining them. Follow the instructions carefully, and you'll have a stunning scarf in no time.
Abbreviations
- K = knit
- P = purl
- C4F = Slip 2 stitches to cable needle, hold in front, knit next 2 stitches, then knit 2 from cable needle.
- C4B = Slip 2 stitches to cable needle, hold in back, knit next 2 stitches, then knit 2 from cable needle.
- St(s) = Stitch(es)
- RS = Right side
- WS = Wrong side
Pattern Notes
- The scarf is worked flat in one piece, with the keyhole opening created by splitting the work and then rejoining.
- The leaf accents are crocheted separately and sewn on at the end.
- Always slip the first stitch of each row purlwise to create a neat, braided edge (optional but recommended).
Main Scarf Body (First Half)
With Yarn A (forest green), cast on 36 stitches.
Row 1 (RS): K4, P2, C4F, P2, K12, P2, C4B, P2, K4.
Row 2 (WS): P4, K2, P4, K2, P12, K2, P4, K2, P4.
Row 3: K4, P2, K4, P2, K12, P2, K4, P2, K4.
Row 4: Repeat Row 2.
Row 5: K4, P2, C4B, P2, K12, P2, C4F, P2, K4.
Row 6: Repeat Row 2.
Row 7: Repeat Row 3.
Row 8: Repeat Row 2.
Repeat Rows 1-8 until the scarf measures approximately 28 inches from the cast-on edge, ending with a WS row. This forms the first half of the scarf.
Creating the Keyhole Opening
This is the clever part that makes the scarf a "keyhole" design. You will now work the two sides of the opening separately.
Next Row (RS): Work across the first 18 stitches in pattern (as established), then turn your work, leaving the remaining 18 stitches on a holder or spare needle. Do not cut the yarn.
Work back and forth on these 18 stitches only, continuing the established pattern, for 4 inches, ending with a WS row. Cut the yarn, leaving a 6-inch tail, and place these 18 stitches on a holder.
Rejoin Yarn A to the remaining 18 stitches (the ones on the holder). Work these 18 stitches in pattern for 4 inches, ending with a WS row. Do not cut the yarn.
Rejoining and Second Half
Now you will bring the two sections back together to complete the scarf.
Joining Row (RS): With the yarn attached to the second section, work across the first 18 stitches from this section. Then, work across the 18 stitches from the first section (from the holder) to rejoin all 36 stitches onto one needle.
Continue in the established pattern (Rows 1-8) for another 28 inches, ending with a WS row. This completes the second half of the scarf body.
Bind Off (RS): Bind off loosely in pattern. To avoid a tight edge, use a larger needle or a stretchy bind-off method (such as the "knit two together" bind off).
Crocheted Leaf Accents (Make 4)
These charming leaves add the "woven" forest detail. With Yarn B (autumn gold) and a size G/4.0 mm crochet hook, follow these steps:
Foundation: Chain 10.
Row 1: Starting in the 2nd chain from the hook, single crochet (sc) in each chain across (9 sc). Turn.
Row 2: Chain 1, sc in first st, *chain 3, skip 1 st, sc in next st* repeat from * to * across (you will have 4 chain spaces). Turn.
Row 3: Chain 1, sc in first st, *work 5 double crochet (dc) in the next chain space, sc in the next sc* repeat from * to * across. Fasten off, leaving a long tail (approx. 12 inches) for sewing.
Finishing Touches
Your scarf is almost complete! Follow these final steps to make it perfect.
- Weave in all ends: Use your tapestry needle to carefully weave in all loose yarn ends on the wrong side of the work.
- Sew on the leaves: Position two leaf accents onto each end of the scarf, placing them near the edges (about 1-2 inches from the end). Use the long tail to sew them securely in place, making small stitches along the center of the leaf.
- Add fringe (optional): For a classic finish, add a fringe to both ends. Cut 12-inch strands of forest green yarn. For each fringe group, take 3 strands, fold them in half, and use a crochet hook to pull the loop through the edge of the scarf. Pull the ends through the loop and tighten. Repeat across the width of the scarf.
Your Enchanted Keyhole Scarf is now ready to wear! The Celtic cables and golden leaves create a stunning, one-of-a-kind piece that's as functional as it is beautiful. Enjoy the compliments and the cozy warmth it brings.