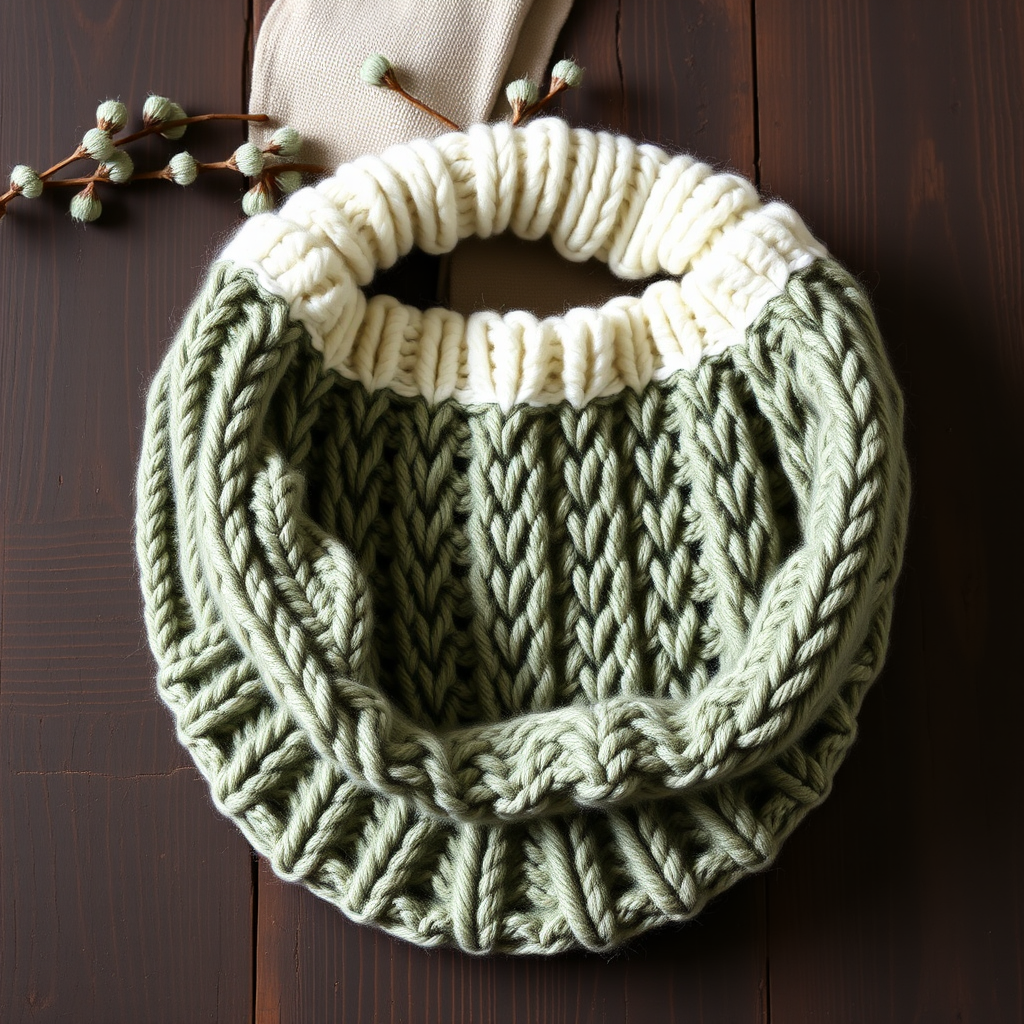
The Emberglow Aurora Cowl Free Pattern – A Knitted Symphony of Gradient Waves and Cozy Ribbing

The Emberglow Aurora Cowl Free Pattern – A Knitted Symphony of Gradient Waves and Cozy Ribbing
Wrap yourself in the mesmerizing dance of a hand-dyed gradient that shifts from deep twilight blues to fiery ember oranges, all in a plush, squishy cowl. This pattern uses a simple yet striking wave stitch to create a textured, modern accessory that's as warm as it is beautiful. Whether you're a seasoned knitter looking for a meditative project or a confident beginner ready to tackle your first circular knit, the Emberglow Aurora Cowl is designed to delight. The rhythmic repetition of increases and decreases creates a stunning undulating fabric that catches the light beautifully, while the cozy ribbed edges ensure a snug, comfortable fit. Let's dive into this enchanting project that brings the magic of the northern lights right into your winter wardrobe.
Materials Needed
Before you begin your knitting journey, gather these essential supplies. The beauty of this pattern lies in its simplicity – you don't need fancy equipment, just quality materials that will make your finished cowl shine.
Yarn
- Worsted weight yarn in 3 colors (Color A: Deep Navy, Color B: Teal, Color C: Burnt Orange) – approximately 200g total
- Alternative: A self-striping gradient yarn in similar tones for a seamless color transition
Needles & Notions
- US 8 (5.0 mm) 16-inch circular knitting needle – essential for working in the round
- Stitch marker to mark the beginning of rounds
- Tapestry needle for weaving in ends
- Blocking mats and pins (optional but recommended for a professional finish)
Gauge
18 stitches and 24 rows = 4 inches in stockinette stitch (blocked)
Taking the time to check your gauge is crucial for achieving the perfect fit. If your gauge is off, simply adjust your needle size up or down until you match the specified tension.
Step-by-Step Instructions
This pattern is worked in the round, creating a seamless tube that drapes elegantly around your neck. The wave stitch pattern is a multiple of 12 stitches, making it easy to memorize and perfect for a relaxing knitting session. Let's break down every step to ensure your success.
Finished Dimensions
Approximately 24 inches around and 10 inches tall (laid flat) – the perfect infinity cowl size for cozy warmth without bulk.
Abbreviations
- CO: Cast on
- K: Knit
- P: Purl
- K2tog: Knit two stitches together (decrease)
- SSK: Slip, slip, knit (slip two stitches knitwise, then knit them together through the back loop – a left-leaning decrease)
- YO: Yarn over (increase creating an eyelet)
- Rep: Repeat
Pattern Notes
- Worked in the round on a circular needle – no seams to sew!
- The wave stitch pattern is a multiple of 12 stitches
- Change colors as indicated or follow your gradient yarn's natural color changes
- Always place a stitch marker at the beginning of your round to track your progress
Getting Started: The Ribbing
Step 1: With Color A (Deep Navy), CO 120 stitches onto your circular needle. This is a multiple of 12, which is essential for the wave pattern to work seamlessly.
Step 2: Place a marker and join in the round, being extremely careful not to twist your stitches. This is the most common mistake for beginners – take a moment to ensure all stitches are facing the same direction before joining.
Step 3: Work K2, P2 ribbing for 1.5 inches (about 6 rounds). This creates a stretchy, snug edge that will keep your cowl in place. The ribbing pattern is simple: knit 2 stitches, purl 2 stitches, repeat around.
The Wave Stitch Body
Now comes the magical part! Switch to Color B (Teal) or continue with your gradient yarn. The wave stitch creates beautiful peaks and valleys through strategic decreases and yarn overs. Follow each round carefully – the pattern builds on itself to create the undulating effect.
Round 1: *K2tog, K2tog, K8, YO, K1, YO, K8, SSK, SSK* – Rep from * to * around. (This creates the wave peaks and valleys.)
Round 2: Knit all stitches.
Round 3: *K2tog, K2tog, K7, YO, K3, YO, K7, SSK, SSK* – Rep from * to * around.
Round 4: Knit all stitches.
Round 5: *K2tog, K2tog, K6, YO, K5, YO, K6, SSK, SSK* – Rep from * to * around.
Round 6: Knit all stitches.
Round 7: *K2tog, K2tog, K5, YO, K7, YO, K5, SSK, SSK* – Rep from * to * around.
Round 8: Knit all stitches.
Round 9: *K2tog, K2tog, K4, YO, K9, YO, K4, SSK, SSK* – Rep from * to * around.
Round 10: Knit all stitches.
Round 11: *K2tog, K2tog, K3, YO, K11, YO, K3, SSK, SSK* – Rep from * to * around.
Round 12: Knit all stitches.
Round 13: *K2tog, K2tog, K2, YO, K13, YO, K2, SSK, SSK* – Rep from * to * around.
Round 14: Knit all stitches.
Round 15: *K2tog, K2tog, K1, YO, K15, YO, K1, SSK, SSK* – Rep from * to * around.
Round 16: Knit all stitches.
Round 17: *K2tog, K2tog, YO, K17, YO, SSK, SSK* – Rep from * to * around.
Round 18: Knit all stitches.
You've now completed the first half of the wave – the peak is at its widest point. Now we'll work back down the other side of the wave, mirroring the increases with decreases.
Round 19: *K2tog, K2tog, K1, YO, K15, YO, K1, SSK, SSK* – Rep from * to * around.
Round 20: Knit all stitches.
Round 21: *K2tog, K2tog, K2, YO, K13, YO, K2, SSK, SSK* – Rep from * to * around.
Round 22: Knit all stitches.
Round 23: *K2tog, K2tog, K3, YO, K11, YO, K3, SSK, SSK* – Rep from * to * around.
Round 24: Knit all stitches.
Round 25: *K2tog, K2tog, K4, YO, K9, YO, K4, SSK, SSK* – Rep from * to * around.
Round 26: Knit all stitches.
Round 27: *K2tog, K2tog, K5, YO, K7, YO, K5, SSK, SSK* – Rep from * to * around.
Round 28: Knit all stitches.
Round 29: *K2tog, K2tog, K6, YO, K5, YO, K6, SSK, SSK* – Rep from * to * around.
Round 30: Knit all stitches.
Round 31: *K2tog, K2tog, K7, YO, K3, YO, K7, SSK, SSK* – Rep from * to * around.
Round 32: Knit all stitches.
Round 33: *K2tog, K2tog, K8, YO, K1, YO, K8, SSK, SSK* – Rep from * to * around.
Round 34: Knit all stitches.
Round 35: Knit all stitches (optional transition round).
Pro tip: As you work through the rounds, you'll notice the pattern becoming intuitive. The yarn overs create the eyelet details that give the cowl its airy, delicate feel, while the decreases (K2tog and SSK) shape the waves. Don't worry if your work looks a bit ruffled – that's completely normal and will be resolved during blocking.
Finishing Ribbing
Step 1: Switch to Color C (Burnt Orange) or continue with your gradient yarn.
Step 2: Work K2, P2 ribbing for 1.5 inches (about 6 rounds). This mirrors the bottom ribbing and creates a balanced, symmetrical look.
Bind Off
Bind off loosely in pattern – this means knit the knit stitches and purl the purl stitches as you bind off. A loose bind-off is crucial here to ensure the top edge remains stretchy and comfortable. If you tend to bind off tightly, consider going up a needle size for this step.
Finishing Touches
Step 1: Weave in all ends using your tapestry needle. Take your time with this step – secure ends will ensure your cowl lasts for years.
Step 2: Block gently to open up the lace and even out the waves. Wet blocking is ideal for this pattern: soak your cowl in lukewarm water with a drop of wool wash, gently squeeze out excess water (never wring!), then lay flat to dry, shaping the waves with your hands. This step transforms your knitting from good to absolutely stunning.
Wear and Enjoy!
Your Emberglow Aurora Cowl is now complete! The gradient waves will catch the light beautifully, and the cozy ribbing will keep you warm all winter long. This pattern is perfect for gift-giving, and once you've mastered the wave stitch, you'll find yourself reaching for this pattern again and again. The cowl's seamless construction means it looks beautiful from every angle, and the stretchy ribbing ensures it drapes perfectly around your neck.
Remember, knitting is a journey – don't rush the process. Enjoy the rhythm of the stitches, watch your gradient unfold, and take pride in creating something truly special with your own hands. Happy knitting!