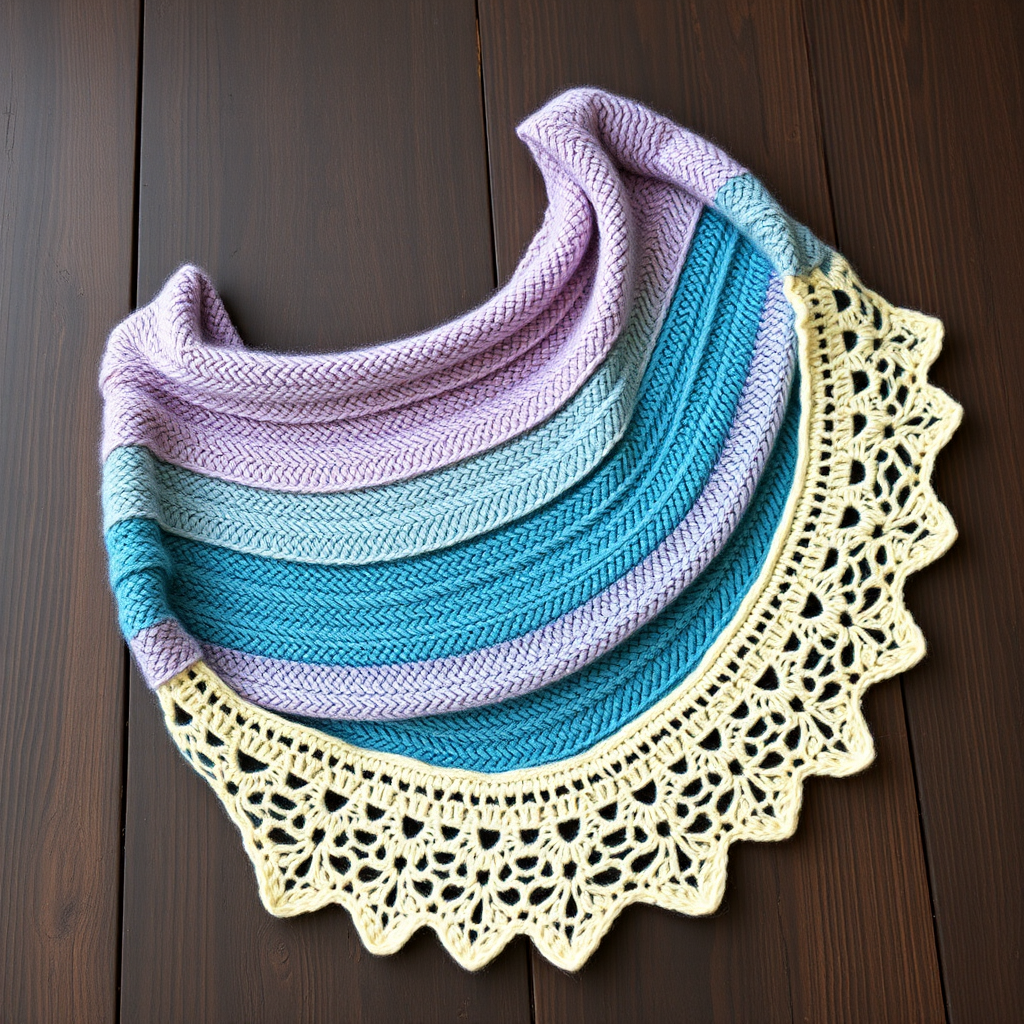
The Emberfall Crescent Shawl Free Pattern – A Knitted Sunset of Textured Waves
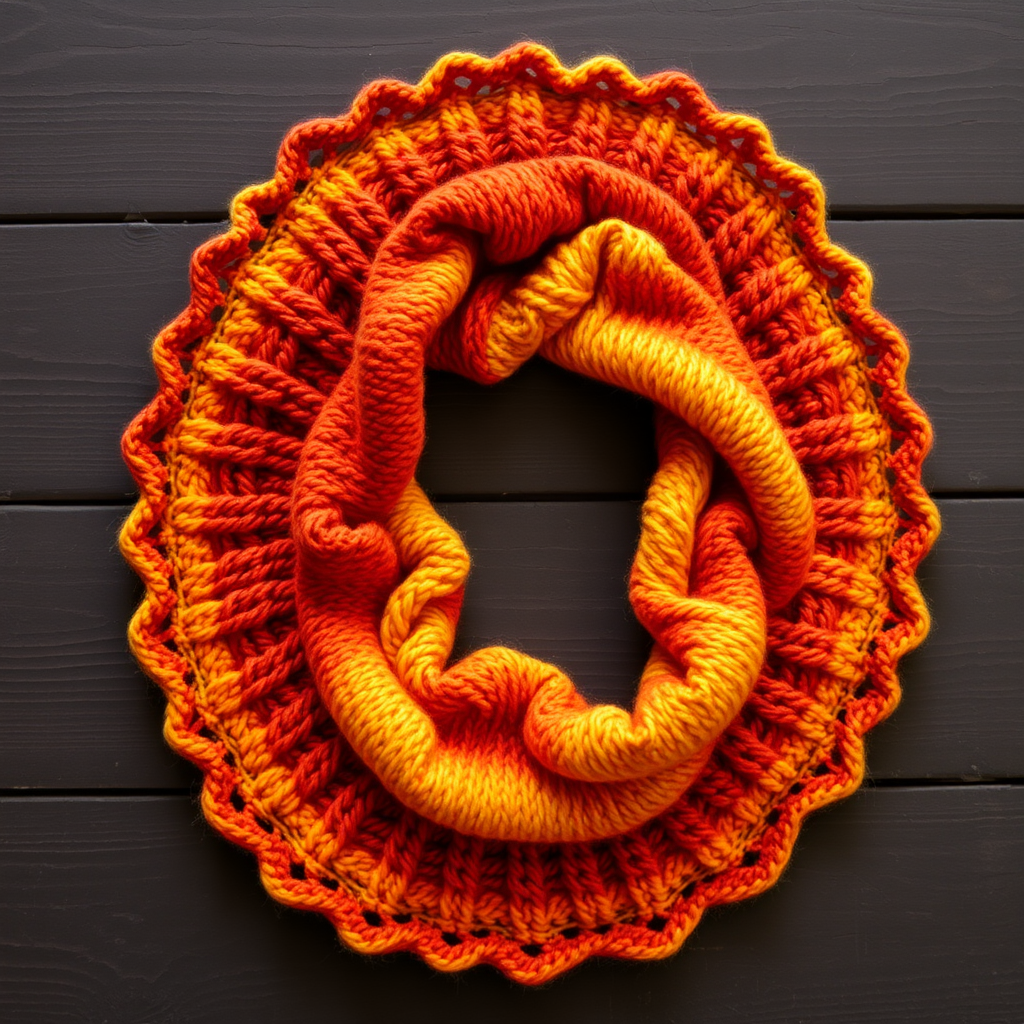
The Emberfall Crescent Shawl: A Knitted Sunset of Textured Waves
Wrap yourself in the warm glow of a hand-knitted crescent shawl that captures the fading light of an autumn evening. The Emberfall Crescent Shawl is a stunning, beginner-friendly pattern that uses a unique combination of garter ridges and slipped-stitch waves to create a fabric that feels like a gentle breeze on your shoulders. With its rich gradient of burnt orange, deep rust, and golden yellow, this shawl evokes the cozy warmth of a sunset and drapes elegantly over your shoulders, hugging the neck and widening towards the bottom. Whether you're a seasoned knitter or just starting your journey, this free pattern will guide you through creating a textured masterpiece that showcases the beauty of handcrafted stitches.
Materials Needed
Before you begin, gather the following materials to ensure a smooth and enjoyable knitting experience:
- Yarn: Worsted weight yarn in 3 colors:
- Color A (burnt orange) – approximately 150g
- Color B (deep rust) – approximately 150g
- Color C (golden yellow) – approximately 100g
- Needle: US 8 (5mm) circular needle with a 32-inch cable (long enough to accommodate the growing number of stitches)
- Gauge: 18 stitches and 24 rows = 4 inches in stockinette stitch (blocked). Gauge is important for achieving the correct drape and size, so take a moment to check your tension.
- Other tools: Stitch markers (optional but helpful), tapestry needle for weaving in ends, blocking mats and pins for finishing.
Step-by-Step Instructions
This shawl is worked from the top center outwards in a crescent shape, increasing at the edges and center to create a gentle curve. Follow these detailed instructions carefully, and you'll have a beautiful shawl in no time.
Abbreviations
- CO: cast on
- K: knit
- P: purl
- K2tog: knit two together (decrease)
- Kfb: knit into front and back of stitch (increase)
- Sl1: slip one stitch purlwise with yarn in back
- Yo: yarn over
- RS: right side
- WS: wrong side
Setup Section
CO 3 stitches with Color A.
- Row 1 (RS): Kfb, K1, Kfb (5 stitches)
- Row 2 (WS): K2, P1, K2
- Row 3 (RS): Kfb, K3, Kfb (7 stitches)
- Row 4 (WS): K2, P3, K2
- Row 5 (RS): Kfb, K5, Kfb (9 stitches)
- Row 6 (WS): K2, P5, K2
Increase Section (worked with Color A)
- Row 7 (RS): Kfb, K to last 2 stitches, Kfb, K1 (11 stitches)
- Row 8 (WS): K2, P to last 2 stitches, K2
Repeat Rows 7-8 until you have 51 stitches, ending with a WS row. This section creates the foundation of the crescent shape, gradually widening from the center.
Wave Pattern Section (alternating colors)
Now begin the wave pattern, which creates the textured ridges. The pattern is worked in multiples of 6 + 3, with edge stitches. The slipped stitches will create a beautiful rippled surface that catches the light.
Color B Section (deep rust)
- Row 1 (RS, Color B): K2, *Sl1, K5; repeat from * to last 3 stitches, Sl1, K2
- Row 2 (WS, Color B): K2, *P1, K5; repeat from * to last 3 stitches, P1, K2
- Row 3 (RS, Color B): K2, *Sl1, K5; repeat from * to last 3 stitches, Sl1, K2
- Row 4 (WS, Color B): K2, *P1, K5; repeat from * to last 3 stitches, P1, K2
- Row 5 (RS, Color B): K2, *Sl1, K5; repeat from * to last 3 stitches, Sl1, K2
- Row 6 (WS, Color B): K2, *P1, K5; repeat from * to last 3 stitches, P1, K2
Color C Section (golden yellow)
Switch to Color C.
- Row 7 (RS, Color C): K2, *K5, Sl1; repeat from * to last 3 stitches, K3
- Row 8 (WS, Color C): K2, *P5, Sl1; repeat from * to last 3 stitches, P3
- Row 9 (RS, Color C): K2, *K5, Sl1; repeat from * to last 3 stitches, K3
- Row 10 (WS, Color C): K2, *P5, Sl1; repeat from * to last 3 stitches, P3
- Row 11 (RS, Color C): K2, *K5, Sl1; repeat from * to last 3 stitches, K3
- Row 12 (WS, Color C): K2, *P5, Sl1; repeat from * to last 3 stitches, P3
Color A Section (burnt orange)
Switch to Color A.
- Row 13 (RS, Color A): K2, *Sl1, K5; repeat from * to last 3 stitches, Sl1, K2
- Row 14 (WS, Color A): K2, *P1, K5; repeat from * to last 3 stitches, P1, K2
- Row 15 (RS, Color A): K2, *Sl1, K5; repeat from * to last 3 stitches, Sl1, K2
- Row 16 (WS, Color A): K2, *P1, K5; repeat from * to last 3 stitches, P1, K2
- Row 17 (RS, Color A): K2, *Sl1, K5; repeat from * to last 3 stitches, Sl1, K2
- Row 18 (WS, Color A): K2, *P1, K5; repeat from * to last 3 stitches, P1, K2
Increase Rows within Pattern
To maintain the crescent shape, increase 2 stitches every 6th row (on RS rows) as follows:
- Row 19 (RS, Color B): Kfb, K1, *Sl1, K5; repeat from * to last 4 stitches, Sl1, K2, Kfb (53 stitches)
- Row 20 (WS, Color B): K2, *P1, K5; repeat from * to last 3 stitches, P1, K2
Continue the wave pattern, working increases every 6th row, until you have 89 stitches total. Remember to alternate colors as established: 6 rows of Color B, 6 rows of Color C, 6 rows of Color A, and repeat. The increases will be worked on the first RS row of each color section.
Final Wave Section
Work the wave pattern without increases for 12 more rows, ending with a WS row in Color A. This creates a balanced, finished edge before the lace border.
Edging
Switch to Color C for the delicate eyelet border.
- Row 1 (RS, Color C): K2, *Yo, K2tog; repeat from * to last 2 stitches, K2
- Row 2 (WS, Color C): K2, *P to last 2 stitches, K2
- Row 3 (RS, Color C): K2, *Yo, K2tog; repeat from * to last 2 stitches, K2
- Row 4 (WS, Color C): K2, *P to last 2 stitches, K2
Bind Off (loosely)
K2, *K2tog, return stitch to left needle; repeat from * until 1 stitch remains. Cut yarn and pull through. This stretchy bind-off ensures the edge remains flexible and doesn't pull the shawl out of shape.
Finishing
Weave in all ends carefully with a tapestry needle, making sure to secure them on the wrong side of the work. Block the shawl gently to open up the lace edging and even out the waves. To block, soak the shawl in lukewarm water with a mild wool wash, gently squeeze out excess water (never wring), and lay flat on blocking mats. Pin the edges to your desired dimensions, focusing on opening the eyelet border and smoothing the waves. Allow to dry completely before unpinning.
Your Emberfall Crescent Shawl is now complete! The rich gradient of colors and the textured waves will make this a cherished piece in your wardrobe or a thoughtful handmade gift for someone special. The soft, cozy fabric drapes beautifully, and the delicate eyelet border adds a touch of airiness that catches the light. Enjoy the warmth and beauty of your handcrafted creation!