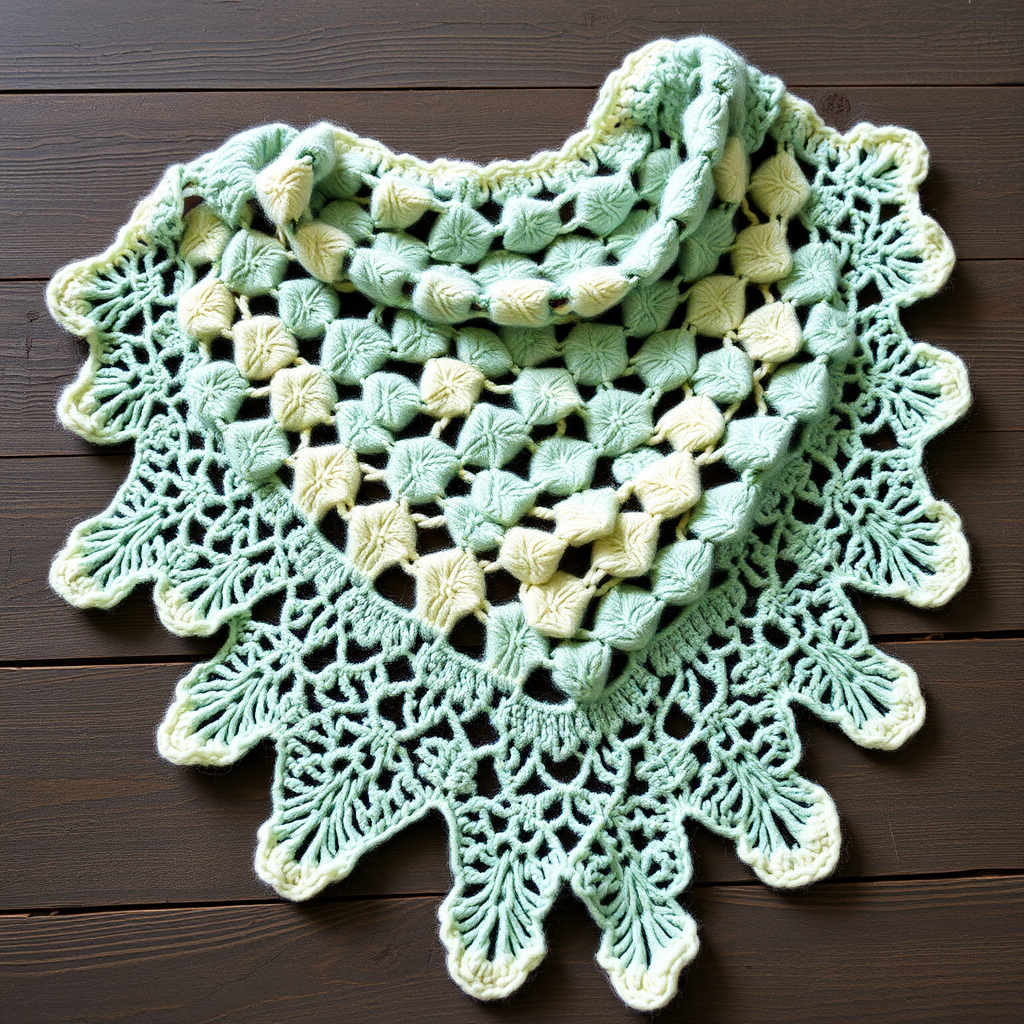
Aurora Drift Wrap Free Pattern
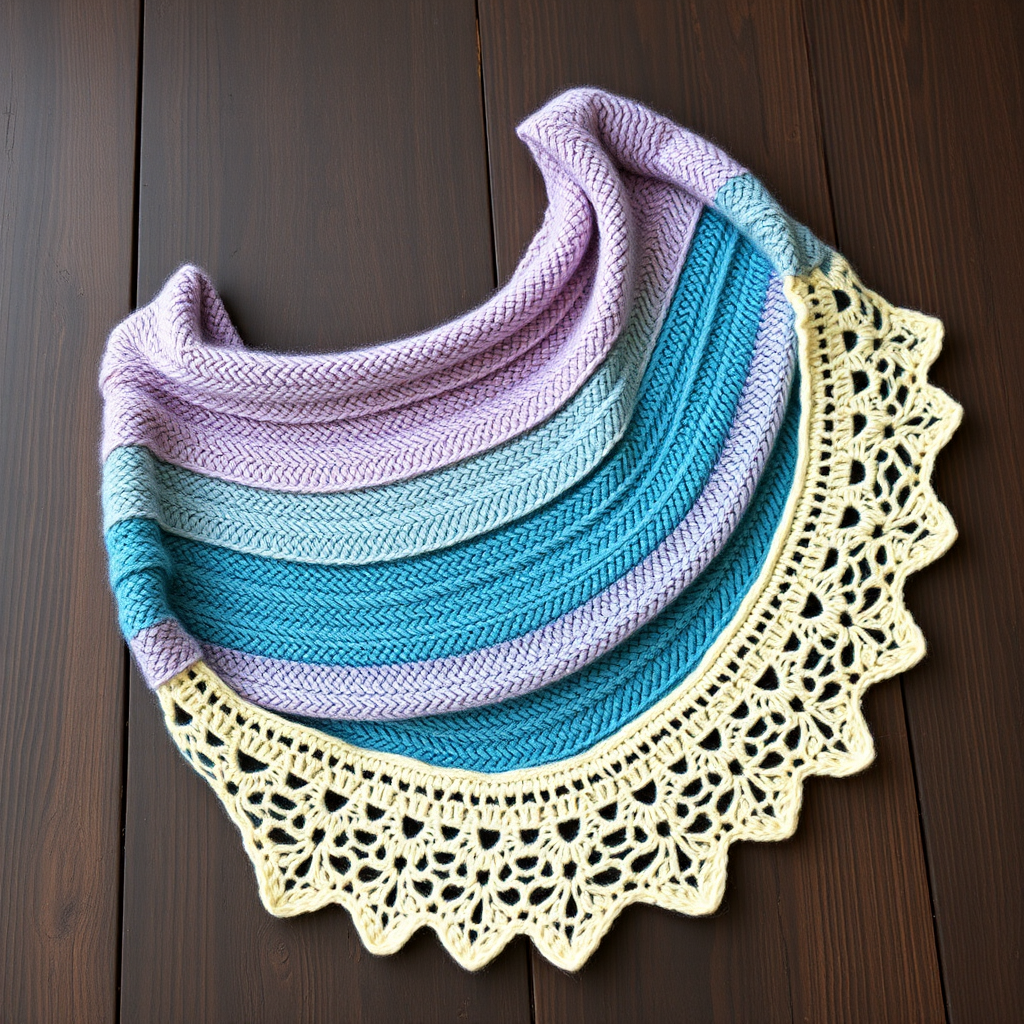
Wrap Yourself in the Northern Lights: The Aurora Drift Wrap Free Pattern
Imagine draping the ethereal, flowing colors of the aurora borealis over your shoulders. With the Aurora Drift Wrap, you can turn that vision into a cozy, wearable reality. This free knitting pattern creates a stunning crescent-shaped shawl using simple knit stitches and strategic color changes. Even if you're relatively new to knitting, this project is designed to be accessible and rewarding, guiding you through each step to create a beautiful, handmade piece of art. The rhythmic repetition and gradual color shifts make it a meditative and satisfying knit.
This pattern is perfect for an adventurous beginner or an intermediate knitter looking for a relaxing project. The worsted weight yarn ensures quick progress, and the simple increase structure means you can easily memorize the pattern and watch your shawl grow. Let's get started on crafting your own piece of the sky.
Materials Needed
Before you begin, gather your materials. The beauty of this pattern lies in its simplicity, requiring only a few key items.
- Yarn: Worsted weight yarn in 3 colors. You will need approximately 400 yards each of:
- Color A: Deep Teal
- Color B: Soft Lavender
- Color C: Pale Gold
- Needle: US 9 (5.5 mm) circular knitting needle, 32-inch or longer. The long cable is essential to hold the many stitches as the shawl grows.
- Other Tools: Stitch markers (at least 2), a tapestry needle for weaving in ends, and scissors.
Gauge: 16 stitches and 24 rows = 4 inches in stockinette stitch. While gauge isn't critical for a shawl, matching it will ensure you use the expected amount of yarn and achieve the intended drape.
Step-by-Step Instructions
This shawl is worked from the top center down, increasing on both sides to form a crescent shape. Don't be intimidated—the process is logical and repetitive. Let's break it down.
Abbreviations
Familiarize yourself with these standard knitting abbreviations before you start.
- k = knit
- p = purl
- yo = yarn over
- k2tog = knit two together (a right-leaning decrease)
- ssk = slip, slip, knit (a left-leaning decrease)
- pm = place marker
- sm = slip marker
Getting Started: The Top Center
We'll begin by creating the small point at the top of the shawl, which will expand outward.
Setup: With Color A, cast on 5 stitches.
Row 1 (RS): k2, yo, k1, yo, k2 (7 sts). This row creates the initial increases.
Row 2 (WS): k2, p to last 2 sts, k2. This establishes the garter stitch border on the edges.
Row 3 (RS): k2, yo, k to last 2 sts, yo, k2 (9 sts). You are increasing one stitch on each side of the work.
Row 4 (WS): k2, p to last 2 sts, k2.
Repeat Rows 3 and 4 until you have 31 stitches on your needle, ending with a WS row. You have just created the foundation of your shawl.
The Color Sequence: Painting Your Aurora
Now for the fun part—introducing the colors! You will continue working in stockinette stitch (knit on RS, purl on WS) while maintaining the increase rows and edge stitches.
Important: Throughout this entire section, continue the increase pattern on every RS row: k2, yo, k to last 2 sts, yo, k2. Always start and end every row (RS and WS) with k2 for the garter stitch border.
Follow this color sequence, working 10 rows for each color block:
- Work 10 rows with Color A.
- Switch to Color B, work 10 rows.
- Switch to Color C, work 10 rows.
- Switch to Color A, work 10 rows.
- Switch to Color B, work 10 rows.
- Switch to Color C, work 10 rows.
When changing colors, simply tie a new color to the old one at the beginning of a RS row, leaving a tail to weave in later. After completing the final 10 rows of Color C, continue with Color A for the edging.
Creating the Lacy Edging
This delicate edging adds a beautiful, finished look to the curved bottom edge of your shawl.
Step 1: Pick Up Stitches
With the RS facing and using Color A, pick up and knit 1 stitch for every 2 rows along the curved bottom edge of the shawl. You should have an odd number of stitches. Place a marker in the center stitch.
Step 2: Work the Edging Rows
Row 1 (WS): k2, p to last 2 sts, k2.
Row 2 (RS): k2, *yo, k2tog* repeat from * to * until 2 sts before center marker, yo, k2tog, sm, k1, sm, *yo, k2tog* repeat from * to * until 2 sts from end, yo, k2tog, k2. This row creates the eyelet holes and shapes the edging around the center.
Row 3 (WS): k2, p to last 2 sts, k2.
Row 4 (RS): k2, *yo, k2tog* repeat from * to * until 2 sts from end, yo, k2tog, k2.
Repeat Rows 3 and 4 two more times. You will have worked a total of 6 edging rows.
Finishing Touches
You're almost done! The final steps will secure your work and give it a professional finish.
Bind off loosely: Bind off all stitches knitwise on the RS. It is crucial to bind off loosely so the edge remains stretchy and doesn't pucker. Consider using a larger needle to bind off if your bind-off is tight.
Weave in all ends: Using your tapestry needle, carefully weave in all loose yarn ends on the wrong side of the shawl. Trim any excess yarn.
Give your Aurora Drift Wrap a gentle block to open up the lace and even out the stitches. Lay it flat to dry. Once dry, it's ready to wear! Drape it over your shoulders and enjoy the beautiful, flowing colors you've created with your own hands.